cheesy baked chili dog casserole
Learn how to make a savory and satisfying cheesy chili dog casserole in this easy recipe guide. Perfect for busy weeknights or casual gatherings!
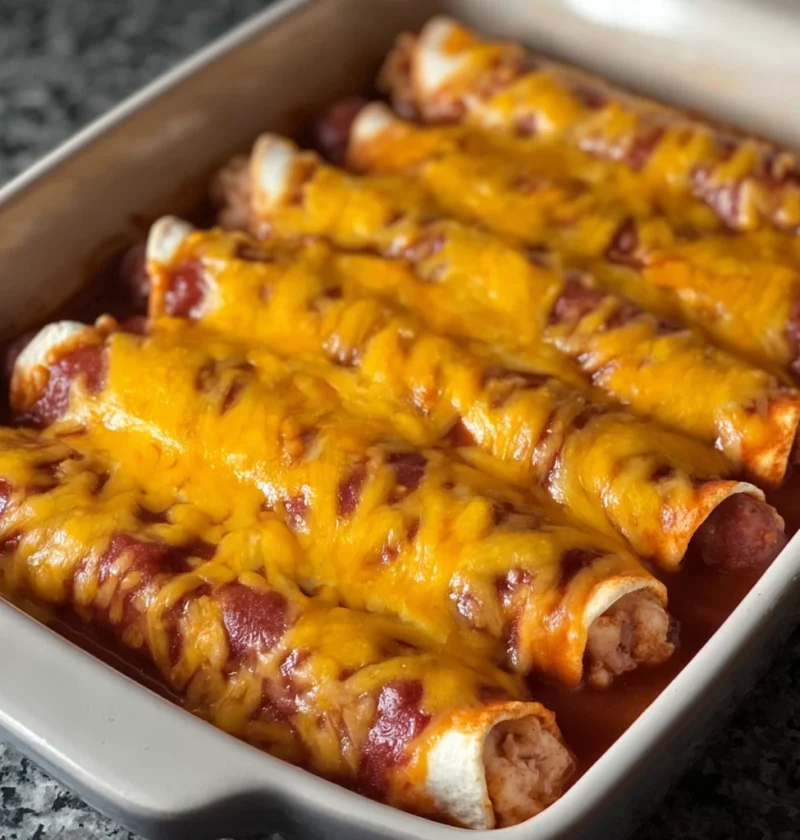
Learn how to make a savory and satisfying cheesy chili dog casserole in this easy recipe guide. Perfect for busy weeknights or casual gatherings!
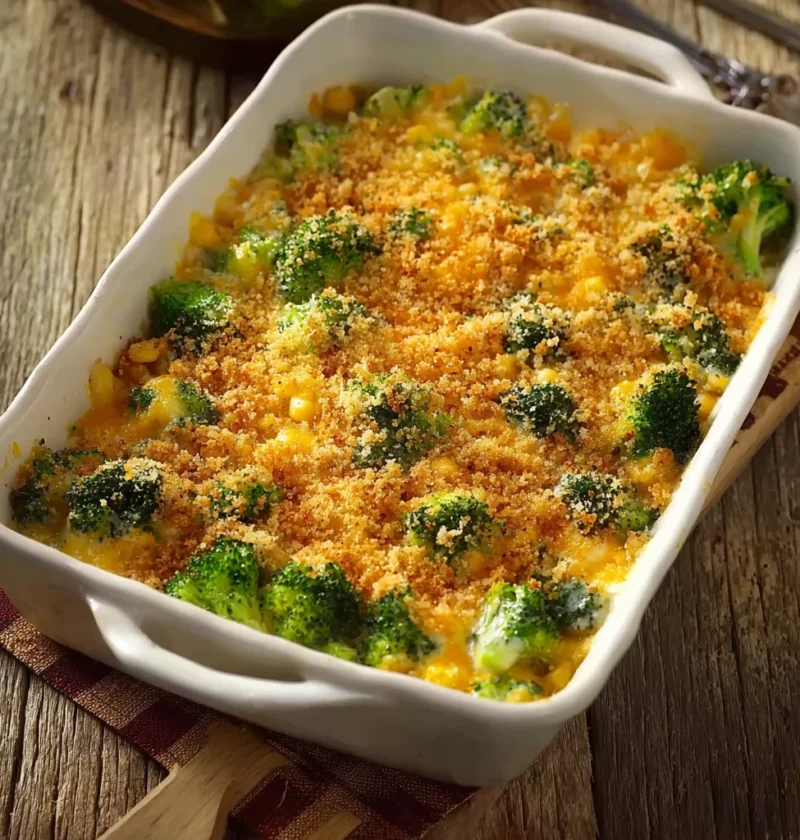
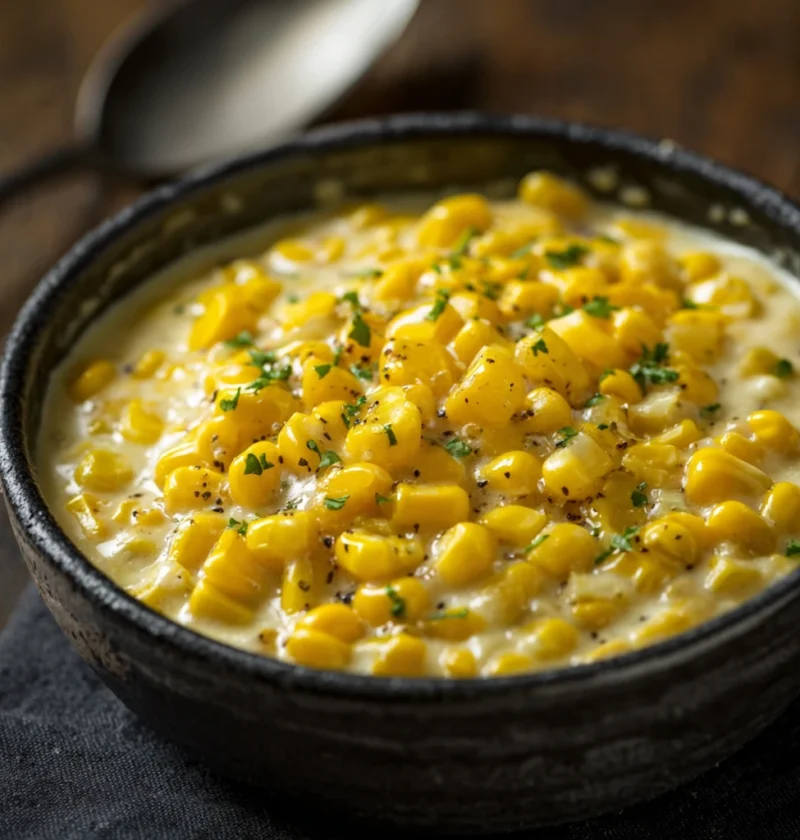
Delight in a culinary adventure with an easy broccoli corn casserole recipe that blends broccoli and corn for a flavorful and comforting dish.
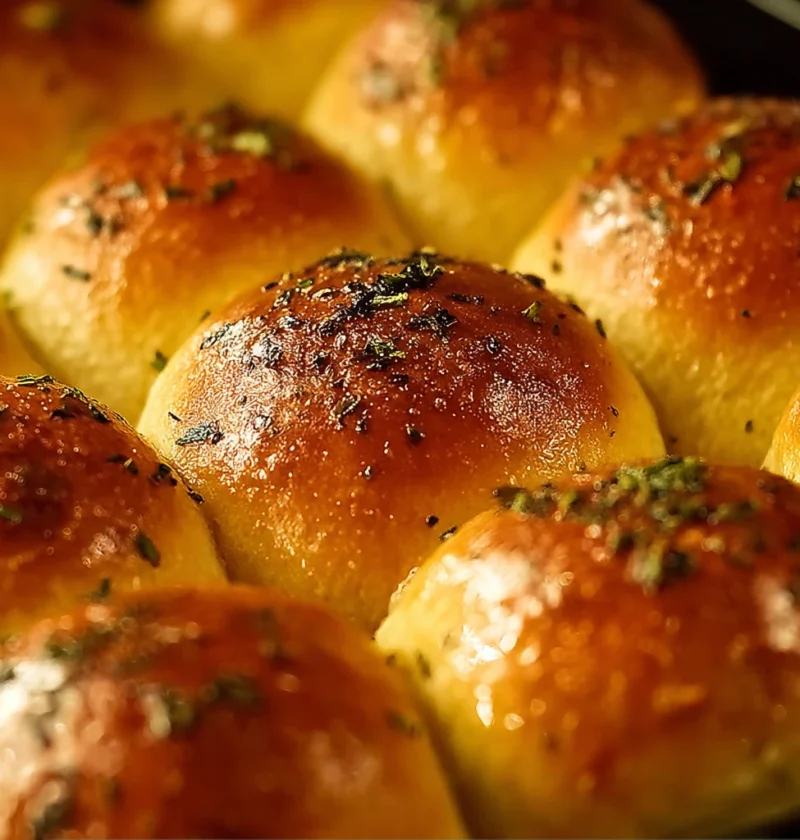
Learn how to create mouthwatering dinner rolls using easy frozen bread dough. Elevate any meal with these convenient and delicious homemade rolls.