Moist Sticky Toffee Pudding Without Dates
Indulge in a date-free moist sticky toffee pudding recipe with a rich toffee sauce. Easy to make, versatile, and perfect for dessert lovers seeking a class

Indulge in a date-free moist sticky toffee pudding recipe with a rich toffee sauce. Easy to make, versatile, and perfect for dessert lovers seeking a class

Indulge guilt-free with a Low-Carb Spaghetti Squash Casserole that blends savory flavors, creamy textures, and healthful ingredients.

Create a mouthwatering Crispy Air Fryer Roast Chicken with this convenient and healthier recipe guide. Delight your taste buds with juicy, crisp perfection

Indulge in the festive flavors of Rich Cranberry Eggnog Bread Pudding, a comforting twist perfect for holiday gatherings or cozy nights in.

Explore the joy of crafting a perfect meatloaf for two – an easy, flavorful recipe designed for a cozy dining experience. Perfect for busy nights or specia
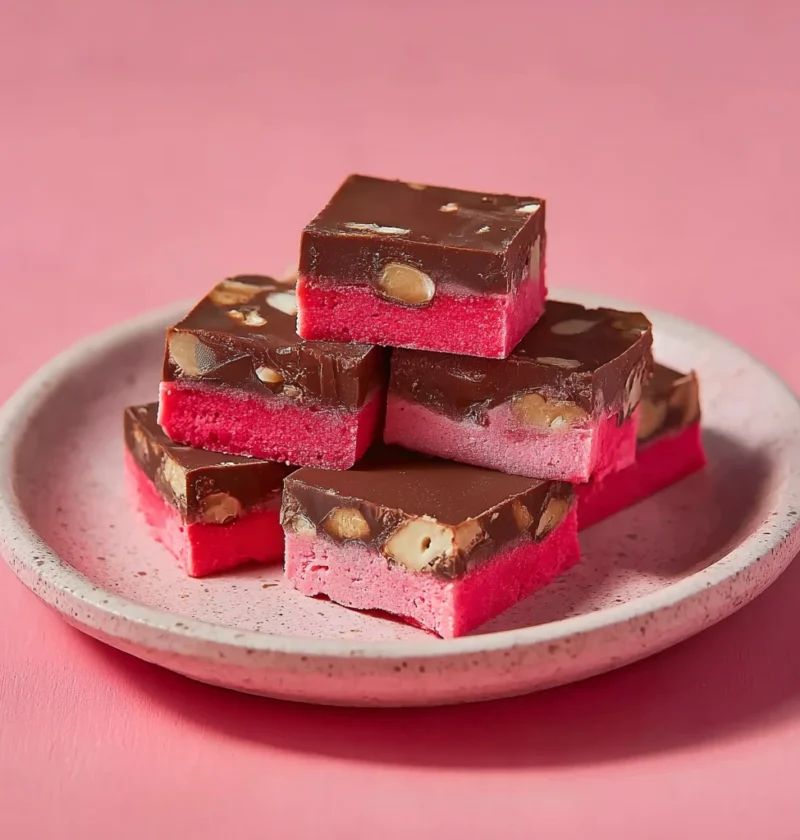
Indulge in the delightful world of cherry mash candy – from its rich history and unique flavors to affordable options and gluten-free versions, find out

Discover the perfect harmony of savory cocktail sausages and sweet grape jelly with a delightful recipe that promises an explosion of flavors in every bite

Delve into the heartwarming story and simple joys behind traditional Raspberry Thumbprint Cookies. Explore the recipe, tips for success, variations, servin

Elevate classic mashed potatoes with a nutritious twist of vegetables in this flavorful recipe. Perfect for a wholesome side dish or a comforting meal.

Delve into the world of comforting chicken and dumplings with this homemade southern recipe. Explore variations, expert tips, and serving suggestions for a