Strawberry Mango Sago – Creamy Tropical Dessert Recipe
Indulge in a tropical delight with Strawberry Mango Sago – a creamy and refreshing dessert blending juicy strawberries, luscious mangoes, and chewy sago pe
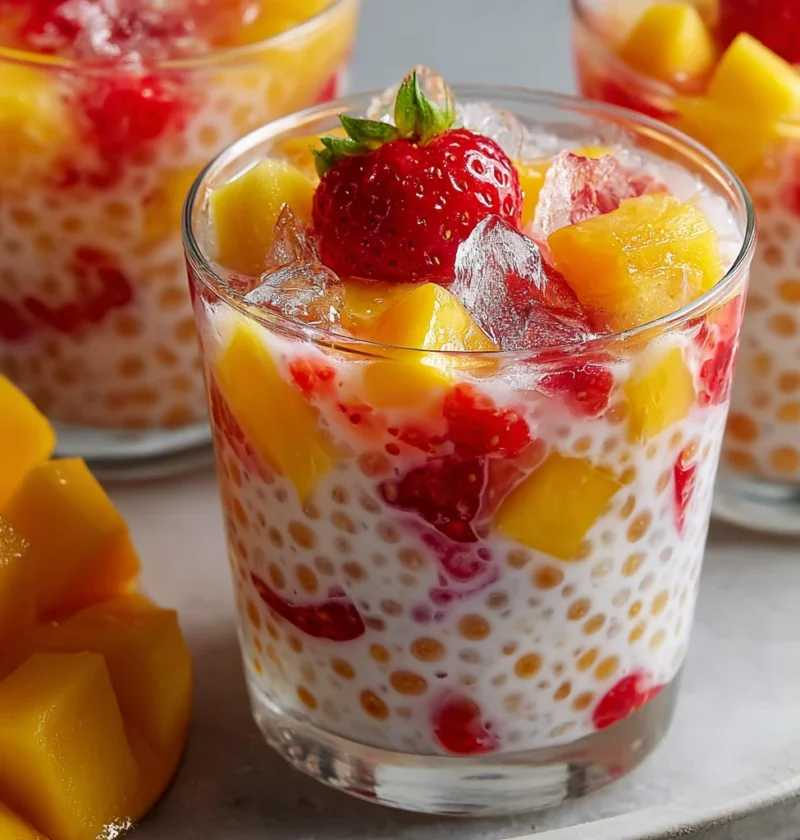
Indulge in a tropical delight with Strawberry Mango Sago – a creamy and refreshing dessert blending juicy strawberries, luscious mangoes, and chewy sago pe

Discover how to make the best mini strawberry cheesecakes – a guilt-free, delightful treat perfect for any occasion. Vegan and gluten-free options included

Indulge in the ultimate guide for making the best creamy chicken nachos at home! Perfect for a crowd-pleasing comfort food dish you can customize to deligh
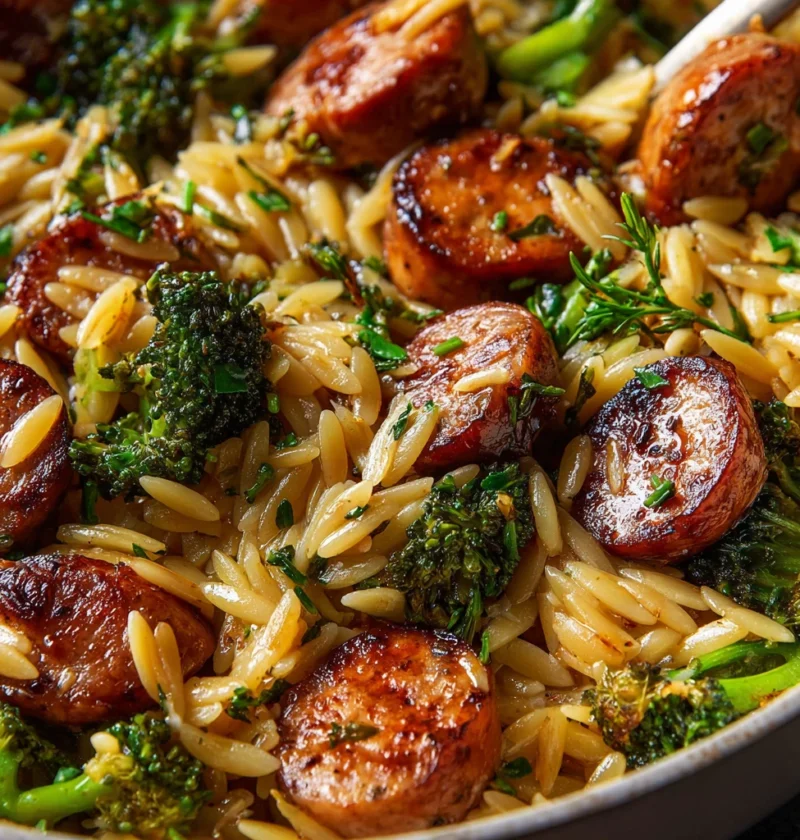
Discover how to make a delicious 30-minute chicken sausage orzo dish that balances flavor and nutrition perfectly, customizable for all tastes and dietary.

Discover the joy of creating an easy no-bake popcorn cake with this recipe for kids that offers a playful twist on traditional desserts. Enjoy a delightful

Indulge in the decadent delight of our best chocolate poke cake with marshmallow recipe. Learn how to make this crowd-pleasing treat from scratch and eleva

Indulge in a flavorful fusion with our spicy Jalapeño Cheddar Sausage & Shrimp Ramen recipe. Elevate your ramen experience with this unique dish!

Discover the magic of Candy Cane Pie with this festive dessert recipe. Learn to create a delicious blend of peppermint and cream for a delightful holiday t

Indulge in a no bake peanut butter pie: a quick, crowd-pleasing dessert blending creamy peanut butter on a buttery cookie crust, ready in 30 minutes.

Delight in the fusion of creamy peanut butter and luscious cheesecake with easy no bake cheesecake balls. Perfect for all occasions, these treats are a mus