Sugar Cookie Rice Krispie Treats
Delight in the fusion of sugar cookies and Rice Krispie treats with this easy recipe! Perfect for parties or a sweet treat, including gluten-free and vegan
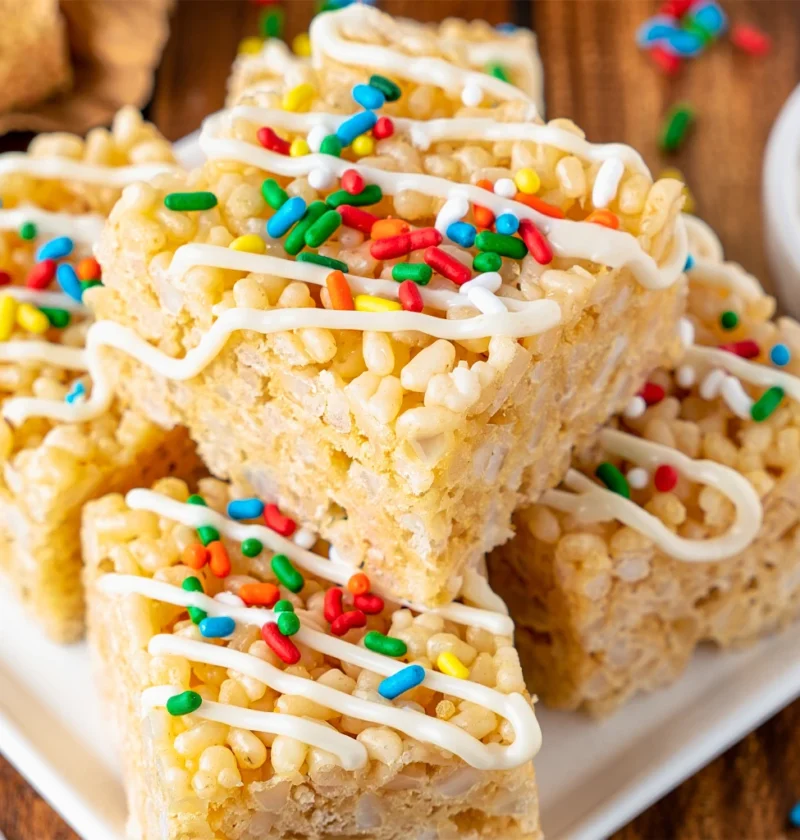
Delight in the fusion of sugar cookies and Rice Krispie treats with this easy recipe! Perfect for parties or a sweet treat, including gluten-free and vegan
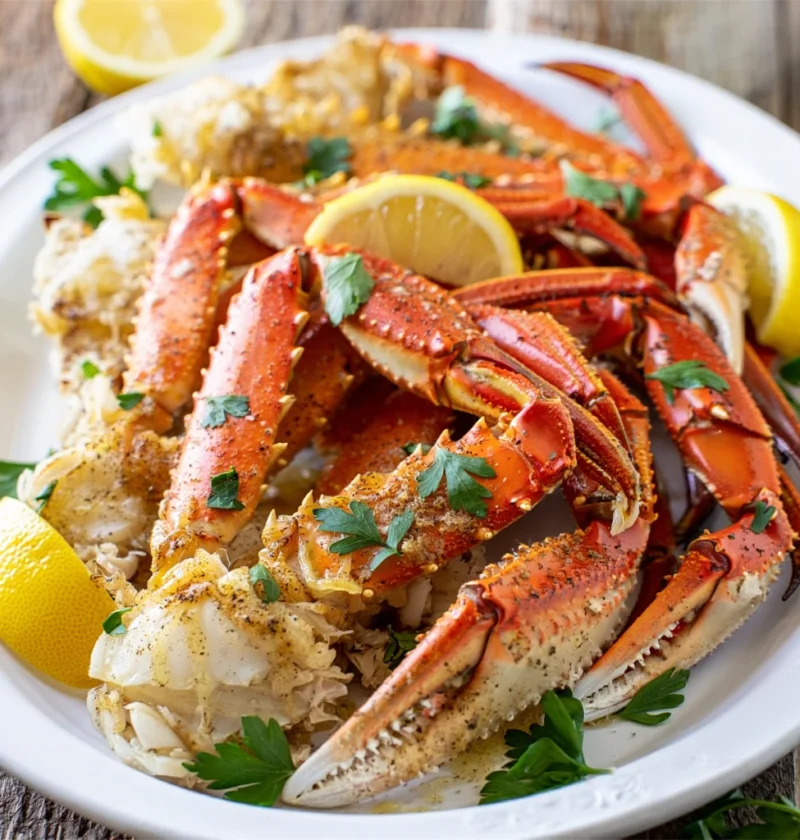
Master the art of baking crab legs at home with this easy oven-baked recipe. Impress your guests with a gourmet feast and elevate your home cooking game!

Delve into the world of Fluffernutter Ritz Cookies – a fusion of classic flavors that promise a sweet and satisfying treat. Find out how to create this uni

Learn how to make the perfect sugared cranberries with this easy recipe, ideal for holidays and more. Impress guests with this simple and delightful treat!

Discover the secrets to making a tantalizing melt in your mouth chicken recipe that promises a culinary experience like no other.

Discover the art of making traditional Christmas baklava, a rich and flavorful dessert blending phyllo pastry, nuts, and sweet honey syrup, perfect for hol

Indulge in a simple yet delicious treat with this easy 2-ingredient peanut butter fudge recipe. Perfect for quick desserts and satisfying sweet cravings.
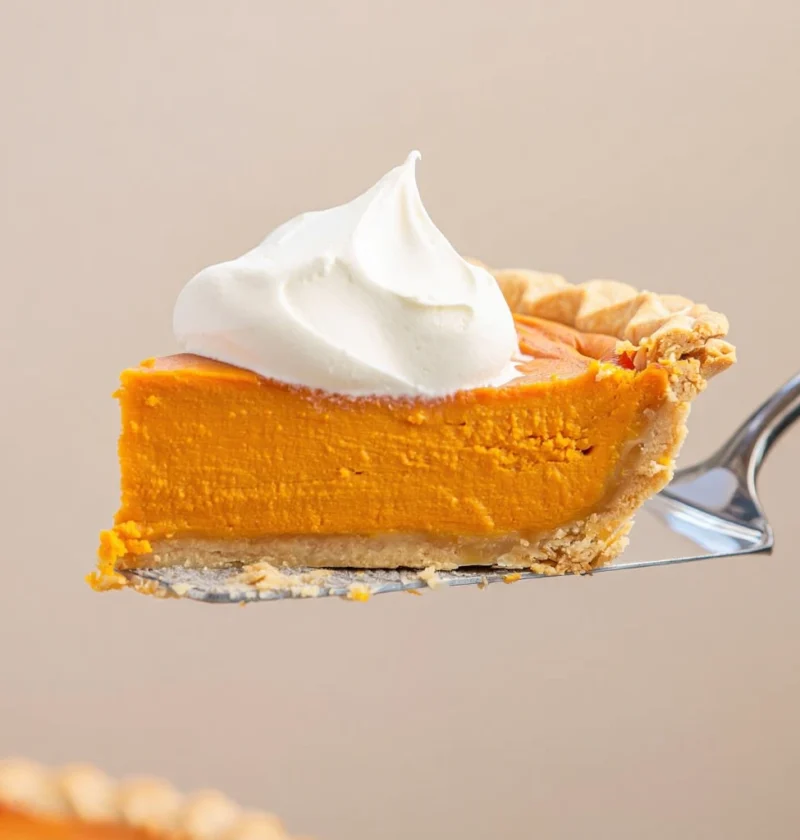
Explore the art of creating a perfect sweet potato pie with this easy recipe from scratch. Discover vegan and gluten-free options for a wholesome and inclu

Discover how to make a delightful holiday cranberry pineapple punch that’s easy, flavorful, and non-alcoholic. Perfect for festive gatherings!

Discover the delightful Andes Cool Whip Candy – a heavenly blend of cool whip and chocolate. Dive into reviews, recipes, and more to tantalize your taste