Grape Jelly Meatballs – 4 ingredients!
Discover the irresistible blend of sweet grape jelly and savory meatballs in this classic party appetizer recipe. Perfect for any occasion and sure to impr
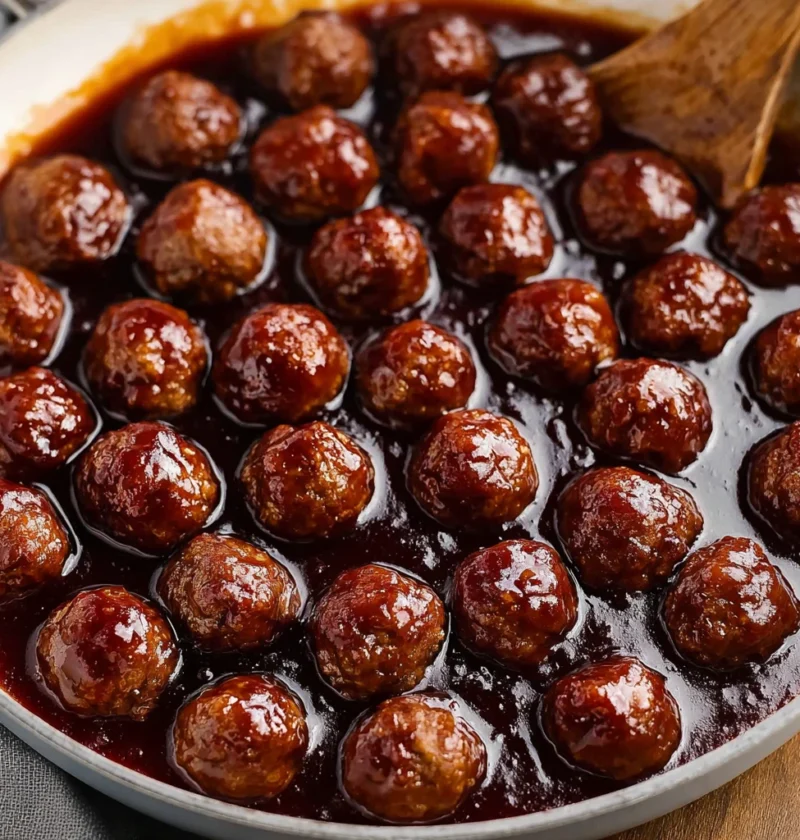
Discover the irresistible blend of sweet grape jelly and savory meatballs in this classic party appetizer recipe. Perfect for any occasion and sure to impr
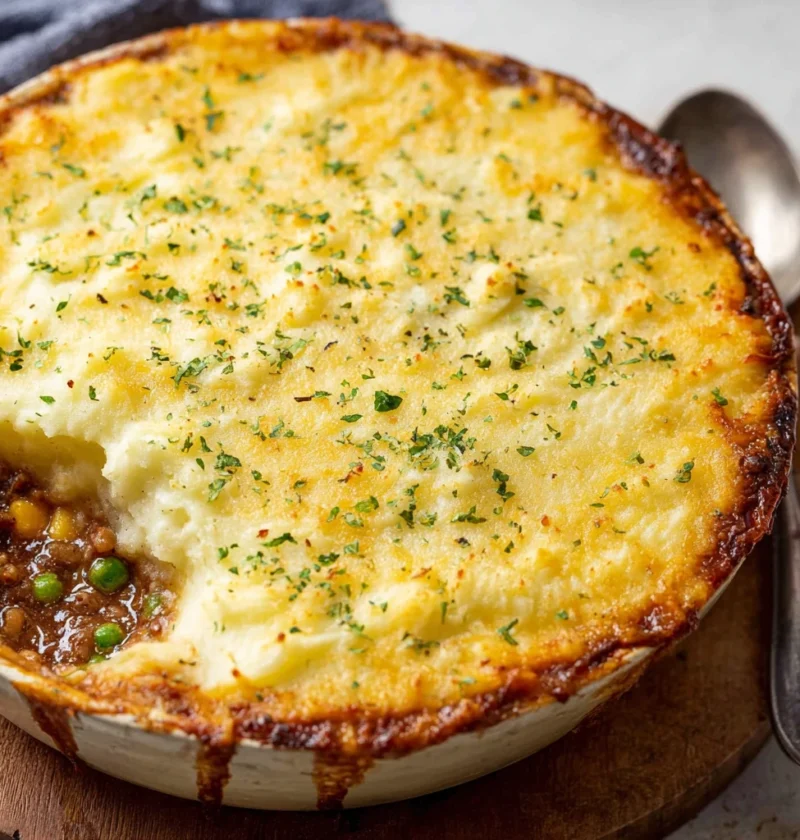
Discover the heartwarming journey of Shepherd’s Pie, a beloved classic offering a perfect blend of savory meat, rich gravy, and creamy mashed potatoes.
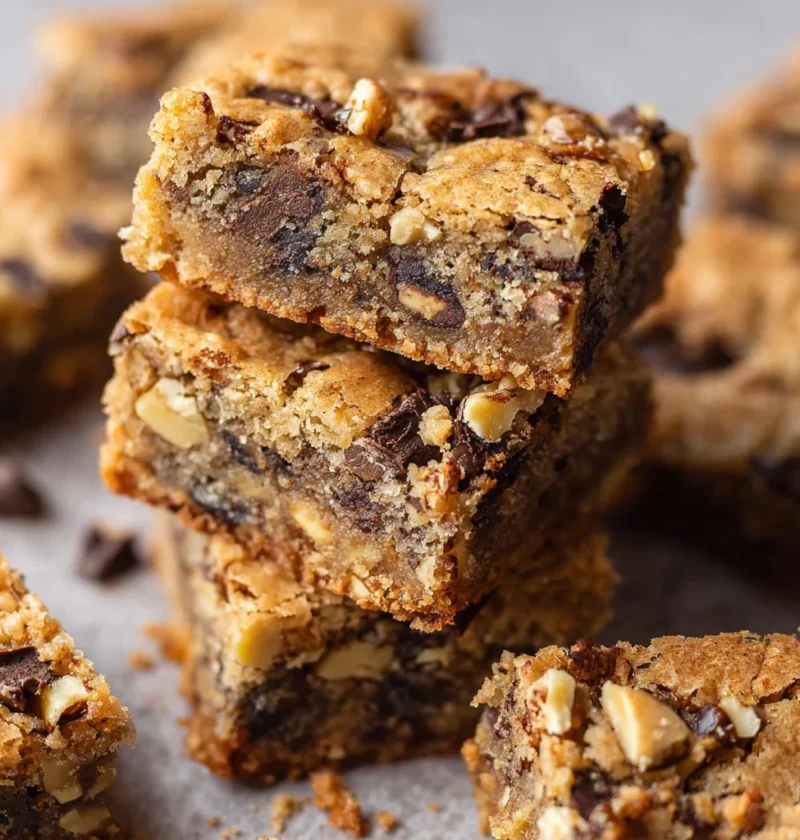
Indulge in the magic of Christmas Crack Blondies – a perfect holiday treat with the sweet harmony of toffee and buttery blondie, simple to bake and adaptab

Indulge in the perfect blend of sweet and savory with Cranberry Bacon Jam Crostini. A flavorful appetizer that elevates any occasion.
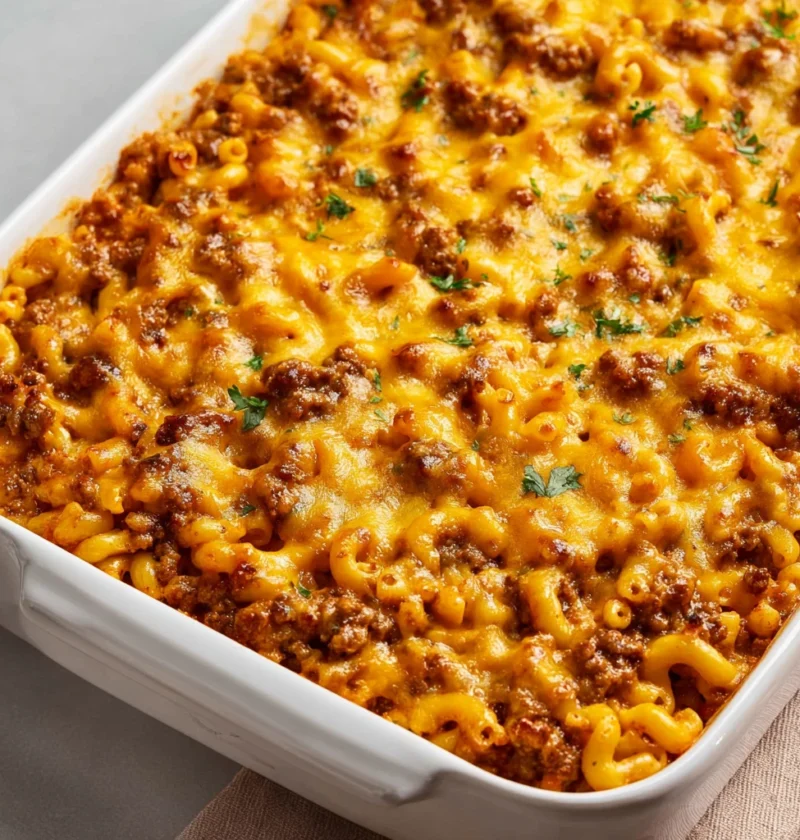
Indulge in the savory fusion of cheeseburger and pasta with this No Boil Baked Cheeseburger Pasta recipe, a convenient, flavorful, and balanced meal option
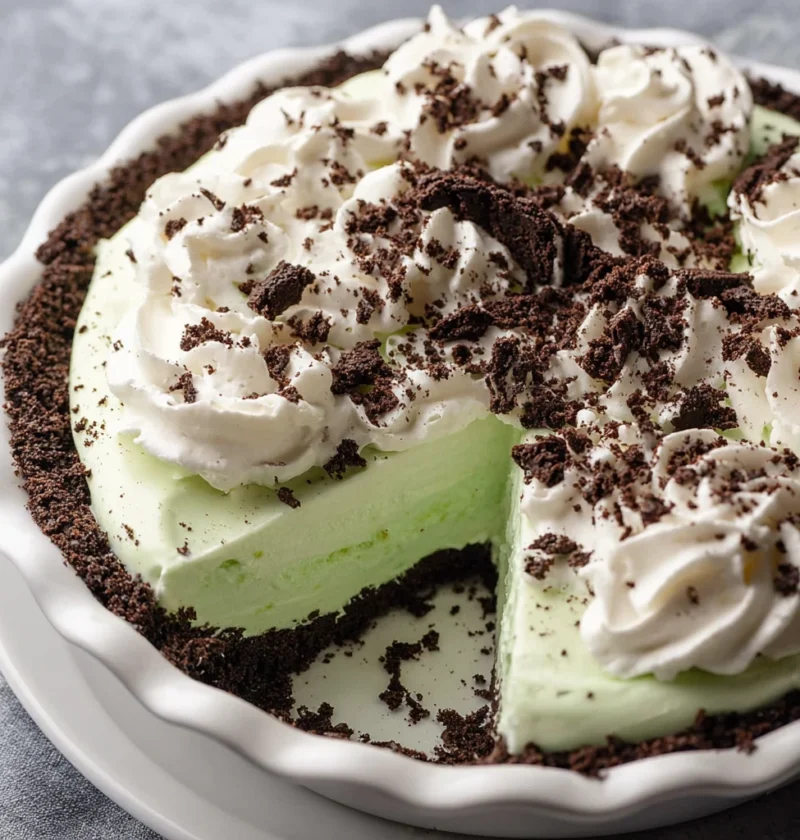
Discover the magic of a No Bake Grasshopper Pie – a refreshing, easy-to-make dessert that combines mint and chocolate flavors for a crowd-pleasing treat.
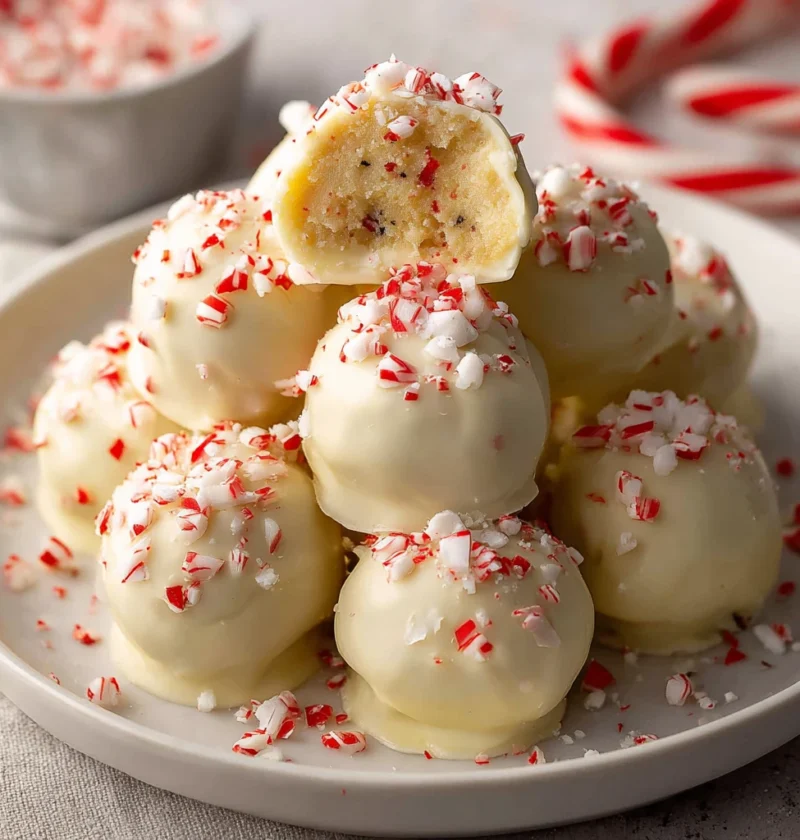
Indulge in the festive flavors of No Bake White Chocolate Peppermint Oreo Truffles. Easy to make, perfect for the holidays, and customizable to suit your p
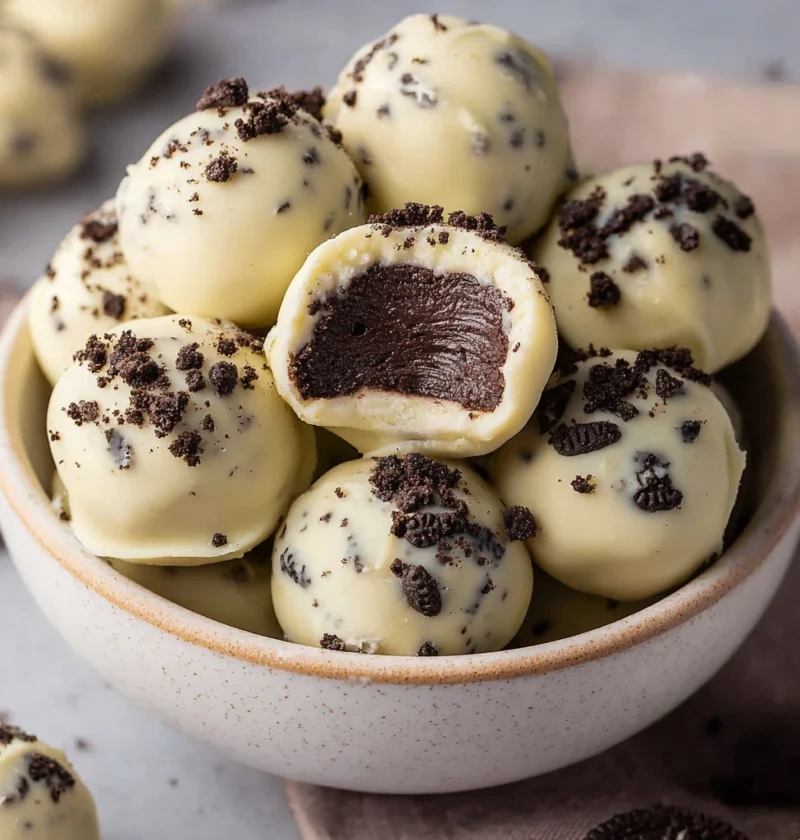
Delight in the simplicity and rich flavors of Oreo Balls – an easy-to-make treat with a crunchy cookie base and creamy coating. Customize, savor, and enj
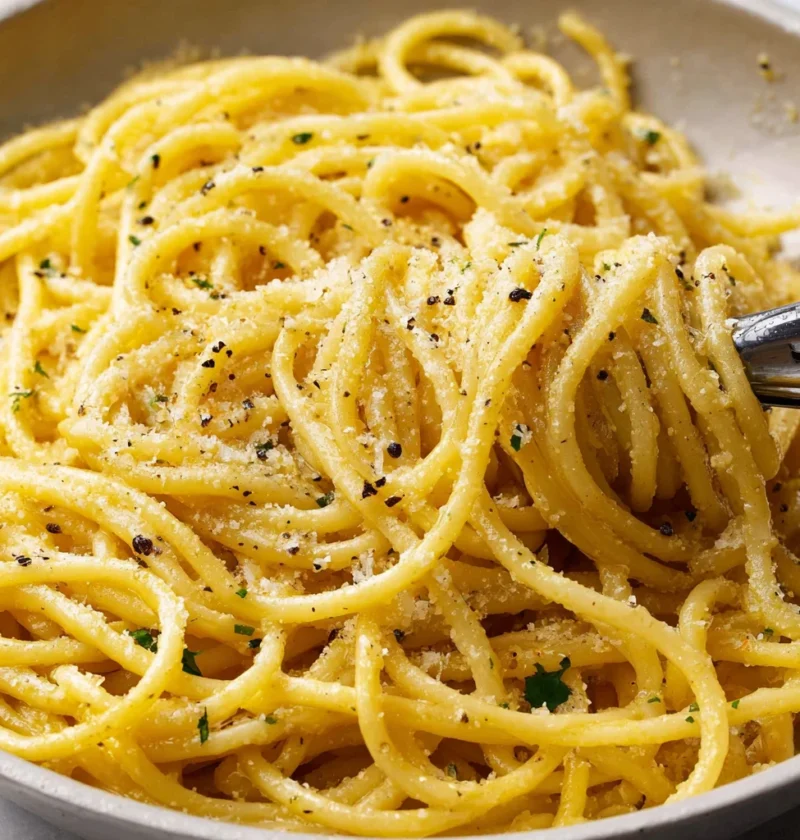
Discover the history, ingredients, and steps to recreate the iconic Italian Cacio e Pepe pasta dish. Simple yet sophisticated, it promises gourmet flavors.

Experience the vibrant flavors of Vietnamese Turmeric Sole Bowls with Vermicelli. A culinary journey embracing the essence of Vietnamese gastronomy.