The Best Oven Roasted Potatoes
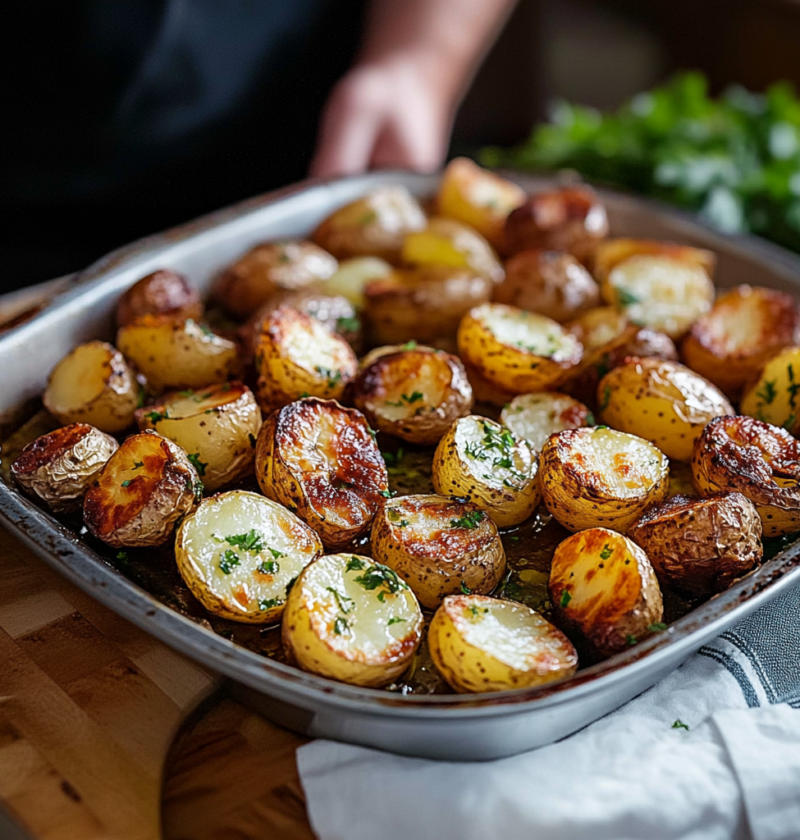
Jump to Recipe The Best Oven Roasted Potatoes Introduction Are you looking for the perfect side dish to accompany your main course? Look no further than these delicious and crispy oven roasted potatoes! Whether you’re hosting a dinner party or simply enjoying a cozy family meal, these potatoes are sure to impress. In this recipe, …