Cowboy Queso Recipe
Introduction
Imagine a bubbling pot of creamy, cheesy goodness with a hint of spicy kick – that’s exactly what Cowboy Queso brings to the t
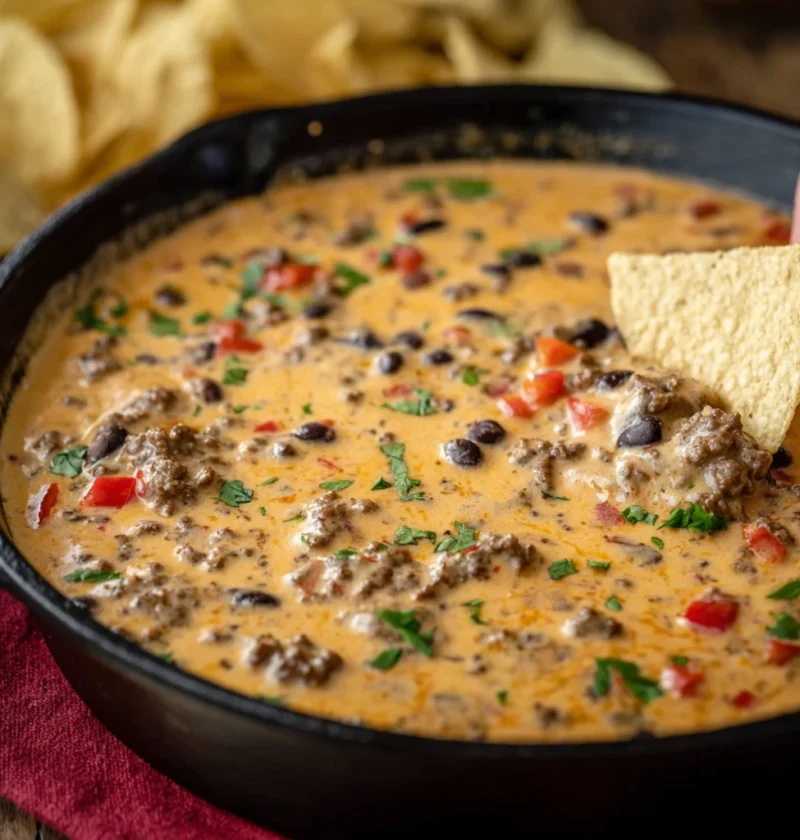
Imagine a bubbling pot of creamy, cheesy goodness with a hint of spicy kick – that’s exactly what Cowboy Queso brings to the t
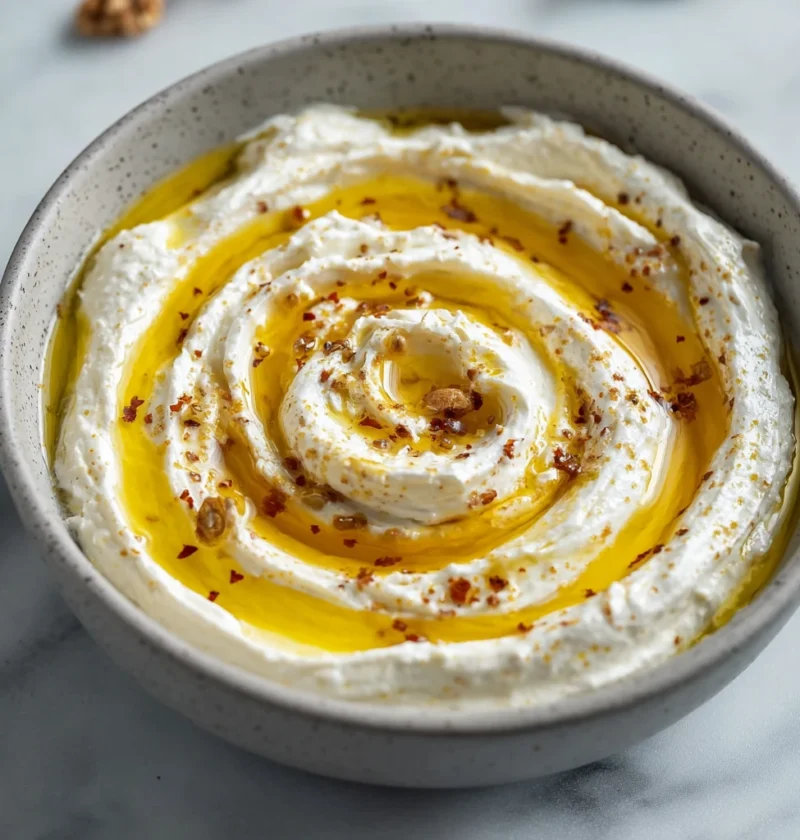
Welcome to a flavorful journey where creamy ricotta meets the spicy kick of hot honey in a tantalizing dip! Imagine the perfect.
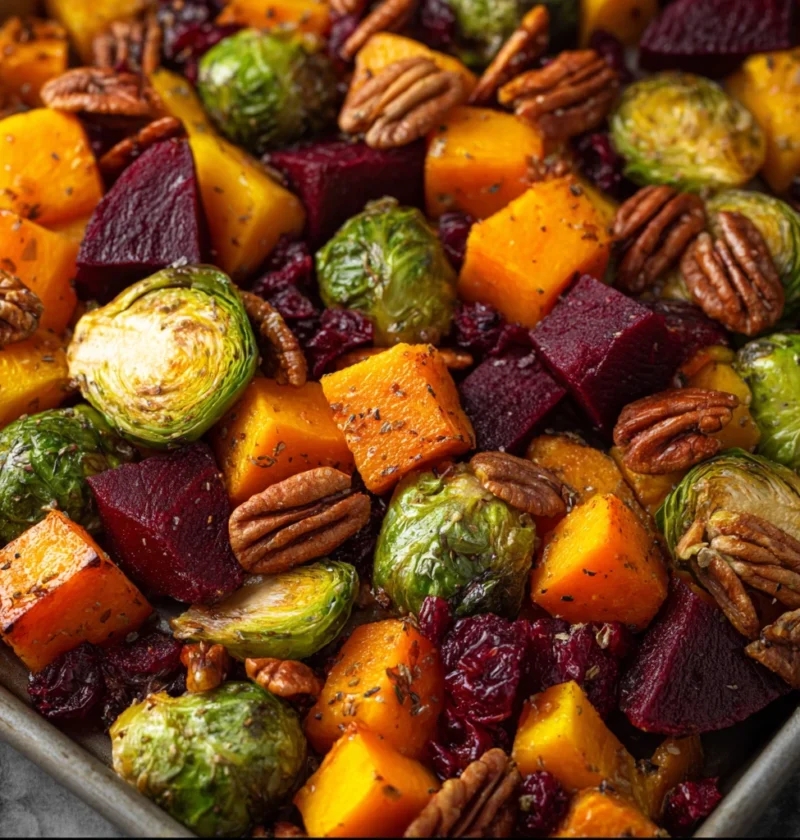
Imagine a vibrant plate filled with the colors of the season – deep green Brussels sprouts, ruby-red cranberries, earthy pecan
Imagine the delightful aroma of fresh herbs and roasted vegetables filling your kitchen, promising a mouthwatering culinary expe
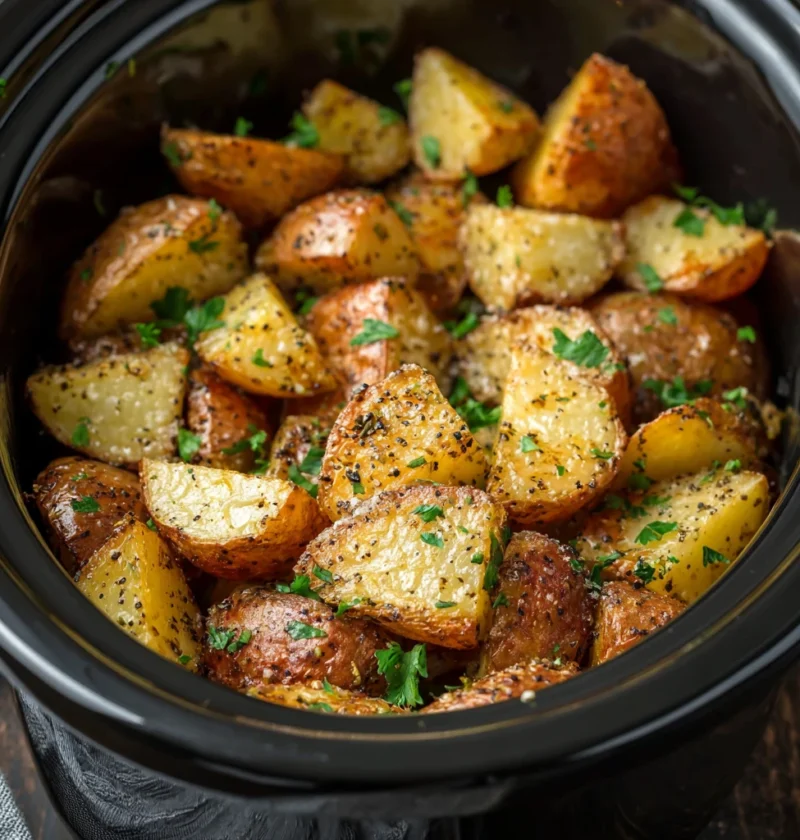
Welcome to a delicious culinary journey with our Crockpot Parmesan Roasted Potatoes recipe. Imagine the aroma of crispy, cheesy.
Thanksgiving is a time for family, gratitude, and of course, delicious food. As the holiday season approaches, we often find our
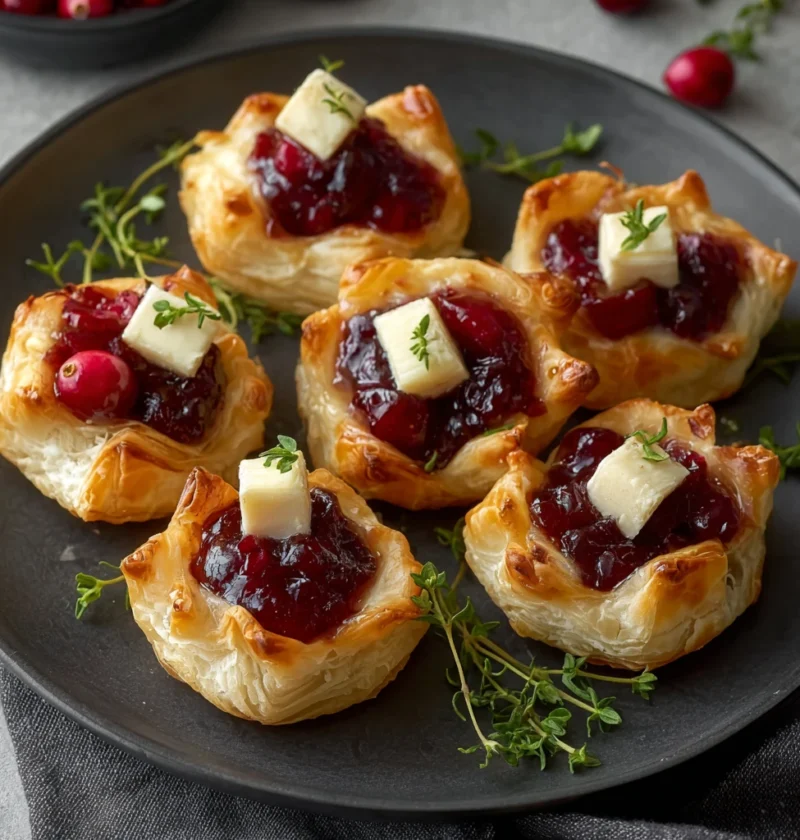
Welcome to the delightful world of Baked Cranberry Brie Bites! This recipe is a perfect combination of sweet, savory, and flaky.
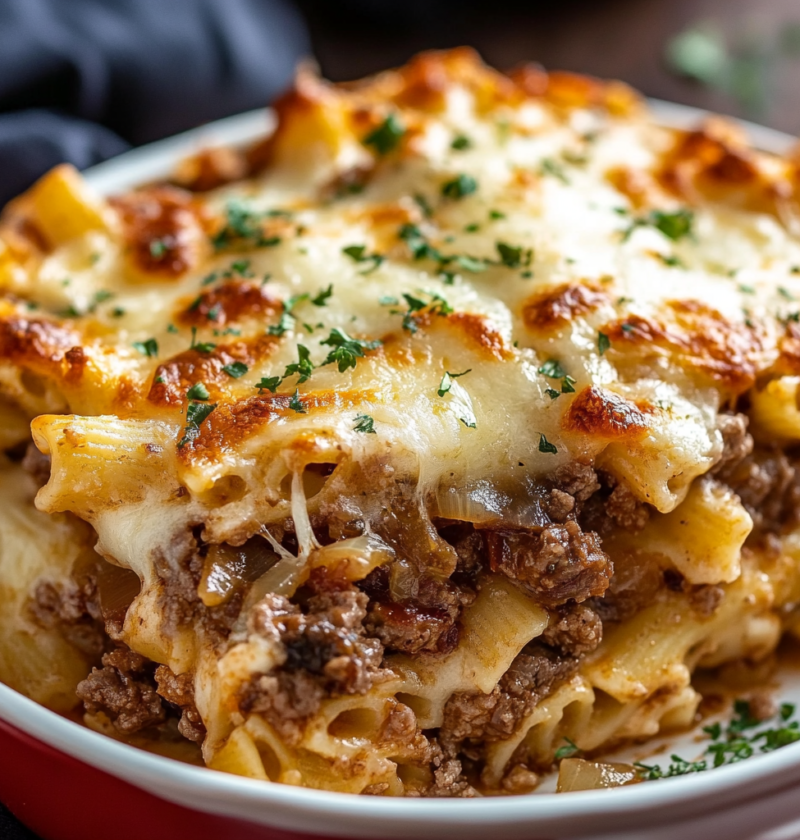
Jump to Recipe Introduction Welcome to the delectable world of French Onion Beef and Pasta Casserole! This hearty and flavorful dish is a comforting fusion of French onion soup and rich beef pasta, creating a culinary experience that will tantalize your taste buds. Whether you are cooking for a cozy family dinner or entertaining guests, …
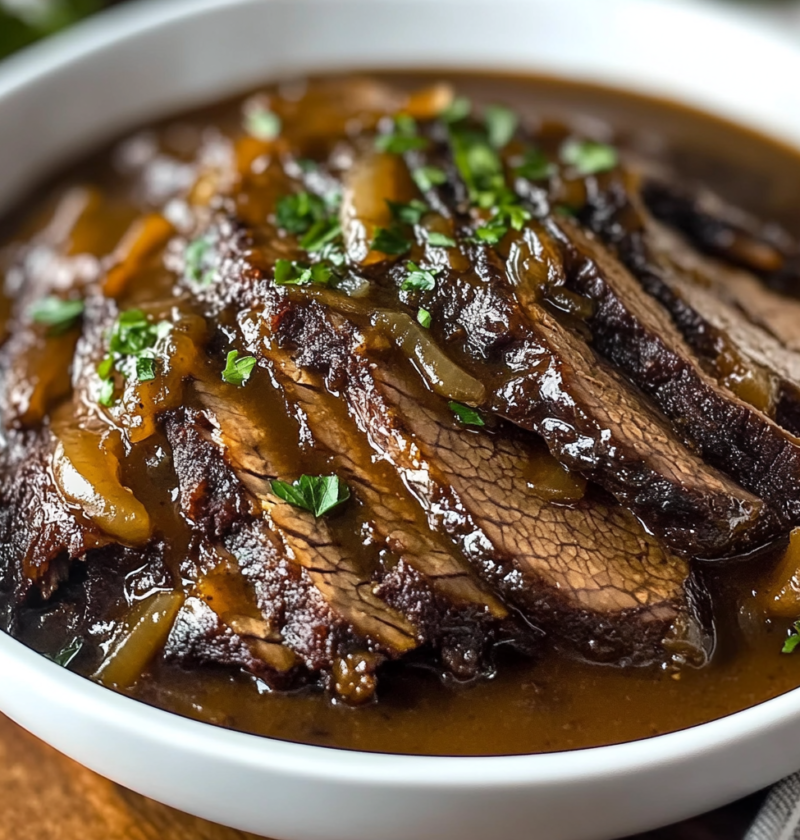
Jump to Recipe Introduction Imagine coming home to the enticing aroma of a flavorful and tender brisket simmering in a slow cooker, ready to be served with a rich balsamic onion gravy. This Slow Cooker Brisket with Balsamic Onion Gravy recipe is a true game-changer in the world of comforting and delicious meals. Whether you …
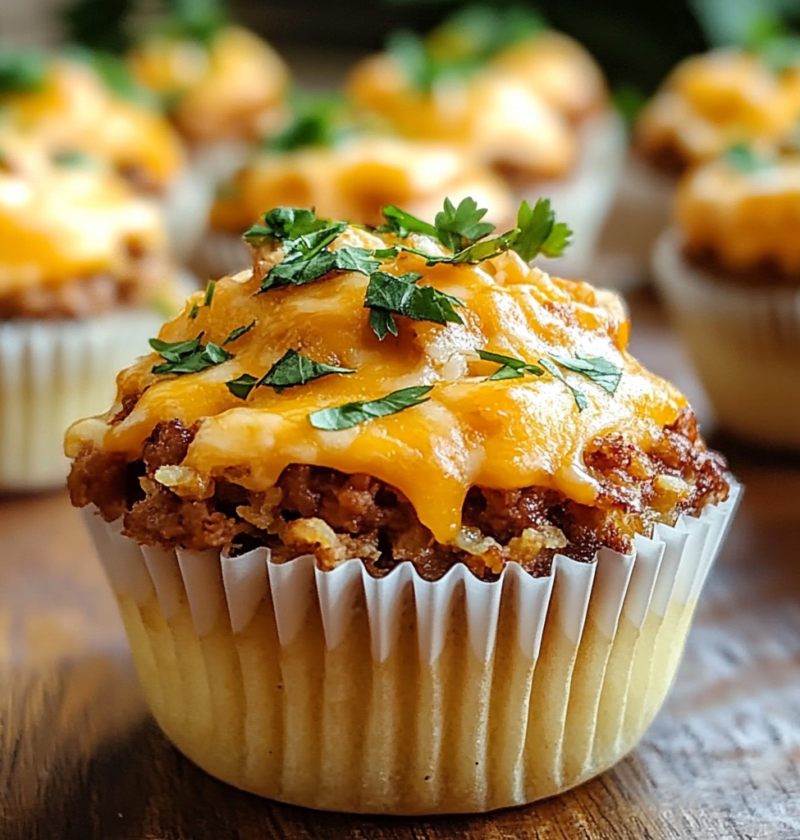
Introduction Welcome to a delightful culinary adventure with our Cheesy Taco Cupcakes recipe! Imagine the perfect blend of savory taco flavors enclosed in a fluffy, golden crust – these mouthwatering treats are not only delicious but also incredibly fun to make. Whether you’re hosting a party or simply craving a unique snack, these Cheesy Taco …