Roasted Mushrooms Browned Butter Garlic Thyme Sauce
Introduction
Imagine the aroma of earthy mushrooms, the richness of browned butter, the fragrance of garlic, and the herby notes of thyme all
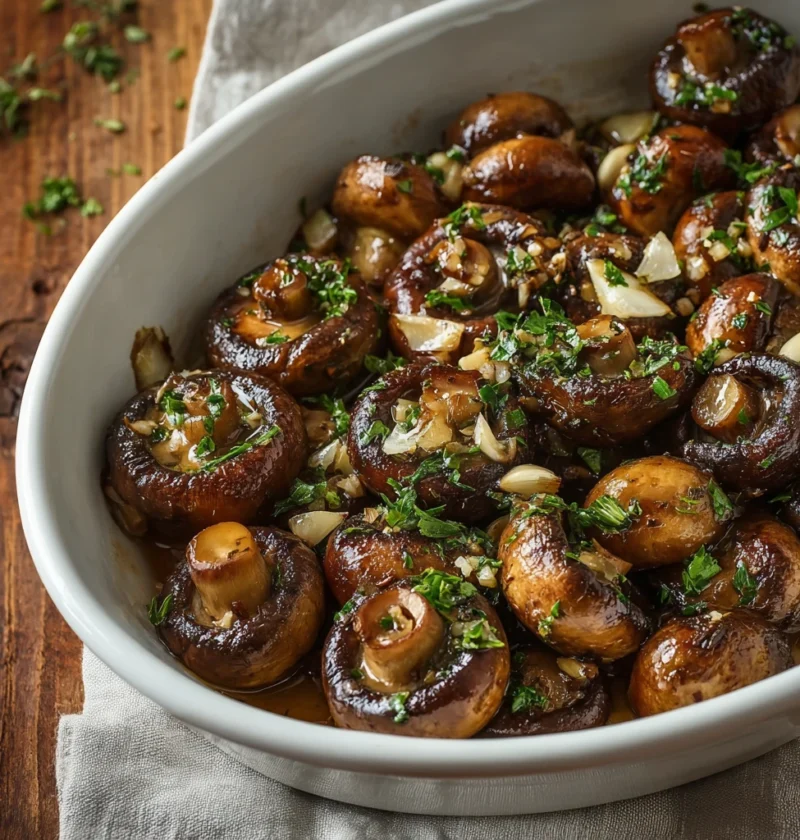
Imagine the aroma of earthy mushrooms, the richness of browned butter, the fragrance of garlic, and the herby notes of thyme all
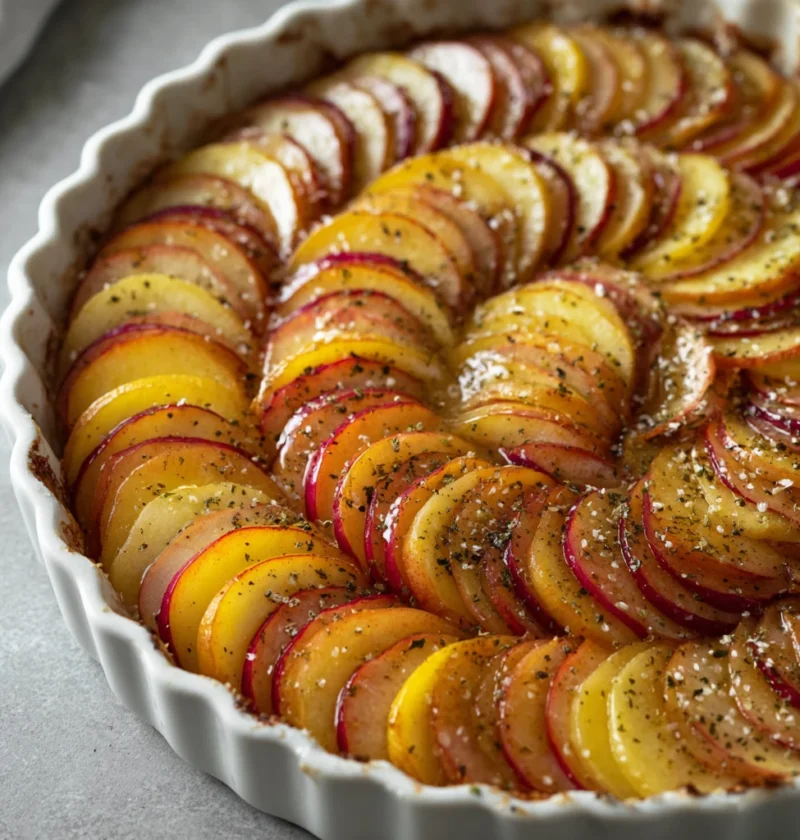
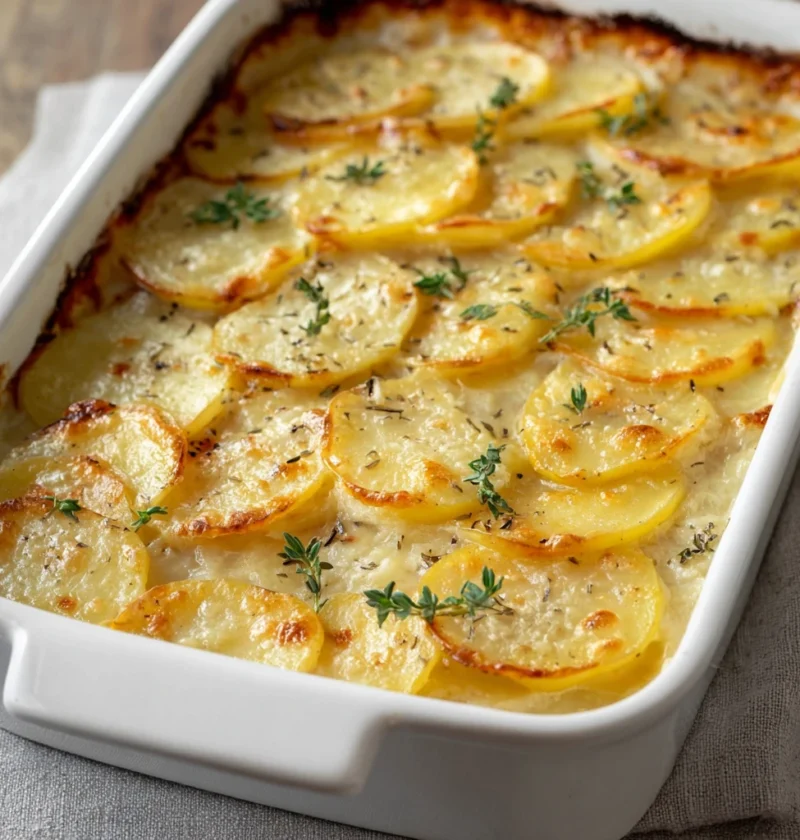
Welcome to a delightful culinary journey where we explore the delectable world of Cheesy Root Vegetable Gratin. Imagine the comf
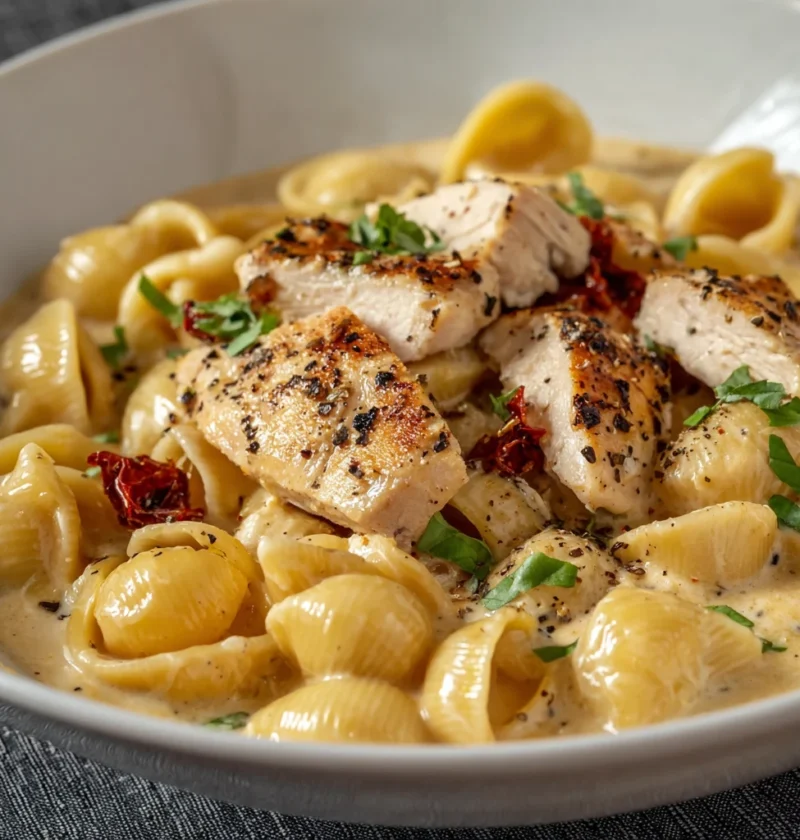
Welcome to the delightful world of Marry Me Chicken Soup! If you’re looking for a warm, comforting, and flavorful soup that will
Welcome to a delightful culinary journey that will transform your dining experience with the rich and creamy flavo
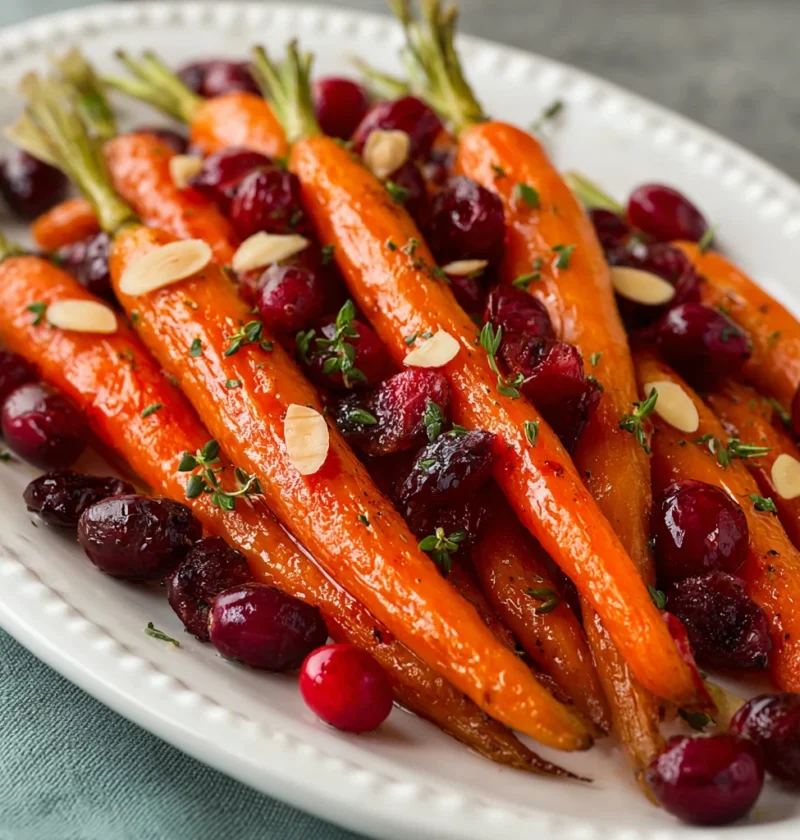
Imagine the delightful aroma of sweet maple syrup mingling with the earthy sweetness of roasted carrots, all punctuated by burst
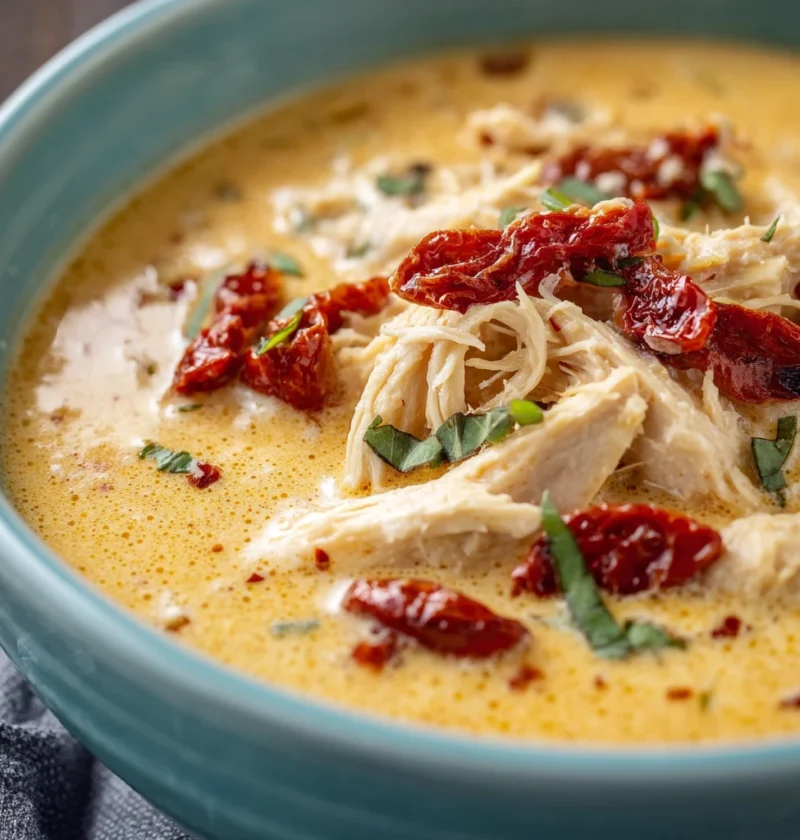
Welcome to a delightful culinary journey where we explore the savory world of Crockpot Marry Me Chicken Soup. Imagine the aroma.
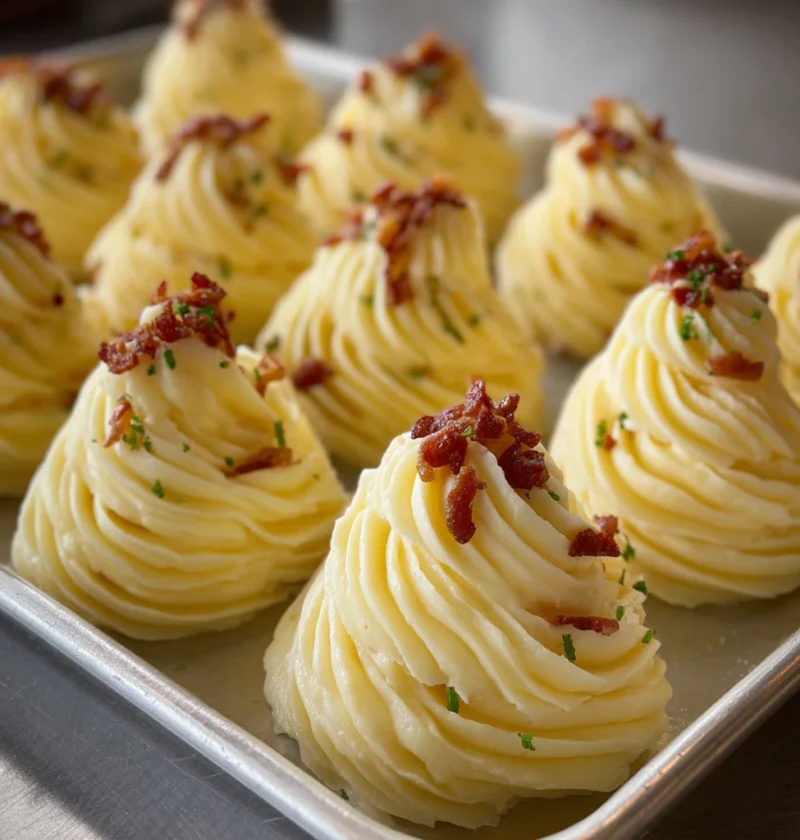
Imagine a dish that combines the creamy comfort of mashed potatoes with the elegance of a beautifully piped presentation. Duches