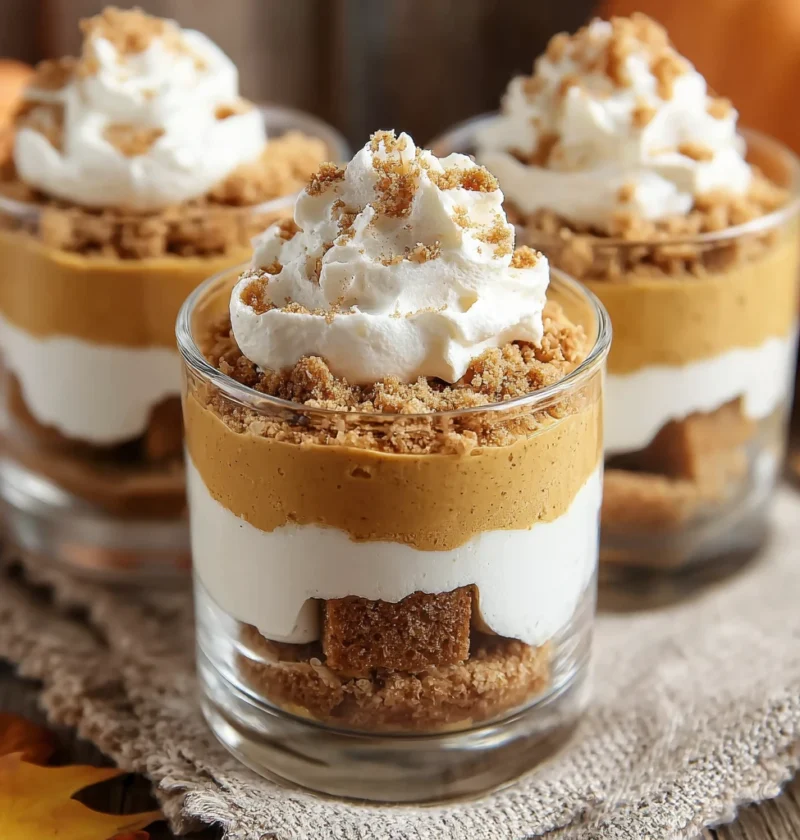
Pumpkin Cheesecake Mini Trifles: An Incredible Ultimate Recipe
Indulge in creamy pumpkin cheesecake mini trifles with gingersnap crumbs – a festive treat perfect for Thanksgiving or fall cravings. Learn to craft these.
Indulge in creamy pumpkin cheesecake mini trifles with gingersnap crumbs – a festive treat perfect for Thanksgiving or fall cravings. Learn to craft these.
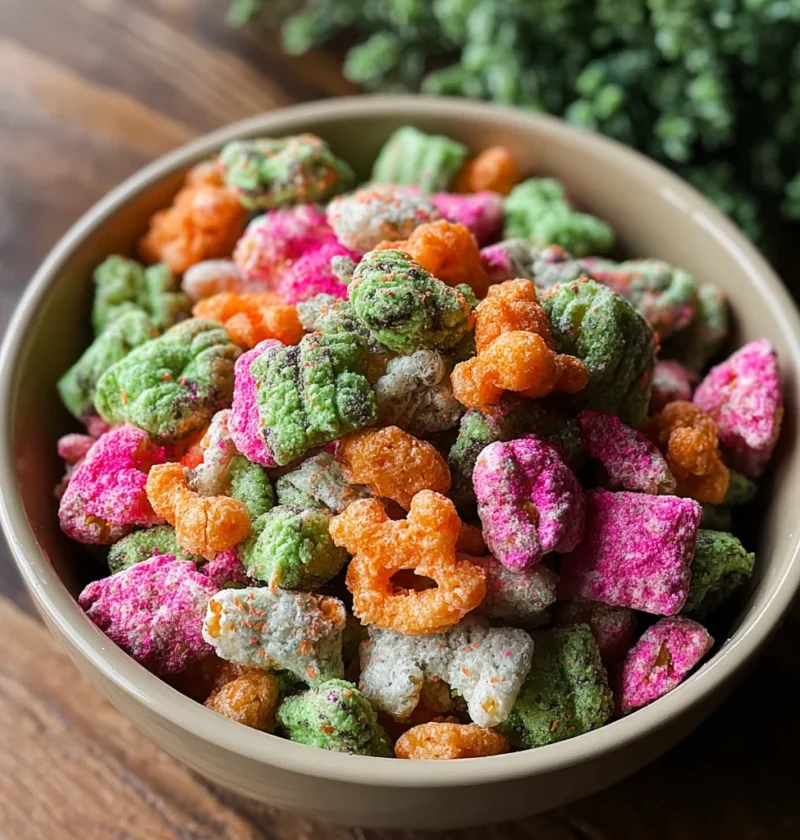
Learn how to make zombie muddy buddies, a spooky twist on classic muddy buddies perfect for Halloween parties. Get the recipe and expert tips here!

Discover the best white chicken chili mac and cheese recipe – a perfect fusion of comfort foods with creamy cheese, tender chicken, and flavorful spices.

Delight in the rich flavors of fall with a creamy pumpkin alfredo pasta recipe that merges comfort with gourmet. Find out how to create this versatile dish
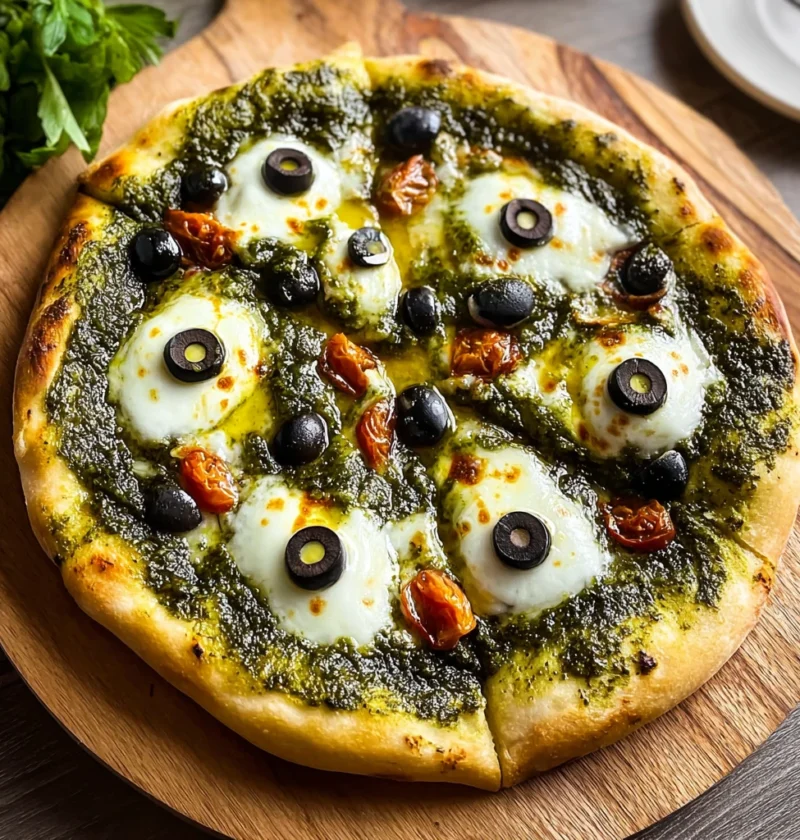
Unleash a spellbinding culinary experience with the ultimate Witch’s Brew Pesto Pizza recipe. Elevate your pizza game with authentic flavors and expert t
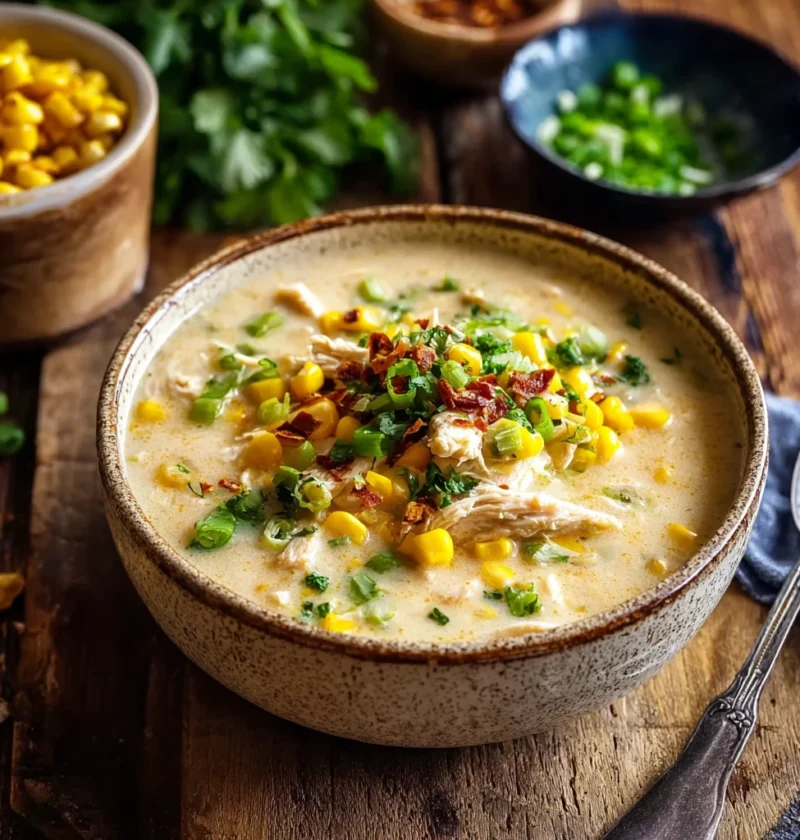
Discover the ultimate guide to crafting a delightful White Chicken Chili Corn Chowder – a fusion of creamy comfort with tender chicken, sweet corn, and a h
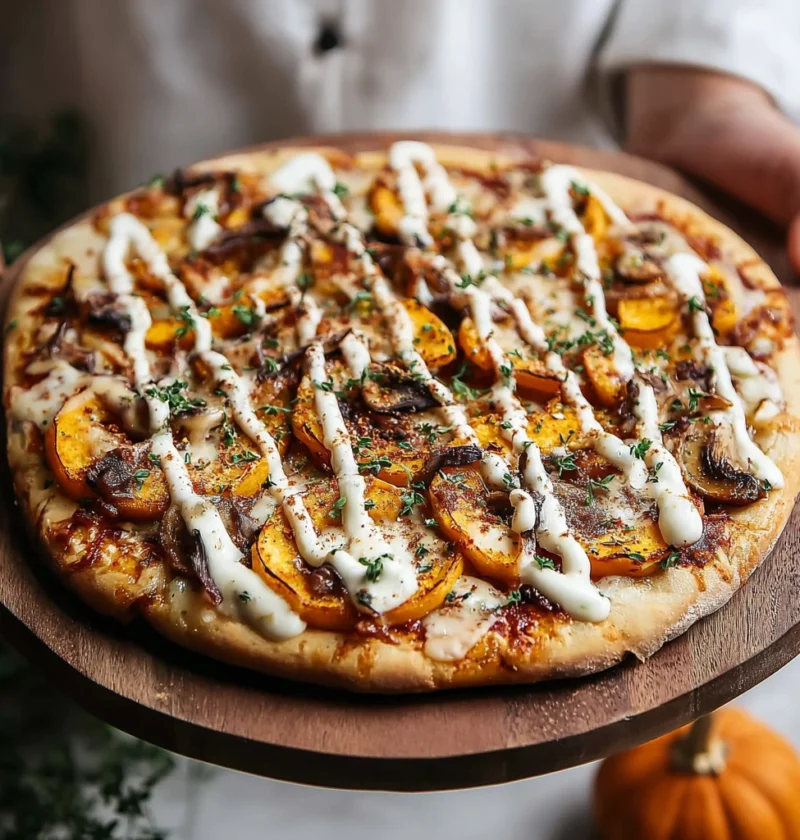
Indulge in the world of pumpkin spice dessert pizza with a luscious cream cheese spread and pecan crunch. Discover an easy, gourmet recipe for a delectable

Imagine biting into a crispy, flavorful appetizer that combines the richness of spinach and the tanginess of artichokes, all nes
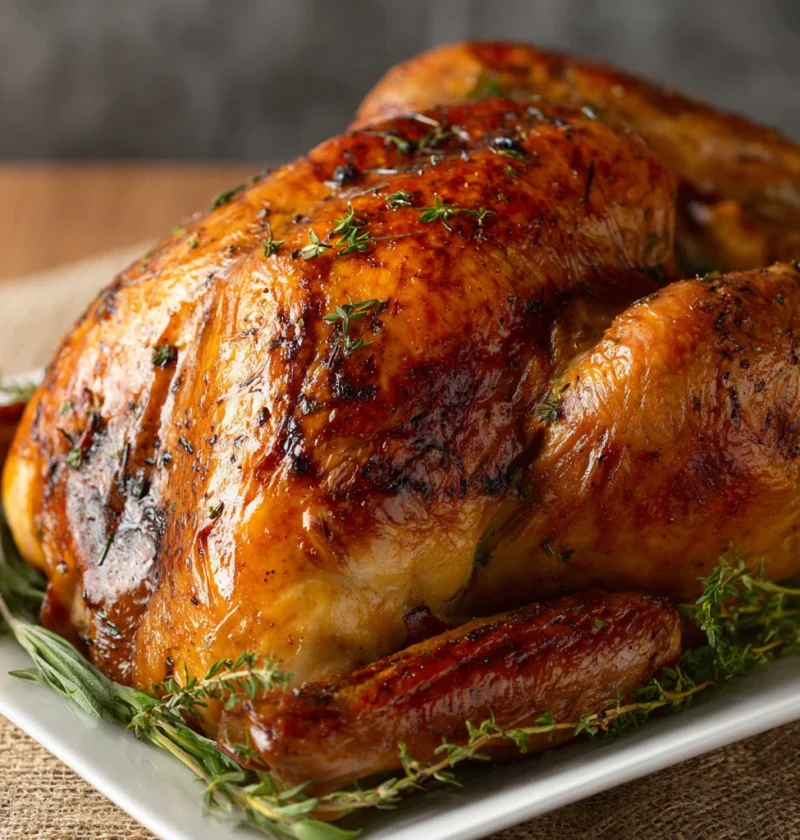
Welcome to our Tasty Roast Turkey Recipe guide, where we will take you on a flavorful journey through the art of creating a mout
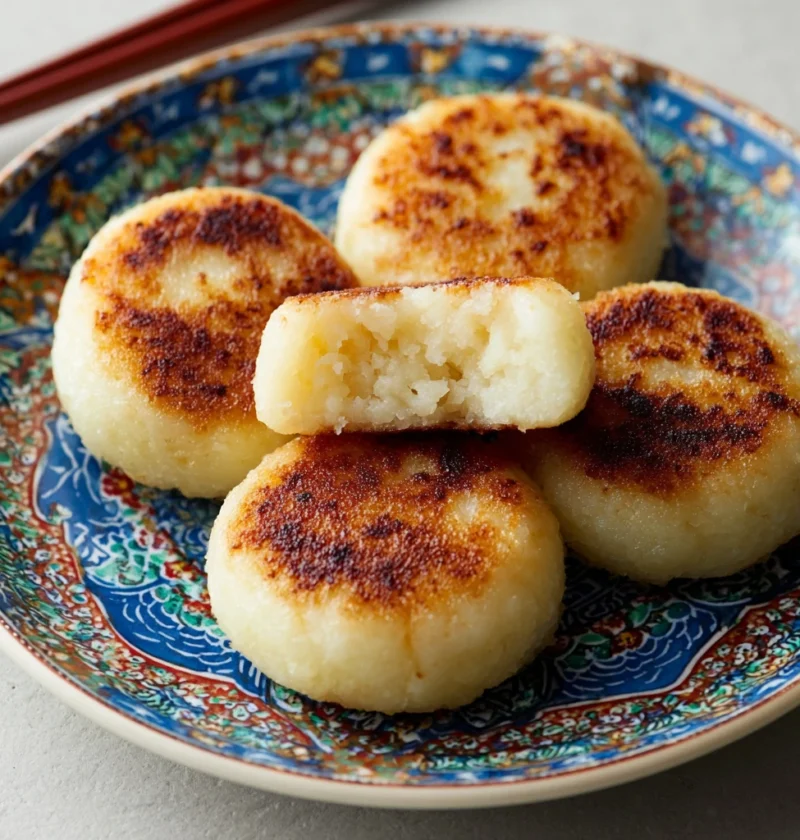
Have you ever tried the delightful Japanese Potato Mochi? This unique and delicious recipe combines the goodness of potatoes wit