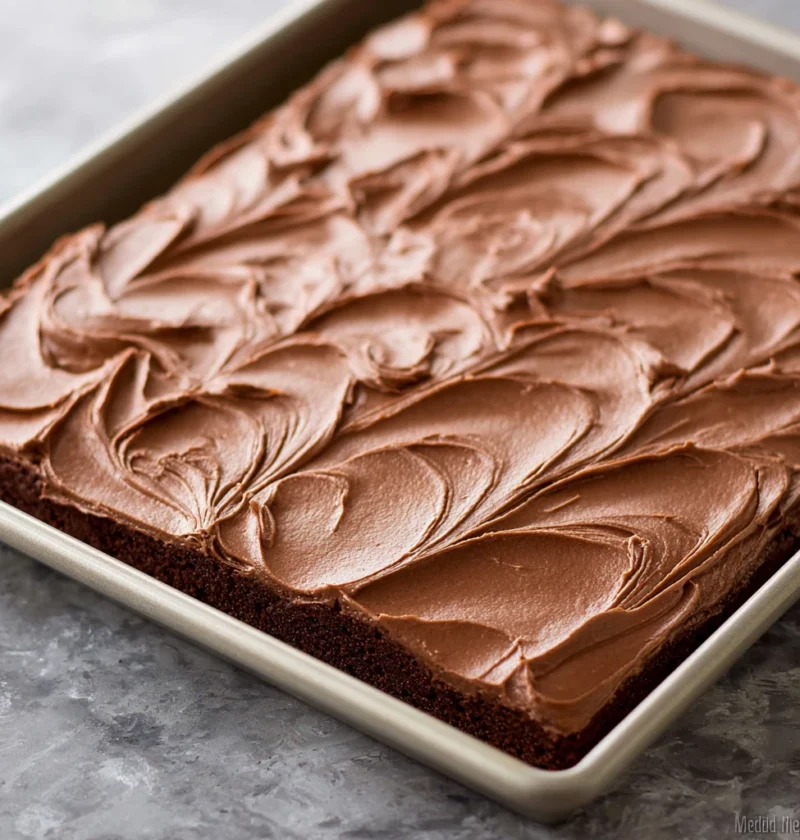
Chocolate Sheet Cake
Indulge in the decadent world of chocolate with a delightful Chocolate Sheet Cake recipe. Perfect for any occasion, this rich and moist dessert is sure to.
Indulge in the decadent world of chocolate with a delightful Chocolate Sheet Cake recipe. Perfect for any occasion, this rich and moist dessert is sure to.

Indulge in the delightful flavors of Slow Cooker Sweet and Spicy Coconut Chicken – a unique culinary journey that balances sweetness and spice harmoniously
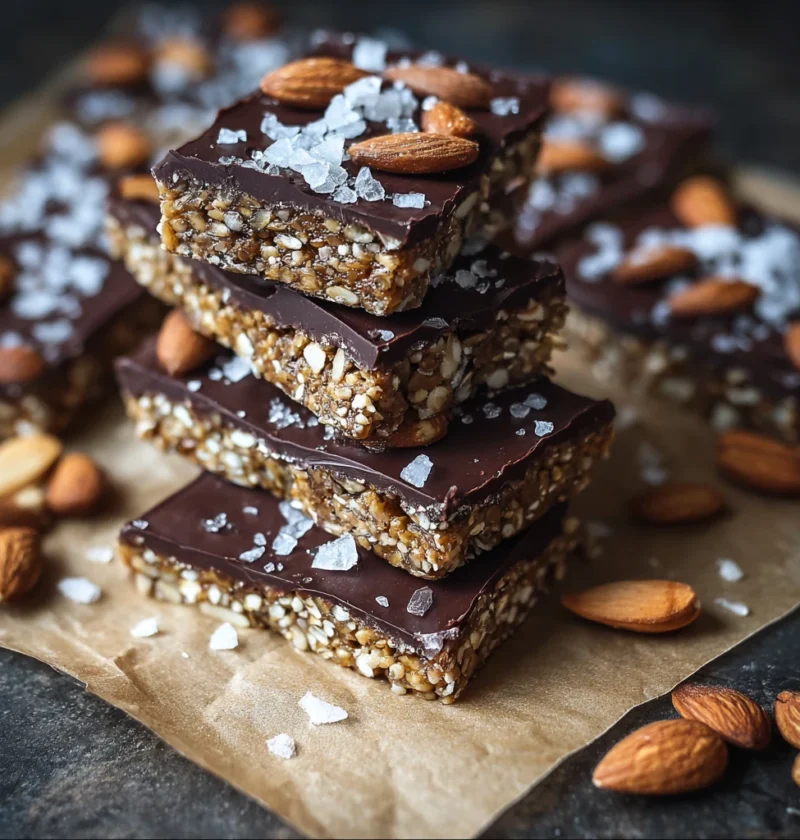
Indulge in the perfect harmony of rich dark chocolate, crunchy nuts, and a hint of sea salt with Crunchy Dark Chocolate & Sea Salt Nut Bars. Find out how t

Prepare Glazed Grilled Shrimp with Honey Marinade for a delightful twist on classic seafood. An easy, flavorful dish perfect for any occasion!

Discover the magic of Irish Soda Bread Muffins—a modern twist on a beloved classic recipe. From savory flavors to easy preparation, these delights are su
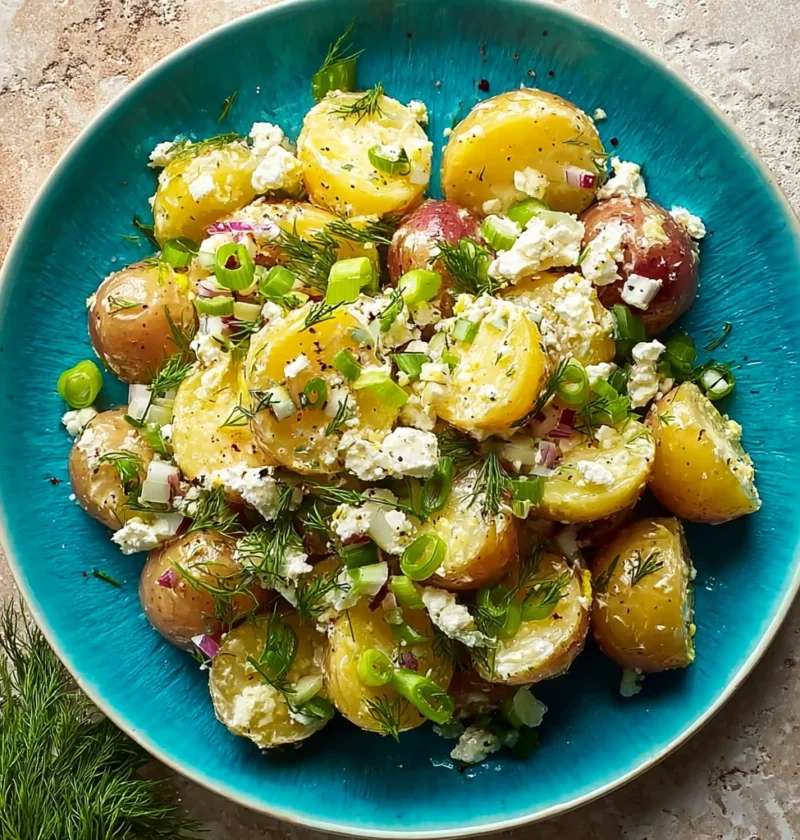
Discover the vibrant flavors of Greece with a classic Tangy Greek Potato Salad with Feta. A celebration of Mediterranean goodness in every bite!
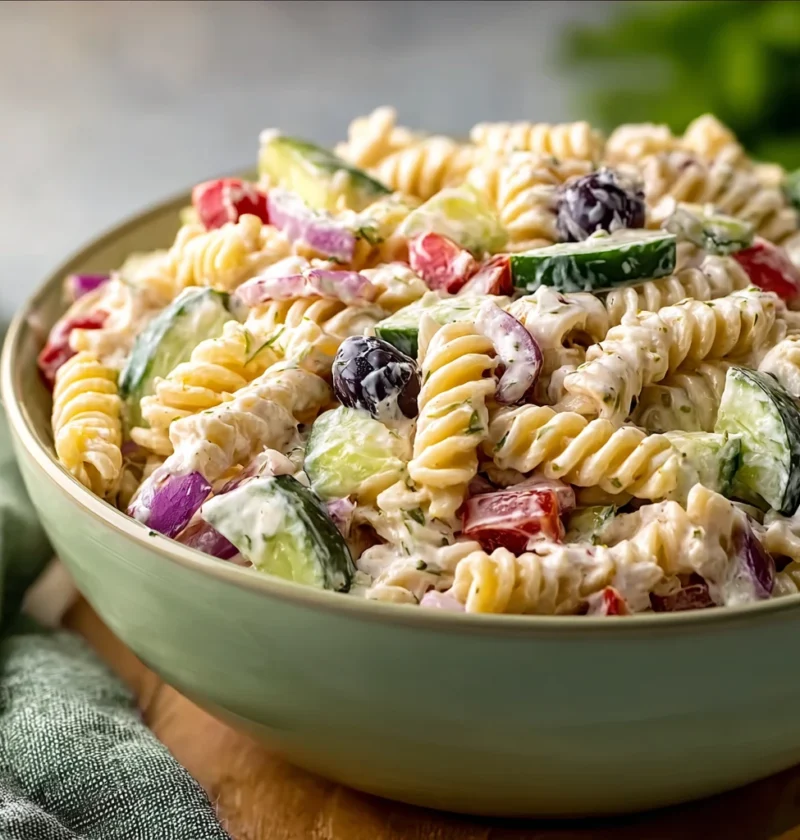
Discover the simplicity and deliciousness of a Quick Pasta Salad with Greek Yogurt Dressing recipe, marrying Mediterranean flavors and creamy textures for.
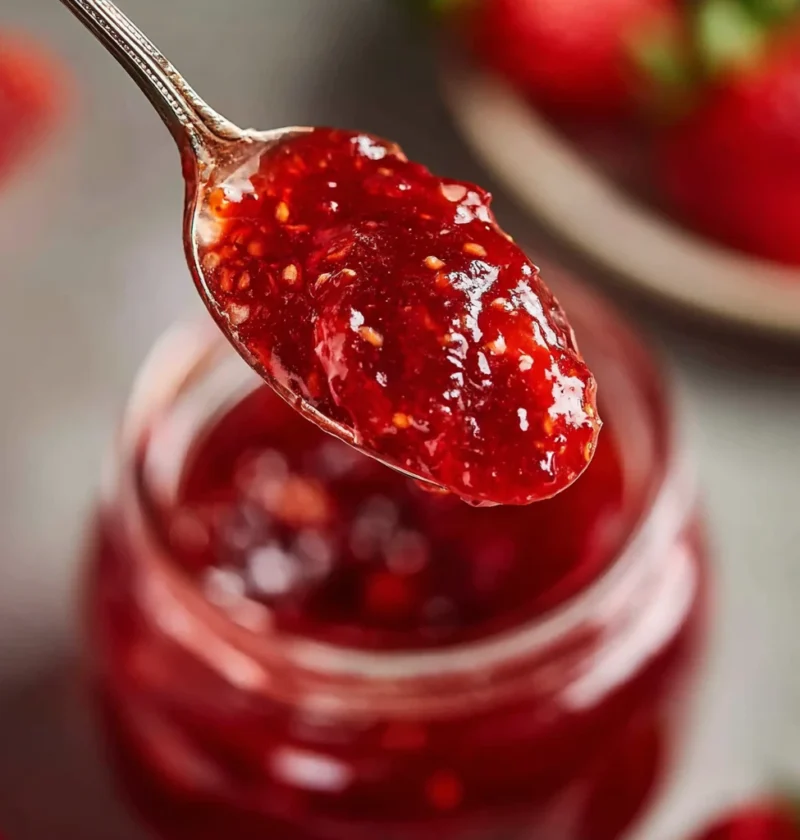
Delve into the delightful world of Quick Strawberry Rhubarb Jam with this timeless recipe that combines sweet strawberries and tangy rhubarb for a perfect.

Indulge in the cozy goodness of Hamburger Tater Tot Casserole – a comfort food classic with a twist! Discover the recipe, variations, and expert tips here.
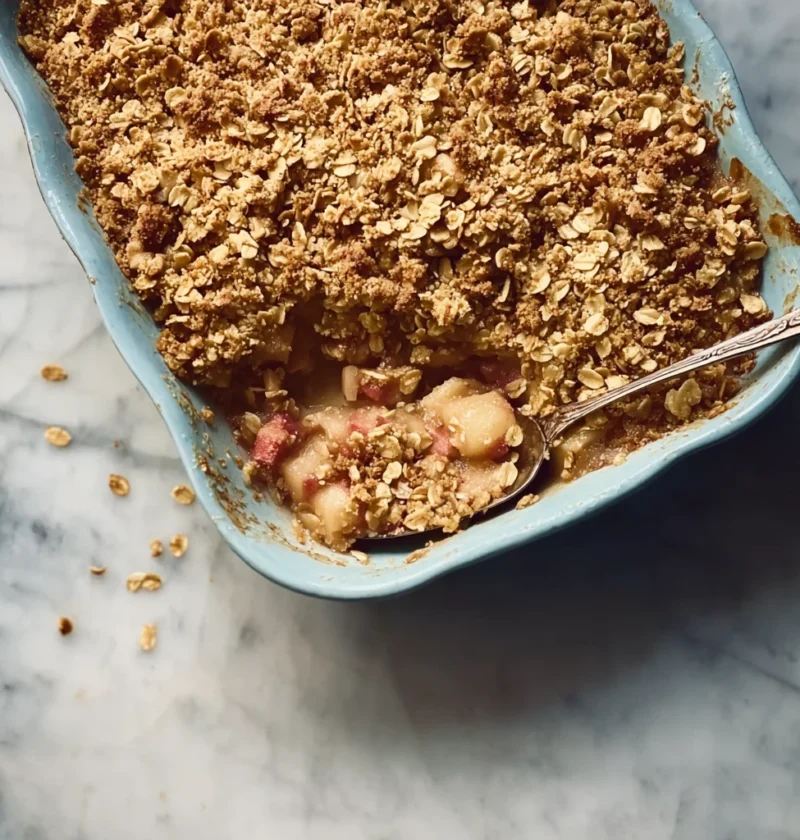
Discover the magic of a Best Apple Rhubarb Crisp. Easy to make, versatile, and customizable, this recipe promises a delightful blend of flavors and pure de