Cheesy Gluten Free Broccoli Cheese Casserole
Indulge in the delight of Cheesy Gluten-Free Broccoli Cheese Casserole – a comforting dish blending broccoli, cheese, and convenience into a flavorful glut
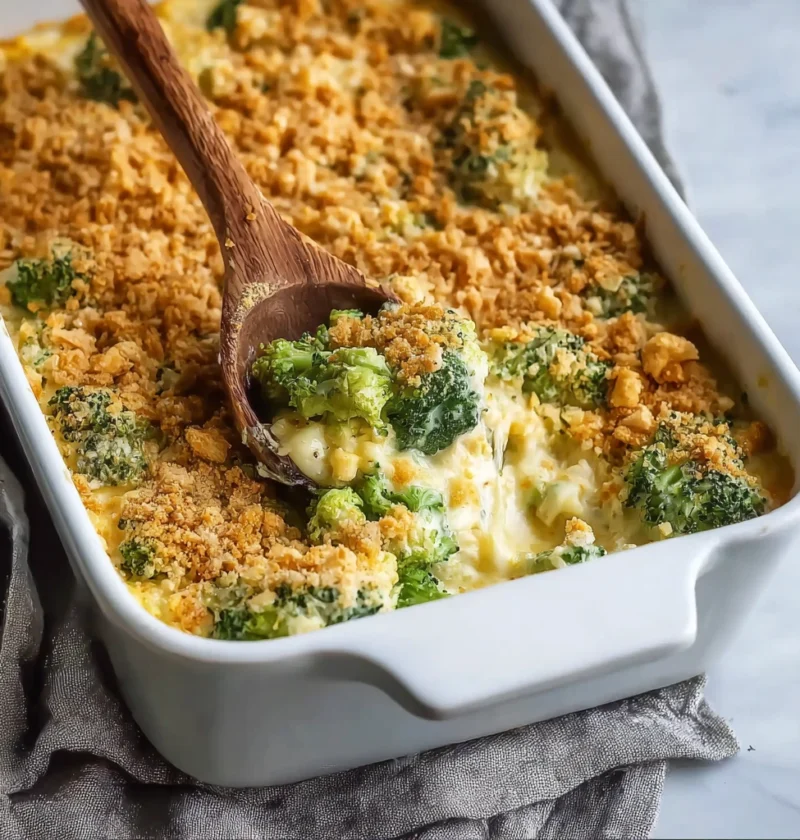
Indulge in the delight of Cheesy Gluten-Free Broccoli Cheese Casserole – a comforting dish blending broccoli, cheese, and convenience into a flavorful glut

Savor the magic of fall with sweet pumpkin cheesecake oatmeal bars. Indulgent, wholesome, and versatile, this recipe is a must-try for pumpkin lovers.
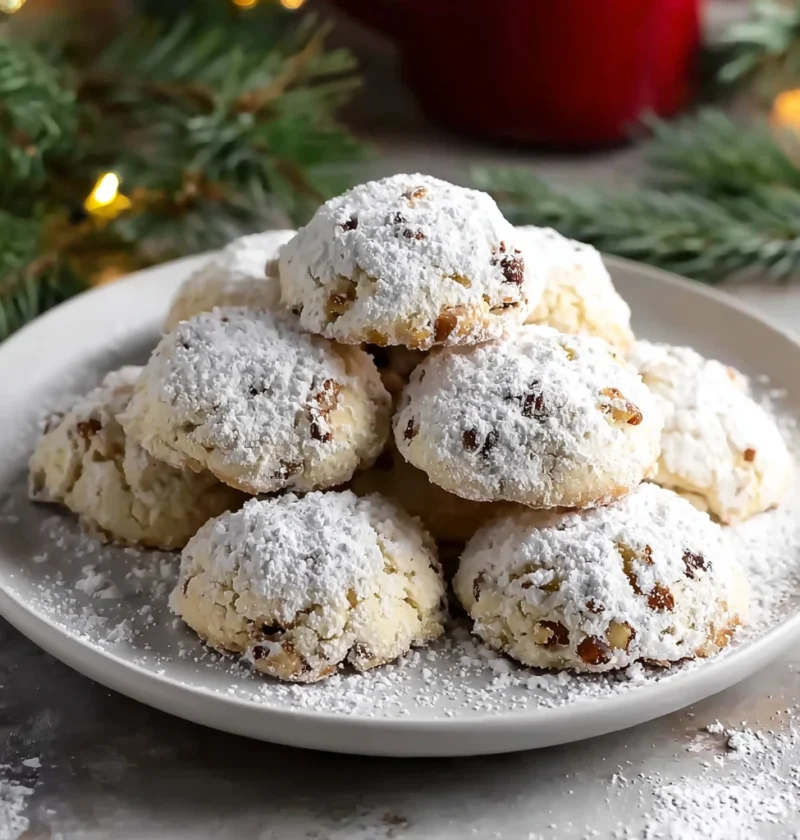
Delight in the festive spirit with soft Christmas macadamia nut cookies! Discover a perfect balance of flavors in this easy-to-make recipe for a holiday fa
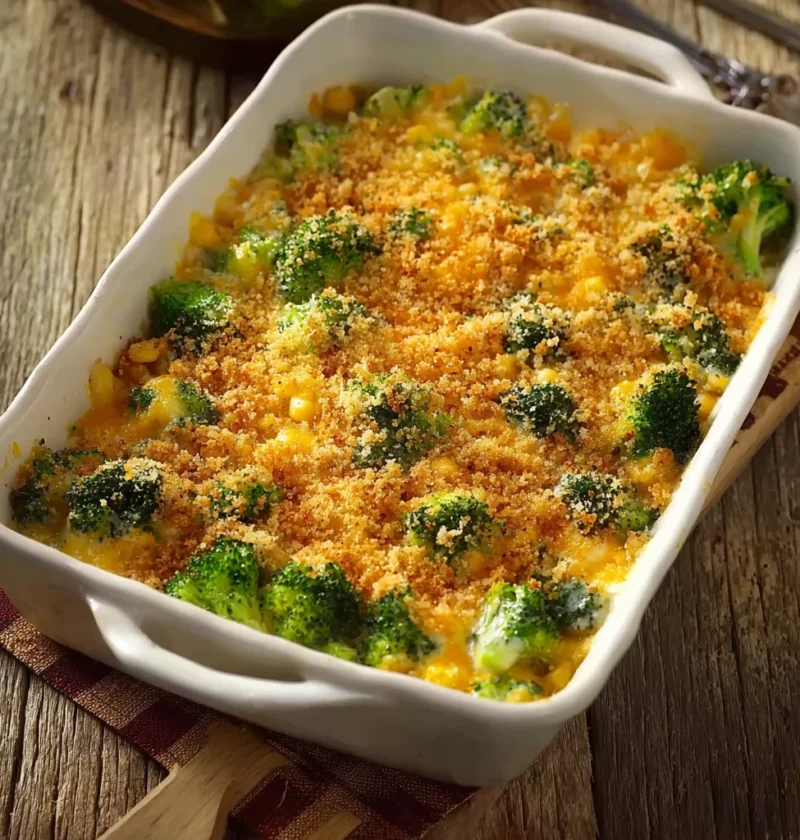
Delight in a culinary adventure with an easy broccoli corn casserole recipe that blends broccoli and corn for a flavorful and comforting dish.
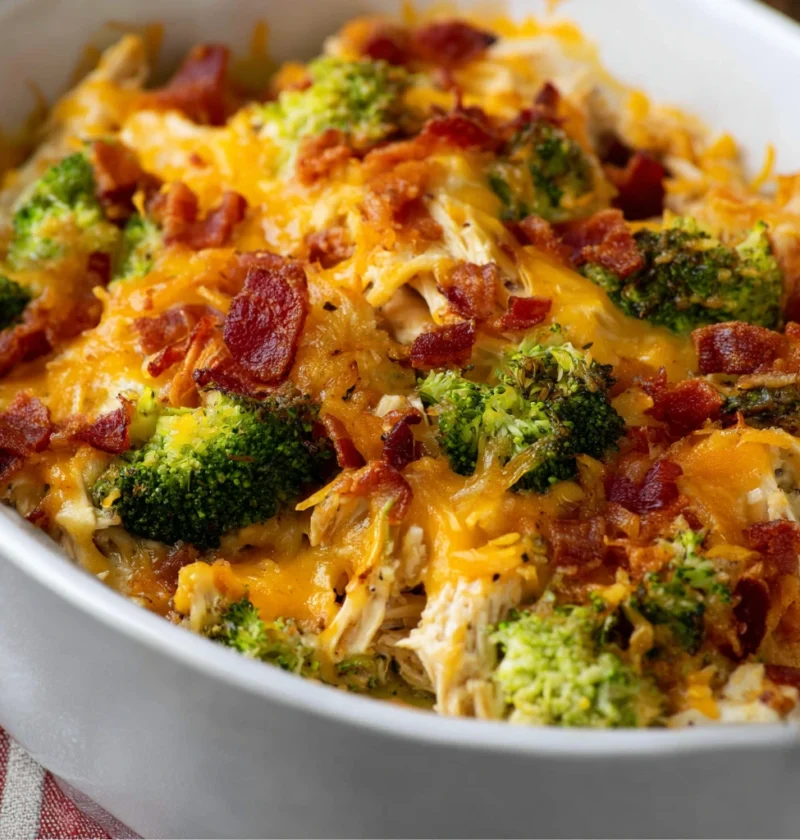
Discover a world of easy low carb chicken casseroles perfect for your keto lifestyle. Explore flavorful recipes and expert tips for wholesome, satisfying m

Discover a wholesome and flavorful journey with our easy crock pot buffalo chicken dip recipe. Perfect for gatherings or a cozy night in.
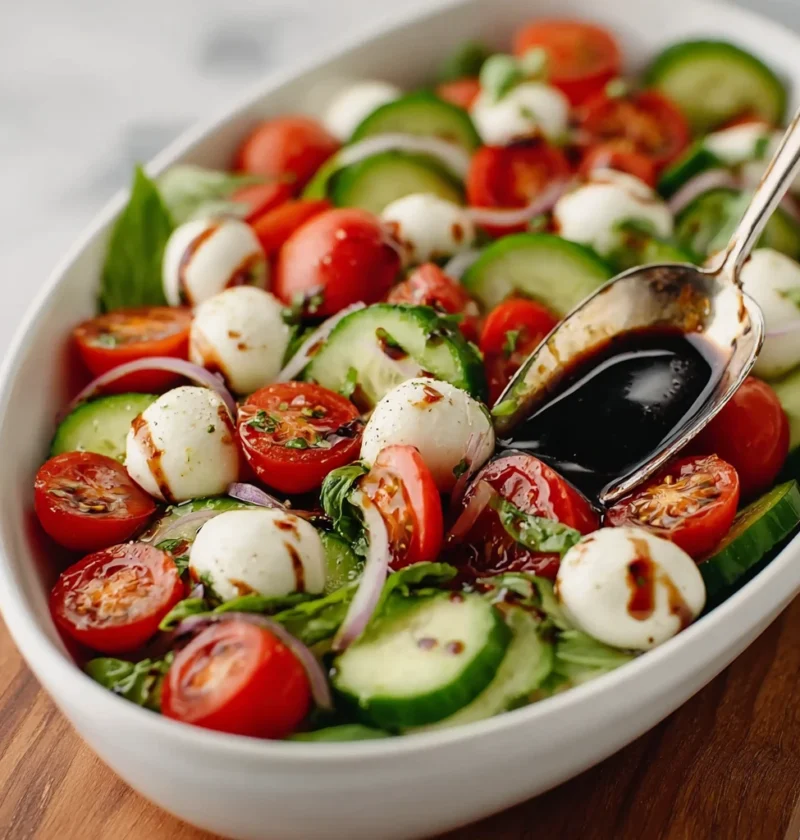
Discover the best fresh cucumber caprese salad recipe featuring a vibrant mix of cucumbers, mozzarella, and balsamic glaze. A delicious, versatile, and eas
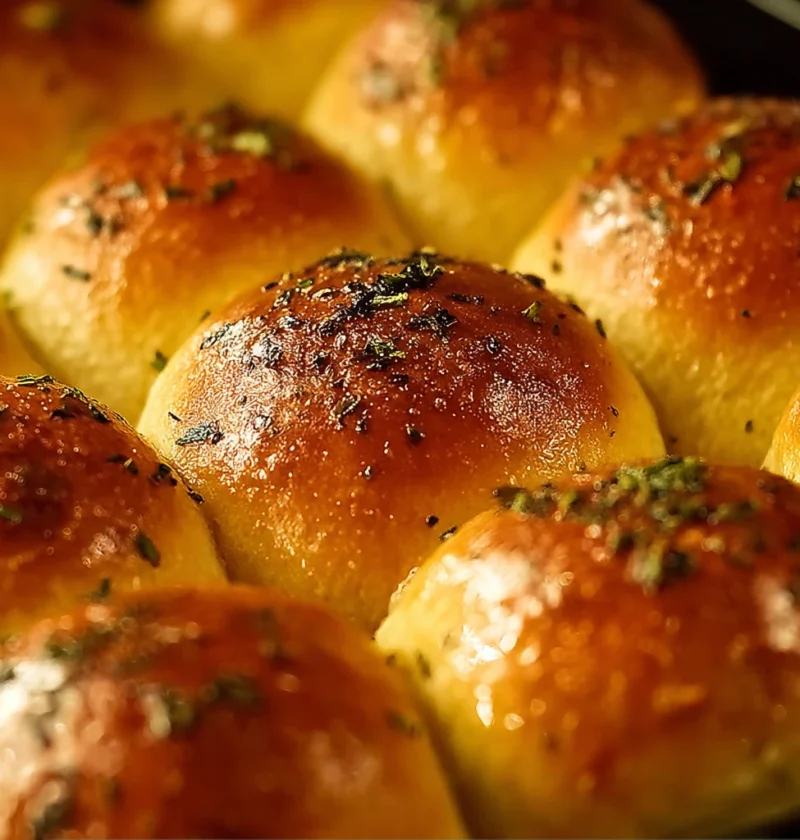
Learn how to create mouthwatering dinner rolls using easy frozen bread dough. Elevate any meal with these convenient and delicious homemade rolls.
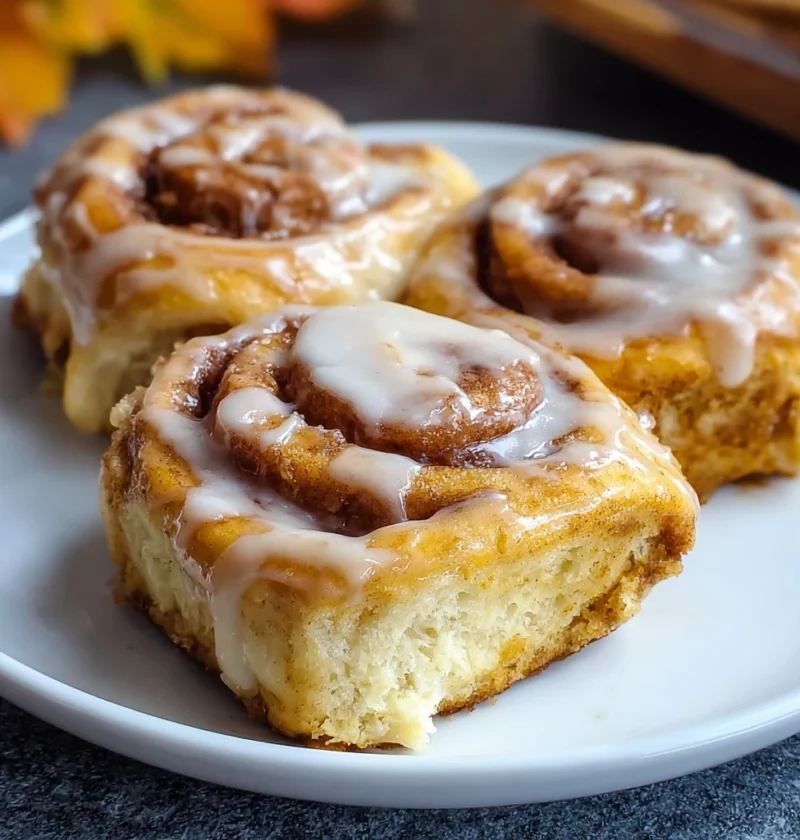
Elevate your baking game with the best pumpkin spice cinnamon rolls recipe. Indulge in low-sugar, gluten-free rolls with cream cheese frosting – a delightf
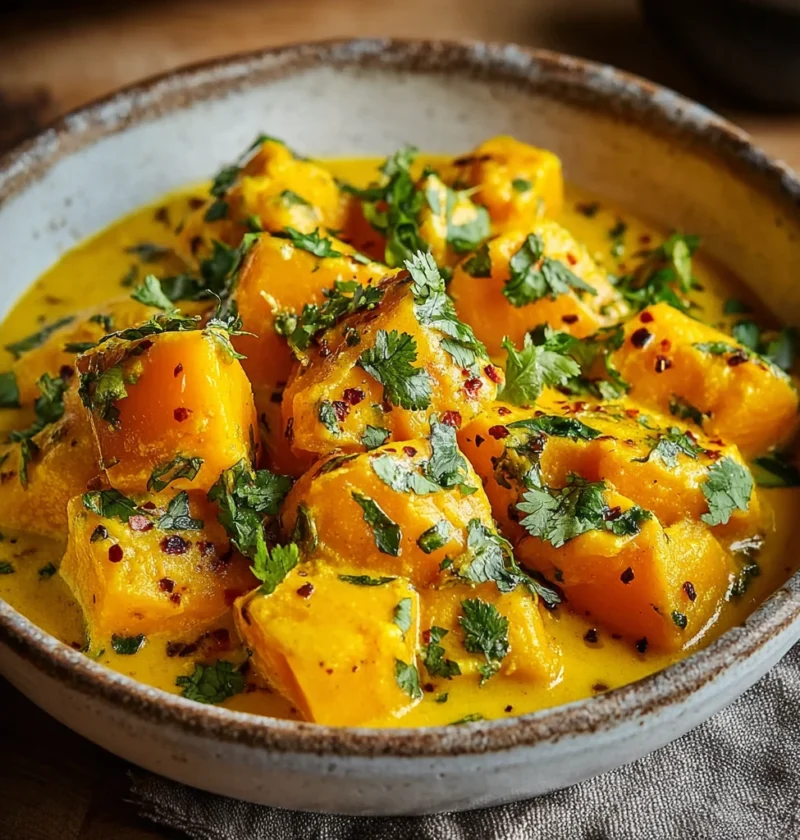
Discover the best butternut squash coconut curry recipe that combines exotic flavors with creamy coconut milk. Vegan, gluten-free, and easily customizable.