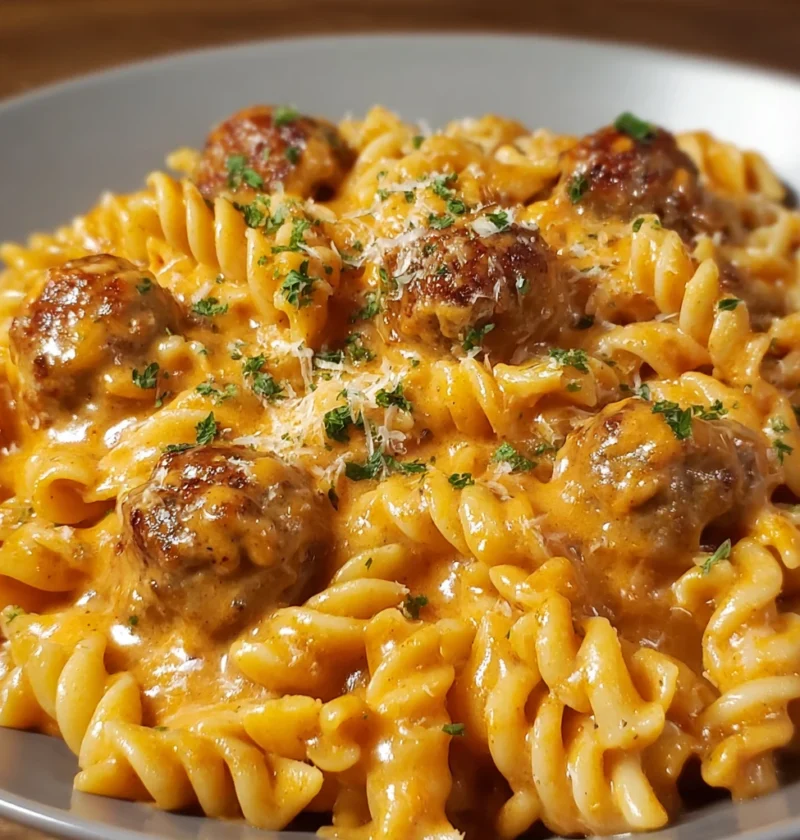
Creamy Cheddar BBQ Ranch Meatball Pasta
Discover the magic of Creamy Cheddar BBQ Ranch Meatball Pasta, a symphony of flavors that promises to tantalize your senses and elevate your culinary skill
Discover the magic of Creamy Cheddar BBQ Ranch Meatball Pasta, a symphony of flavors that promises to tantalize your senses and elevate your culinary skill
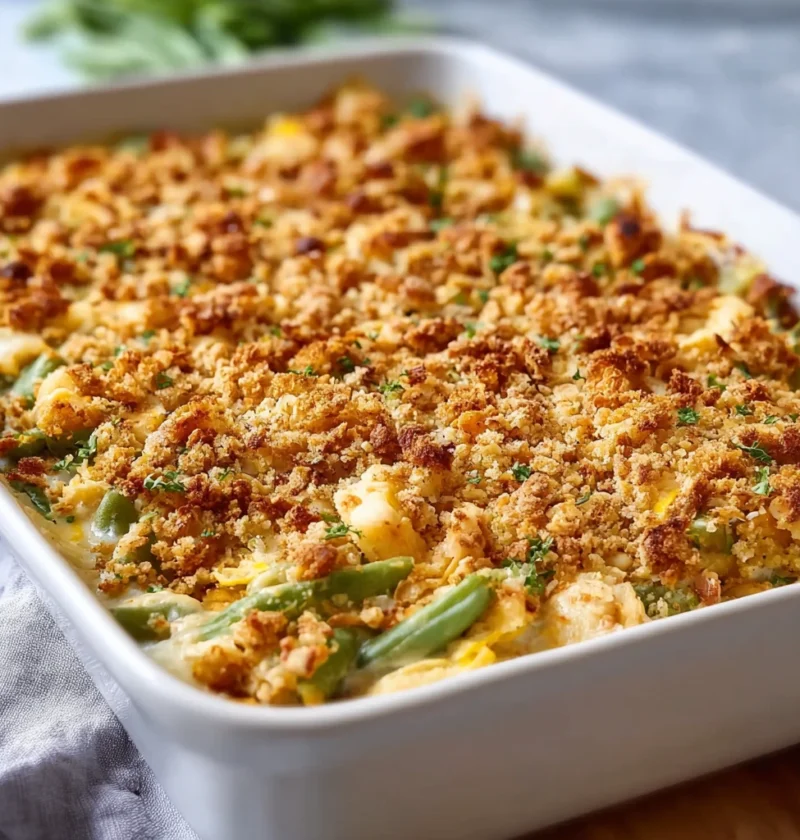
Delight in the comfort of homemade chicken and green bean casserole: easy, flavorful, and versatile. A creamy dish that’s perfect for any occasion.
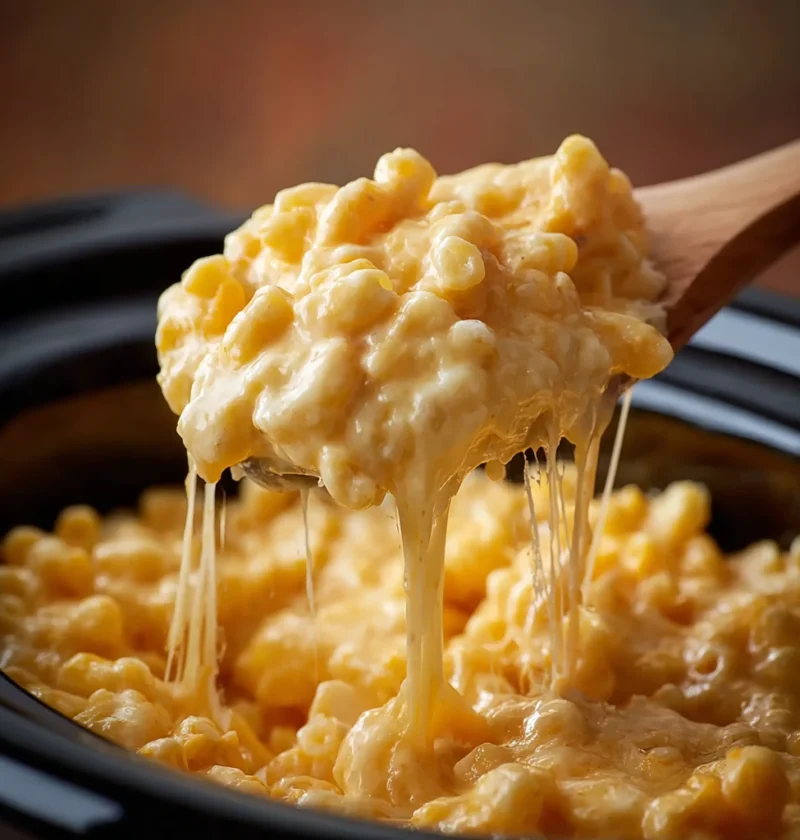
Indulge in the world of delicious slow-cooked comfort food with this irresistible crockpot mac and cheese recipe. Perfect for all palates and dietary prefe
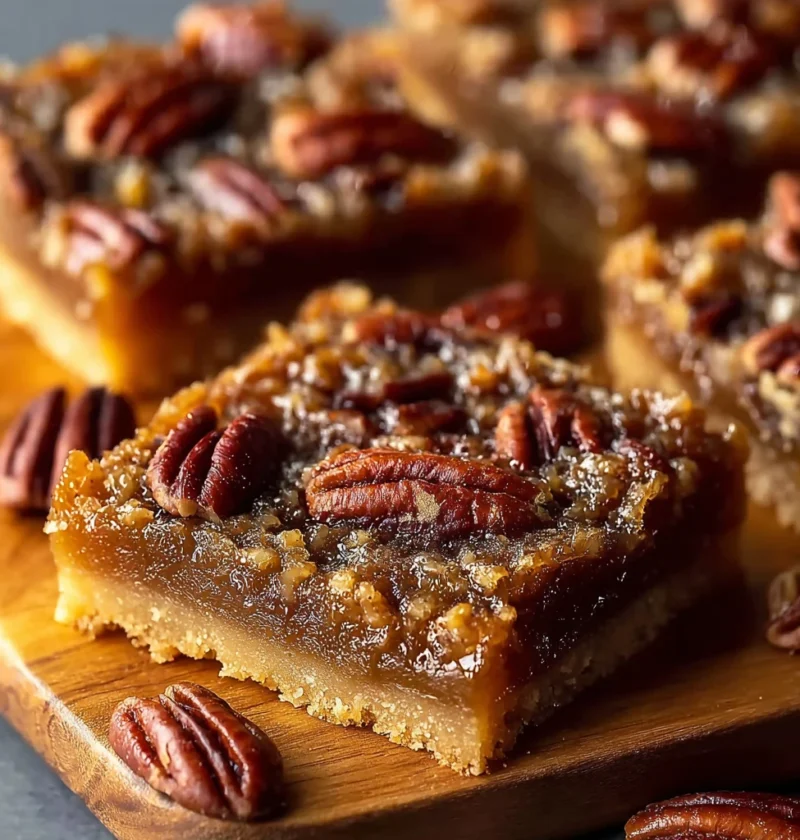
Delight in the ease of making Lazy Girl Pecan Pie Bars with this quick recipe. Indulge in rich flavors effortlessly, perfect for any occasion!
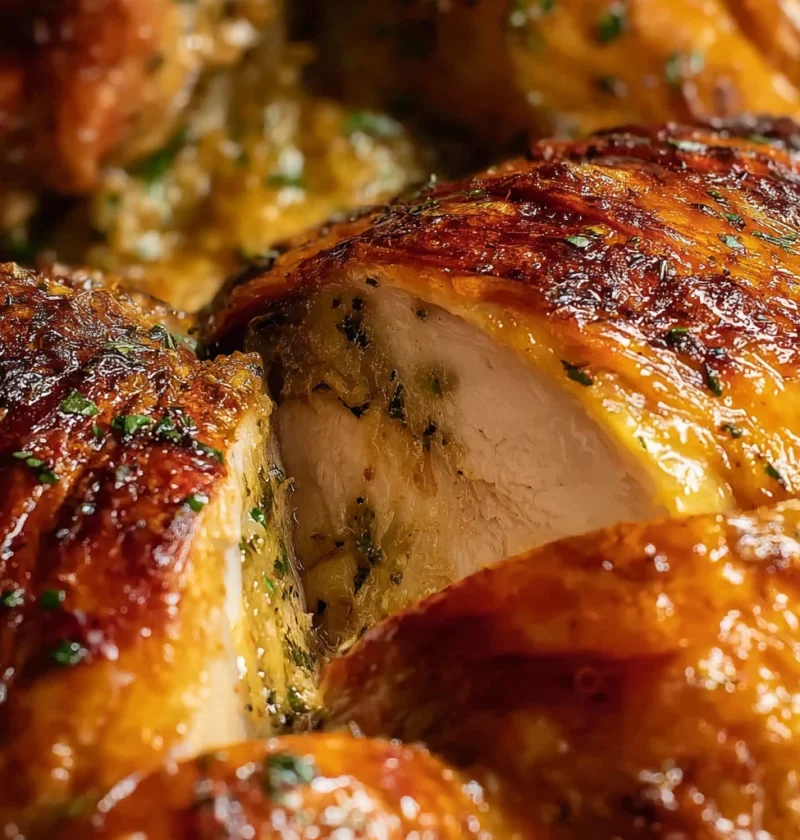
Learn how to create a mouthwatering roasted garlic butter spatchcock turkey! Elevate your culinary skills with this flavorful recipe for a juicy, tender tu
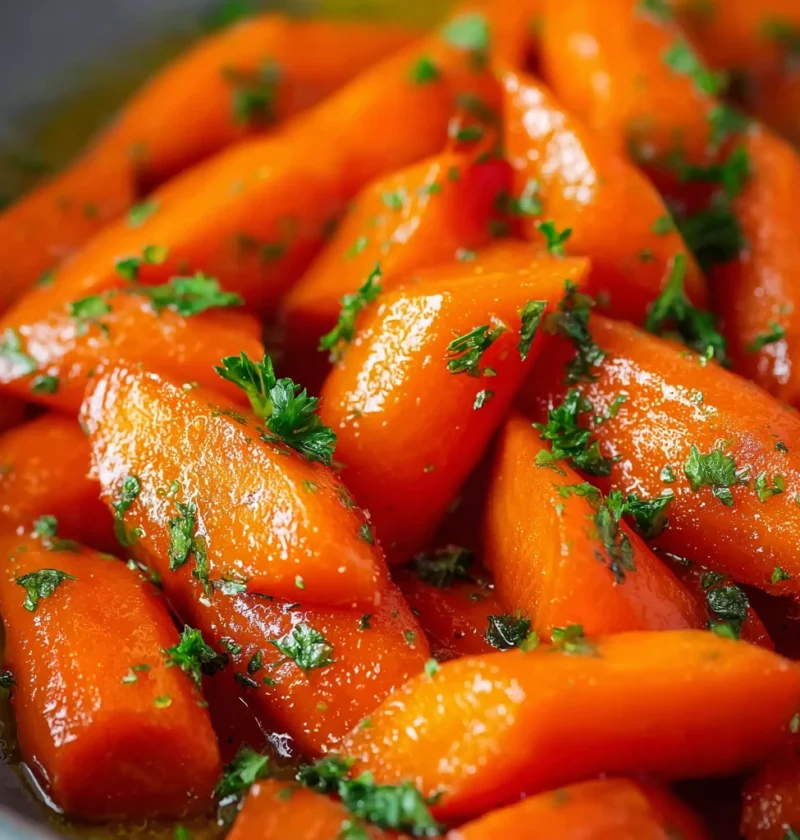
Learn how to make the best orange honey glazed carrots with this easy stovetop recipe. Elevate a simple vegetable into a gourmet side dish bursting with fl
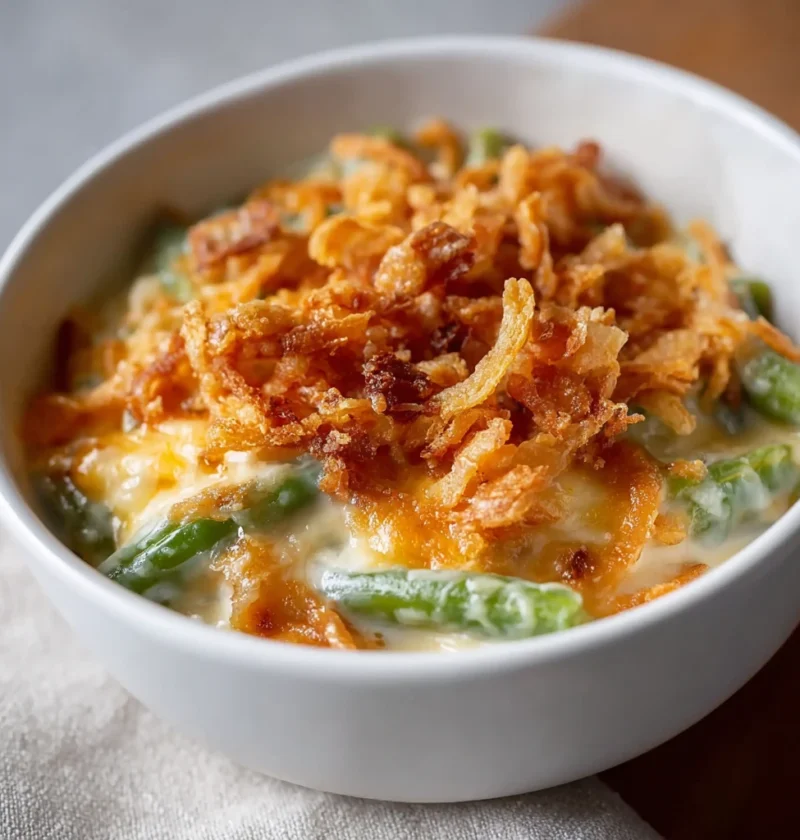
Discover the magic of a homemade cheesy green bean casserole recipe – a crowd-pleasing dish with creamy cheese, crispy onions, and endless customization op
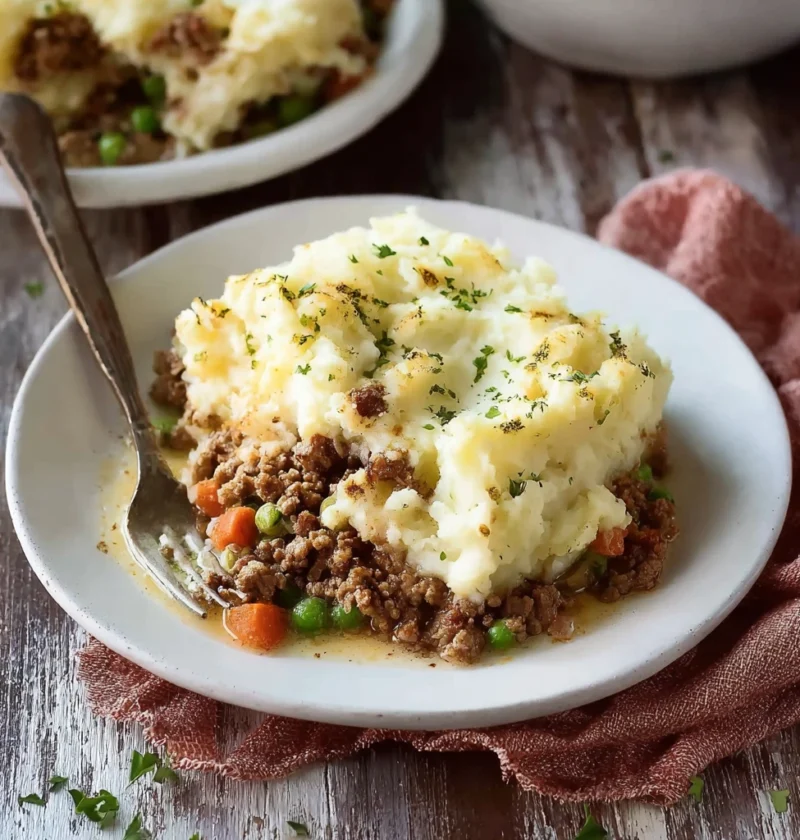
Discover the secrets to crafting a delicious classic Crockpot Shepherd’s Pie! Learn how to create this hearty, customizable, and beloved dish with ease.

Learn how to create the best honey glazed ham recipe that combines the sweetness of honey with rich brown sugar, perfect for festive gatherings and Sunday.
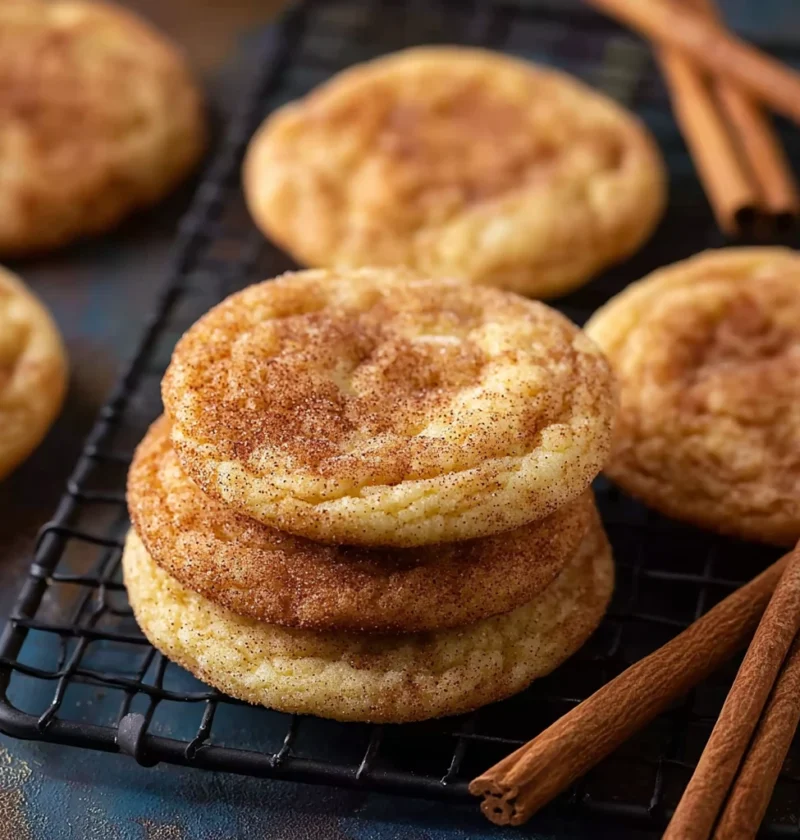
Learn how to make quick classic snickerdoodles with this easy recipe. Soft, chewy cookies with a cinnamon sugar coating – a timeless favorite treat!