Cheesy Cajun Alfredo Pasta Chicken
Explore the world of Cheesy Cajun Alfredo Pasta Chicken! Discover a delightful recipe blending creamy alfredo sauce with bold Cajun flavors and tender chic

Explore the world of Cheesy Cajun Alfredo Pasta Chicken! Discover a delightful recipe blending creamy alfredo sauce with bold Cajun flavors and tender chic

Discover the convenience and deliciousness of a slow-cooked favorite with this flavorful crockpot taco hashbrown casserole recipe. A Tex-Mex delight that’s
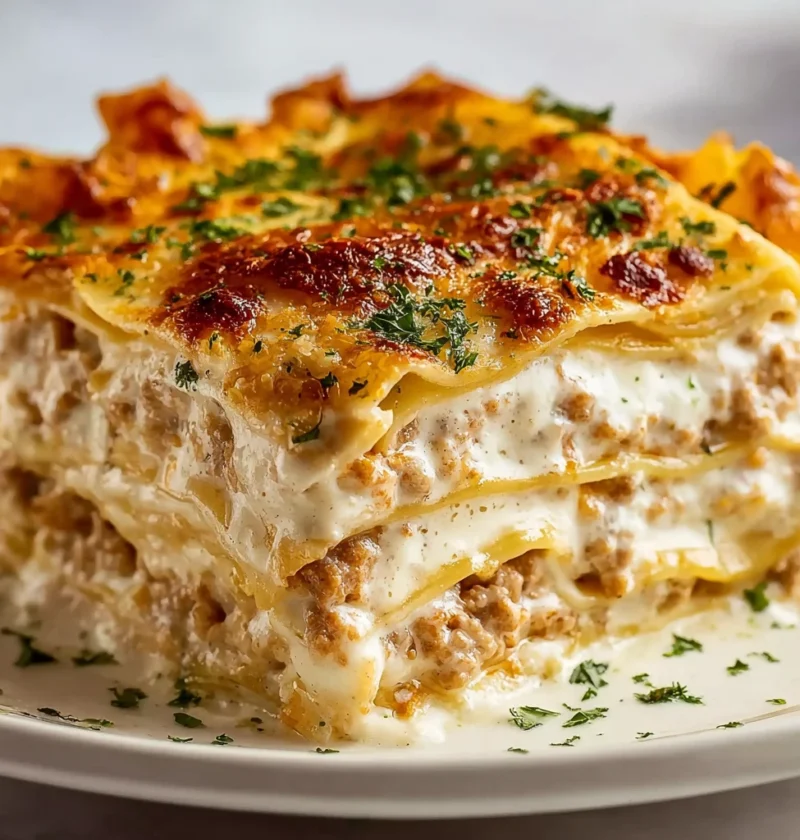
Learn how to make a delicious Crack Chicken Lasagna Bake with this ultimate guide! Easy, versatile, and perfect for any occasion. Customize to suit your di
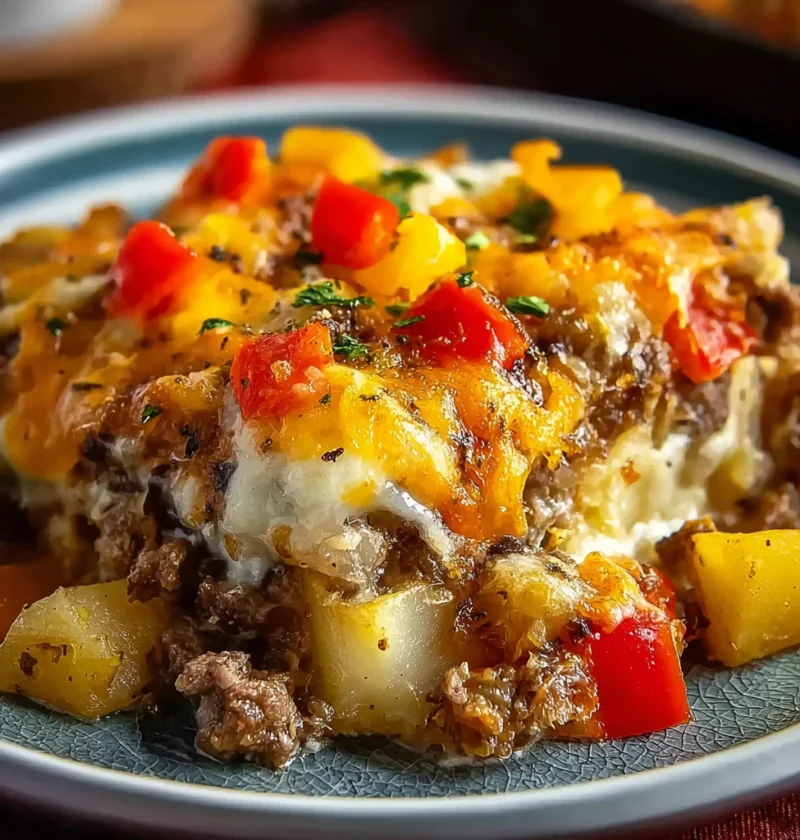
Discover the joy of slow-cooked comfort food with an easy crockpot cheesesteak potato casserole recipe. Perfect for family dinners and gatherings!
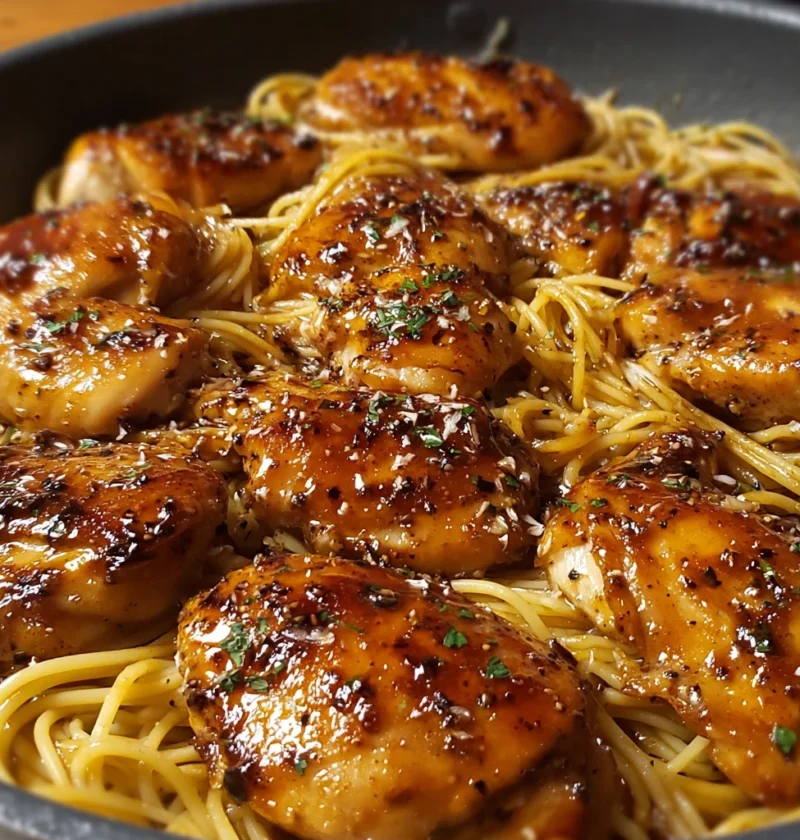
Savor the convenience and flavor of One-Skillet Sticky Sweet Garlic Chicken Pasta – a harmonious blend of savory garlic, tender chicken, and sweet notes.
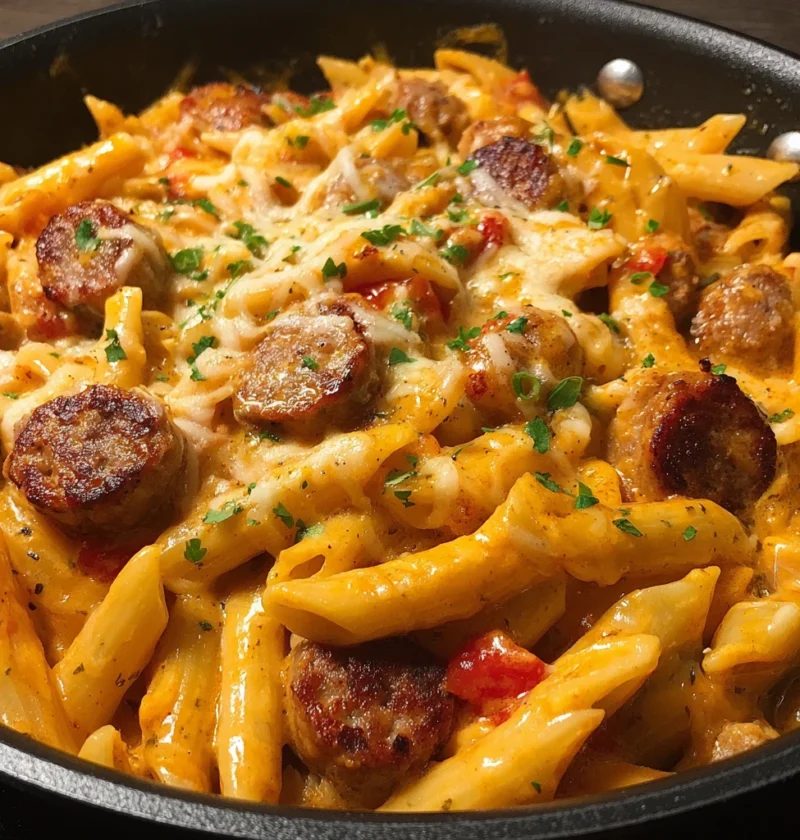
Indulge in the zesty Cajun spices and creamy ranch flavors of Bold Cajun Ranch Sausage & Cheddar Pasta. Perfect for a quick, flavorful meal packed with bol
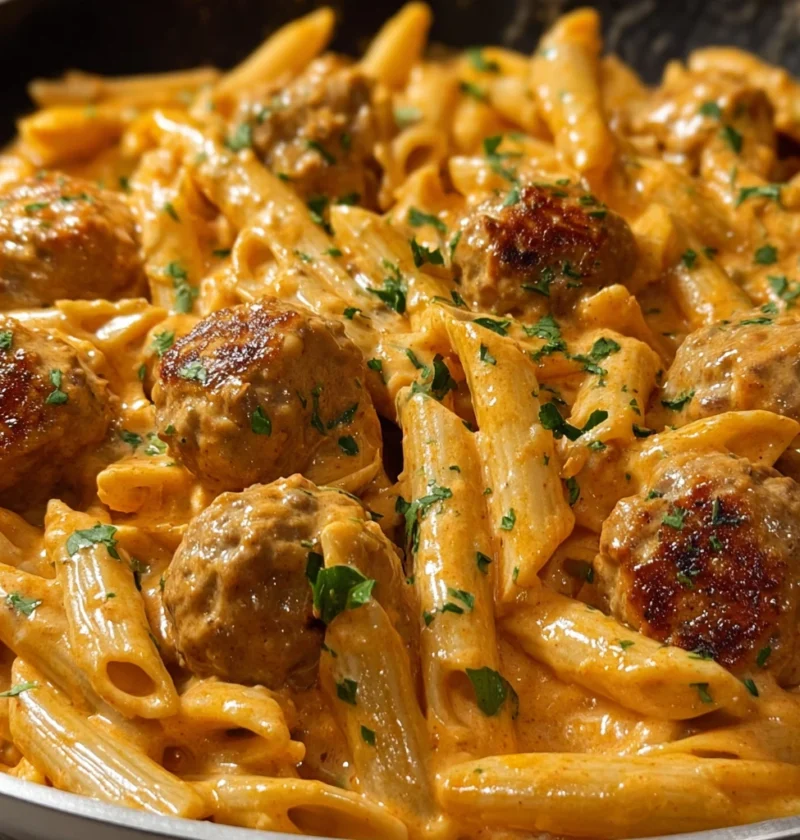
Indulge in a culinary journey with the Creamy Smoky Cajun Ranch Meatball Penne recipe. A harmonious blend of flavors for a comforting and customizable meal
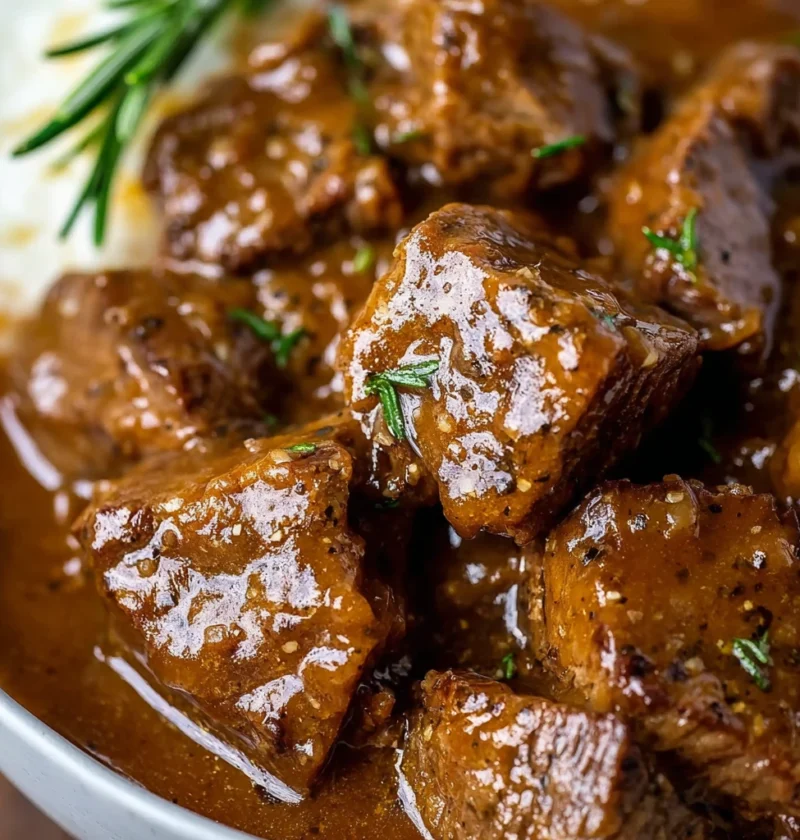
Discover the simplicity and rich flavors of Crock Pot Cubed Steak – a classic comfort food recipe that will delight your taste buds and bring warmth to you

Discover the convenience and flavor fusion of Crock Pot Unstuffed Cabbage Rolls. Easy, customizable, and perfect for modern home cooks seeking a hearty, st
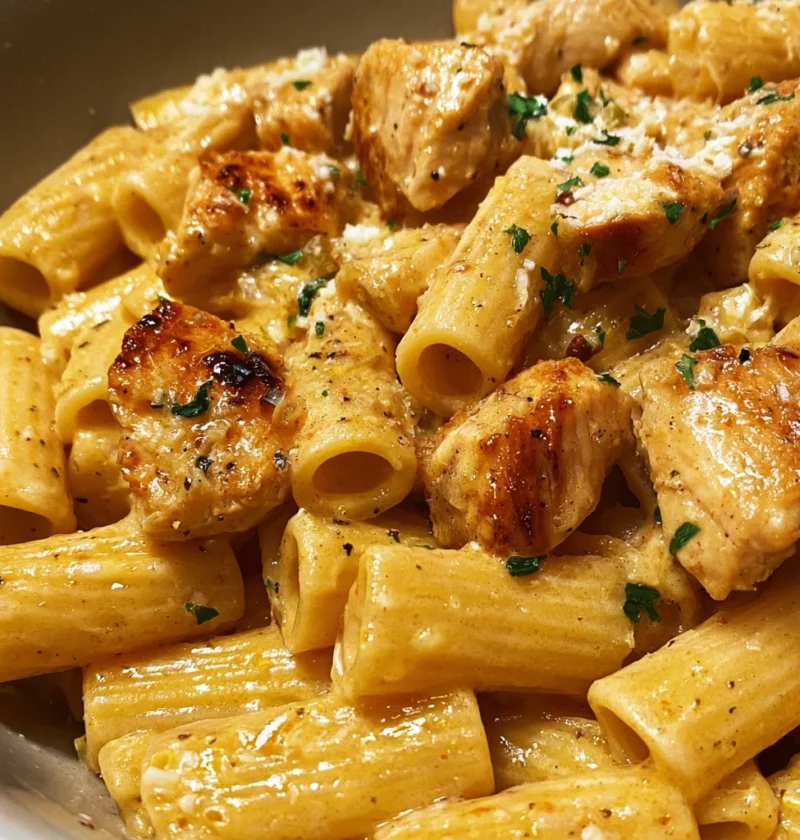
Indulge in the flavorful delight of Sticky Garlic Parmesan Ranch Chicken Rigatoni, a culinary masterpiece perfect for any occasion. Get the recipe and tips