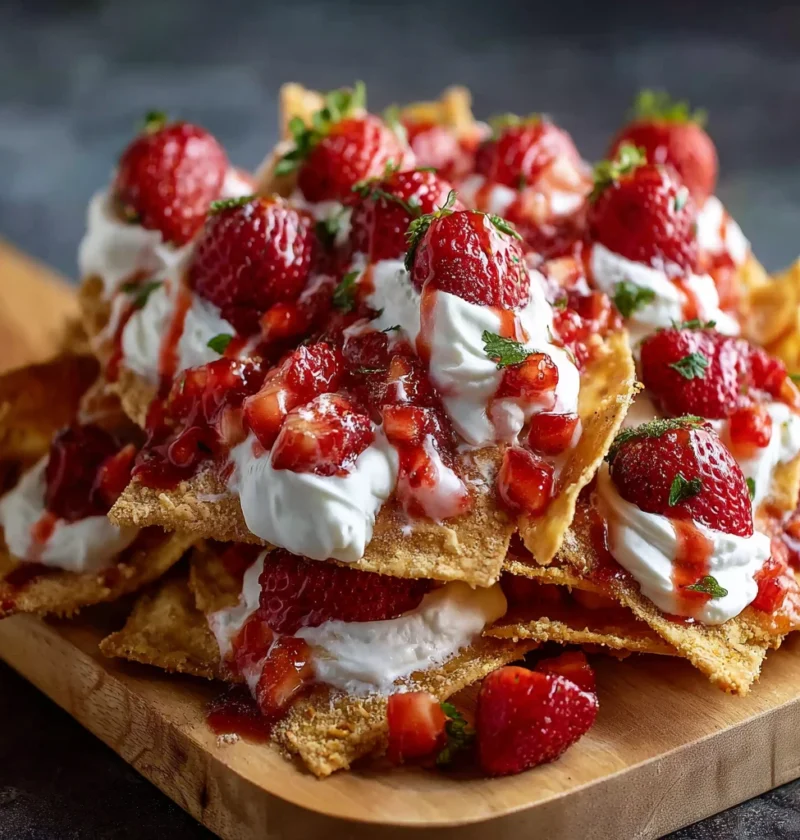
Strawberry Cheesecake Nachos
Discover a delightful fusion of strawberry cheesecake and nachos with a tantalizing mix of sweet and savory flavors. Perfect for parties and customizable t
Discover a delightful fusion of strawberry cheesecake and nachos with a tantalizing mix of sweet and savory flavors. Perfect for parties and customizable t

Indulge in the joy of crafting homemade cheesy pizza pockets from scratch. Discover tips, variations, and a flavorful recipe sure to impress all ages!
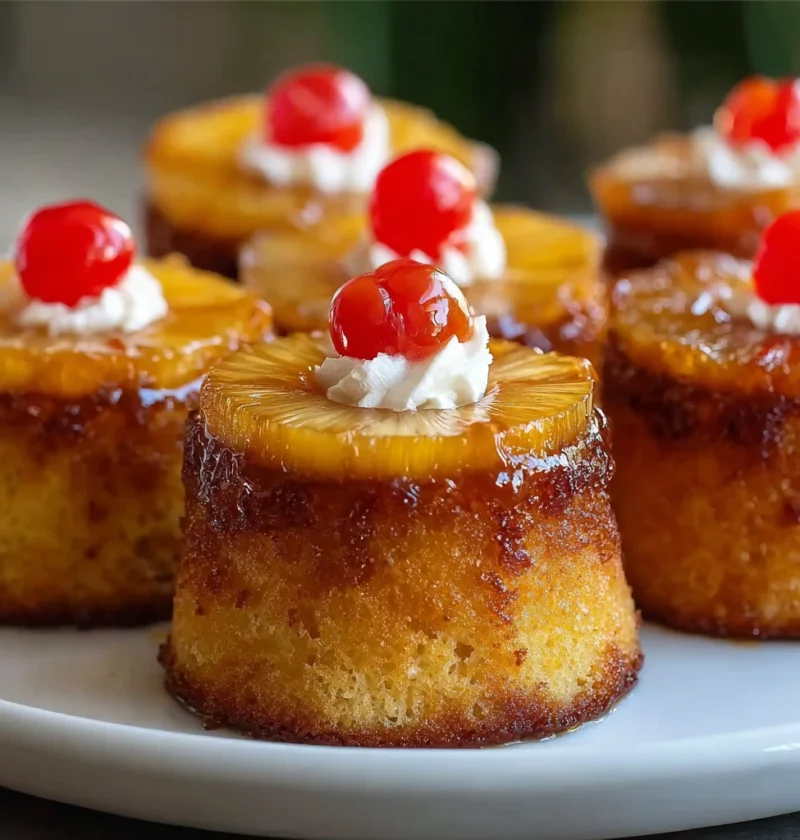
Discover the secrets to making irresistible mini pineapple upside-down cupcakes. Elevate your baking game with this easy-to-follow guide full of tips, vari
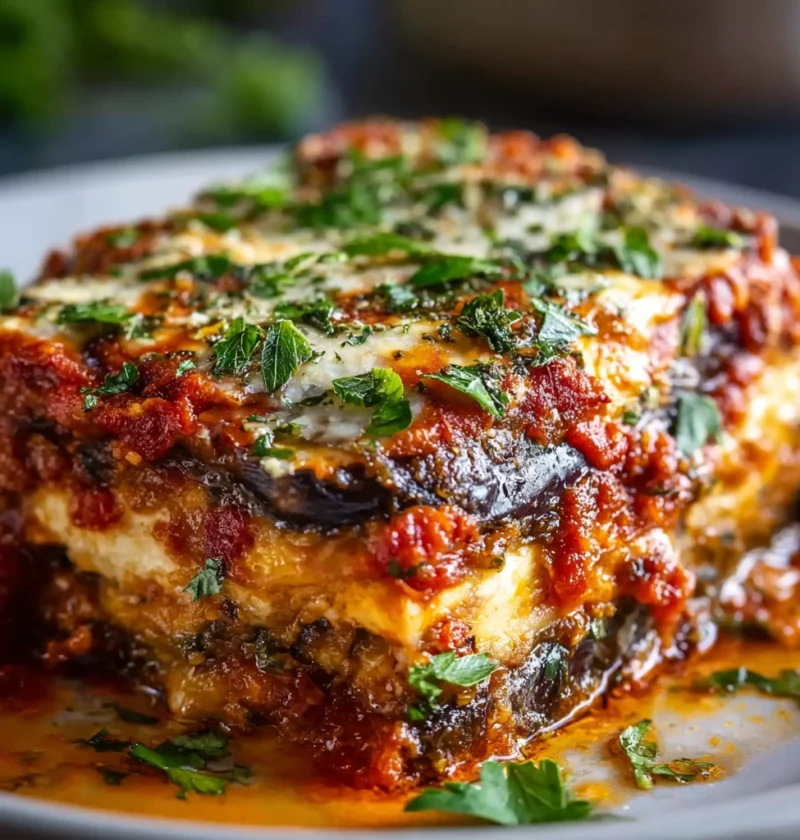
Discover a savory twist with our easy eggplant lasagna recipe—low carb, gluten-free, perfect for any occasion. A delicious, dairy-free delight!
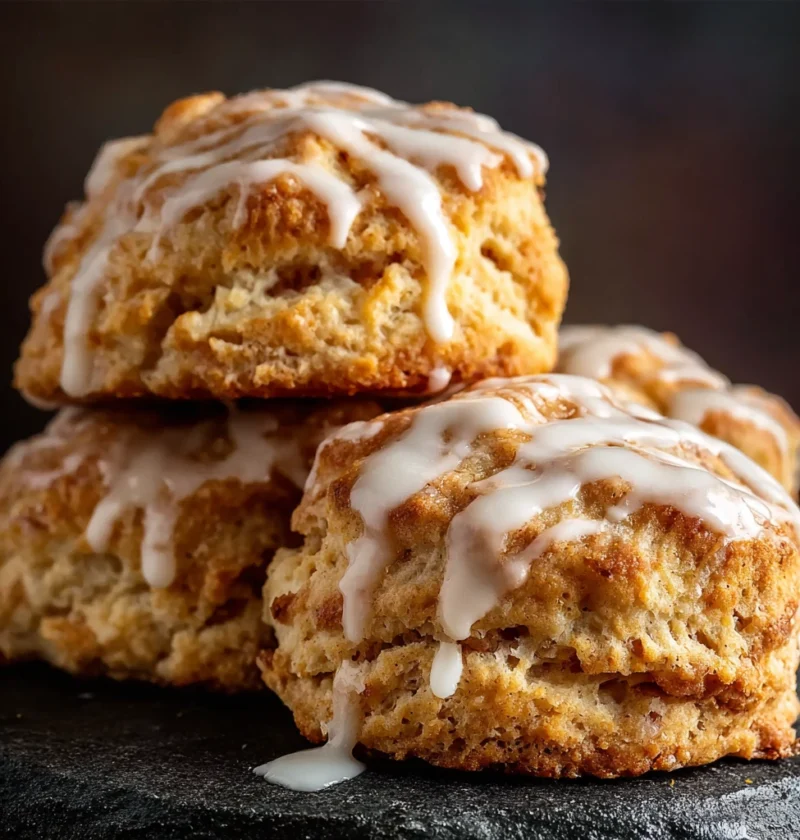
Discover the perfect balance of sweet apple pie and flaky biscuits with this crowd-pleasing recipe. Get tips for success and creative variations to elevate
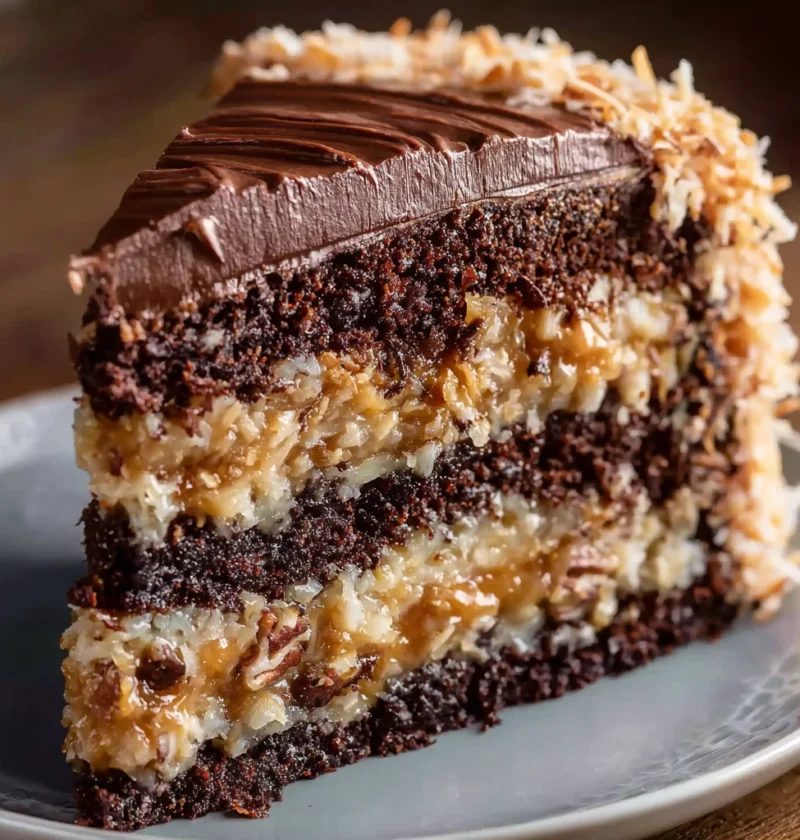
Indulge in the classic delight of German chocolate cake with coconut pecan frosting. Discover the origins, preparation, and joy of savoring this iconic des

Discover the secrets of recreating Outback Steakhouse’s Alice Springs Chicken at home with our copycat recipe. Easy and versatile, tailor this dish to your
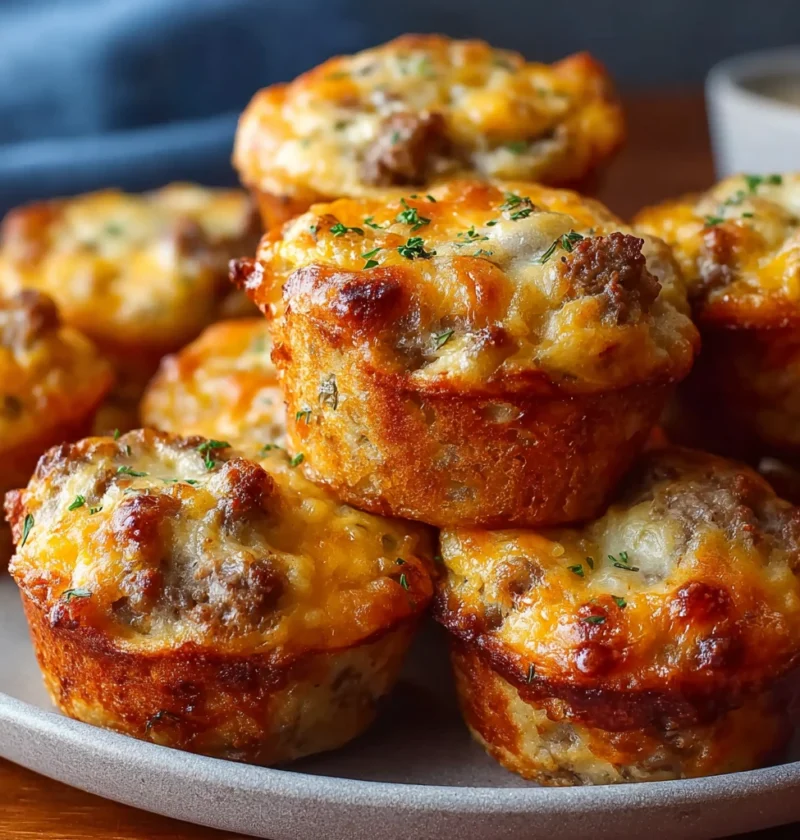
Discover the delicious world of sausage breakfast muffins with this easy recipe. Perfect for keto and gluten-free diets, these muffins are packed with flav
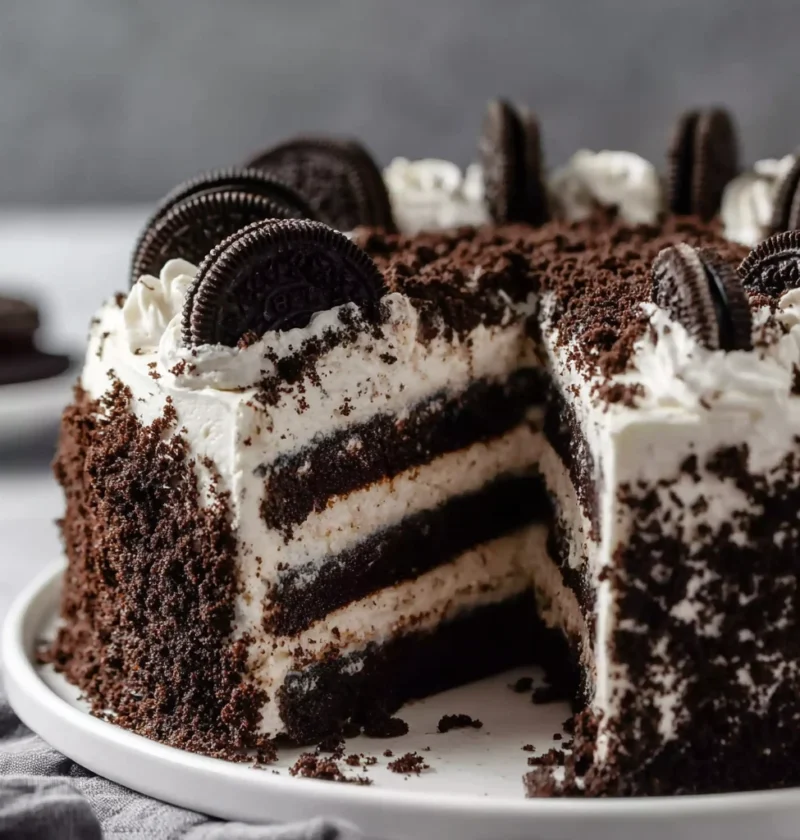
Discover the simplicity and deliciousness of a no-bake Oreo cake – a decadent dessert with a creamy filling and crunchy cookie layers. Perfect for any occa
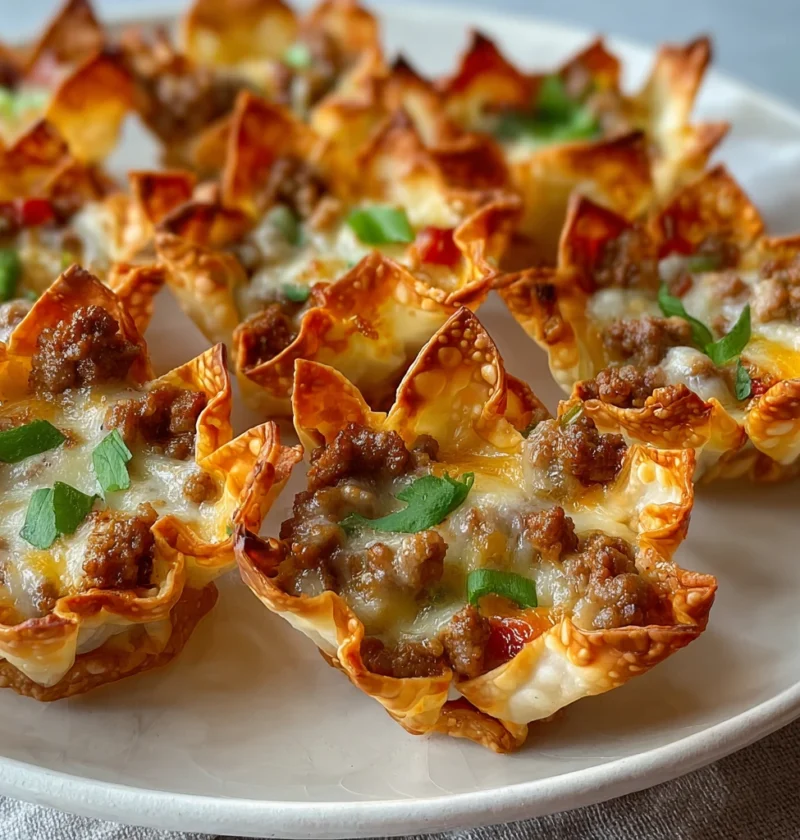
Discover how to make easy, flavorful cheesy sausage wonton cups, perfect for any occasion. Learn about ingredients, variations, serving suggestions, and ex