Candied Yams Recipe
Discover the nostalgic charm of homemade candied yams with marshmallows in this comprehensive recipe. Perfect for festive meals or cozy gatherings!

Discover the nostalgic charm of homemade candied yams with marshmallows in this comprehensive recipe. Perfect for festive meals or cozy gatherings!

Discover the richness of flavors in a plant-based twist on a classic with the marry me vegan chicken pasta recipe. Easy, nutritious, and customizable!

Indulge in the festive charm of a gourmet tiramisu yule log cake—combining rich flavors with a unique twist. Elevate your holiday baking game with this s

Discover the world of garlic bread rolls with this flavorful twist on a classic recipe. From cheesy indulgence to dietary-friendly options, elevate your di

Discover the art of yogurt-marinated grilled chicken with our flavorful recipe. Perfect for BBQs, family dinners, and health-conscious food lovers!

Learn how to make delectable Tiramisu Truffles at home with this tantalizing recipe guide. Elevate your dessert game and impress your guests!

Indulge in the magic of Christmas Crack Saltine Cracker Toffee with this easy recipe guide. Perfect blend of sweet and salty flavors for a festive treat!

Discover the essence of Crock Pot Cowboy Soup – a comforting, flavorful dish perfect for chilly nights. Learn how to make this hearty recipe packed with wh
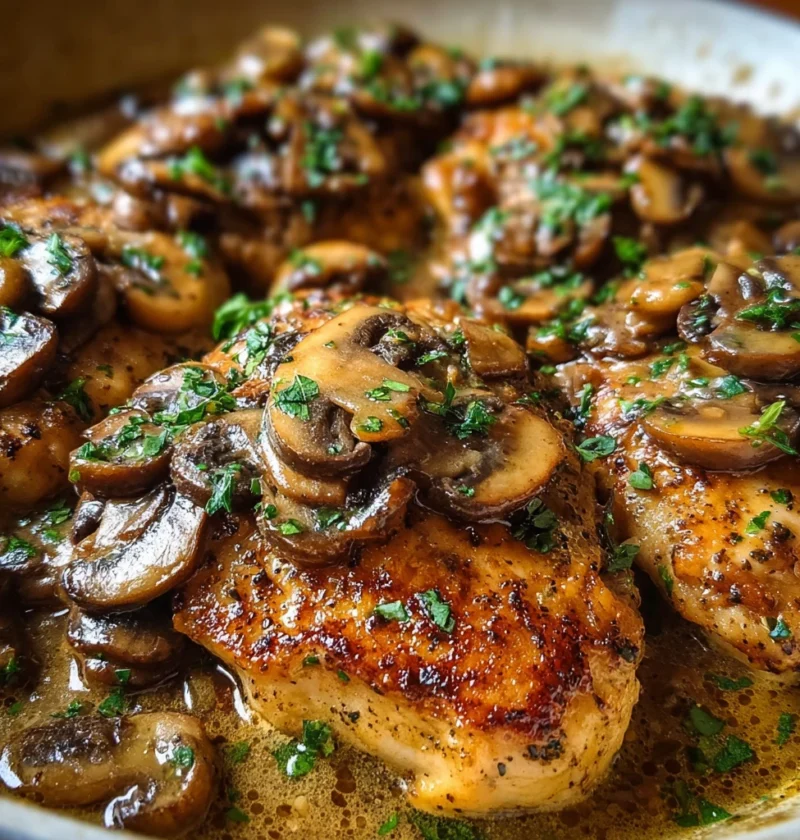
Discover the secrets to a delectable creamy chicken marsala recipe without wine. Perfect for various dietary preferences, this dish is a cozy comfort food.

Indulge in a tasty fusion with Taco Mac and Cheese – a delightful blend of creamy mac and cheese with zesty taco flavors. Customize for a delicious meal!