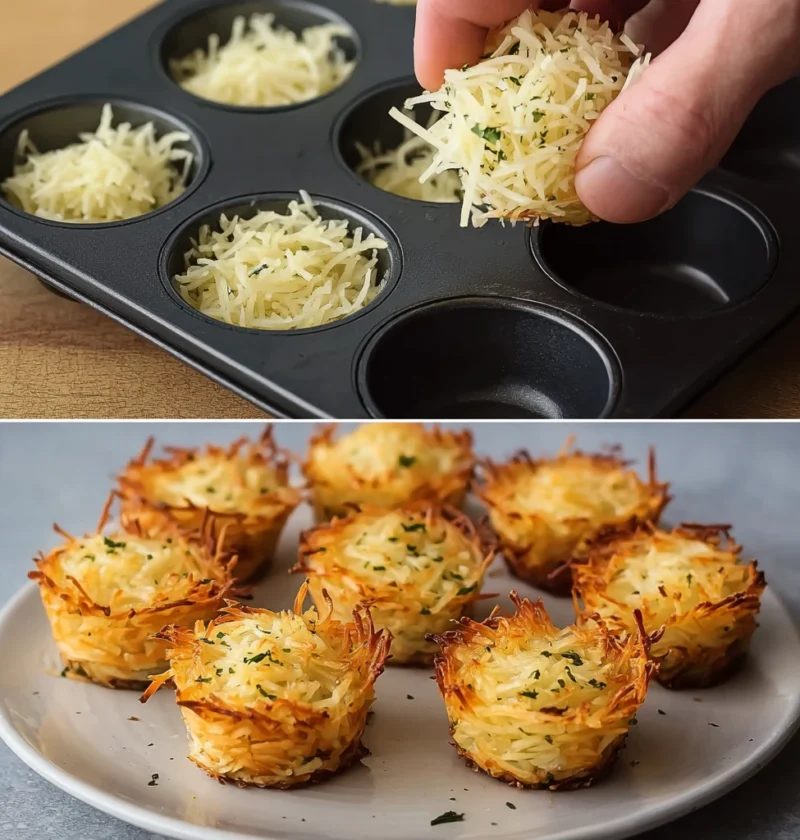
crispy baked hash brown muffin bites
Discover how to make crispy and delicious hash brown muffins that are perfect for breakfast. Learn the recipe, ingredients, variations, serving suggestions
Discover how to make crispy and delicious hash brown muffins that are perfect for breakfast. Learn the recipe, ingredients, variations, serving suggestions
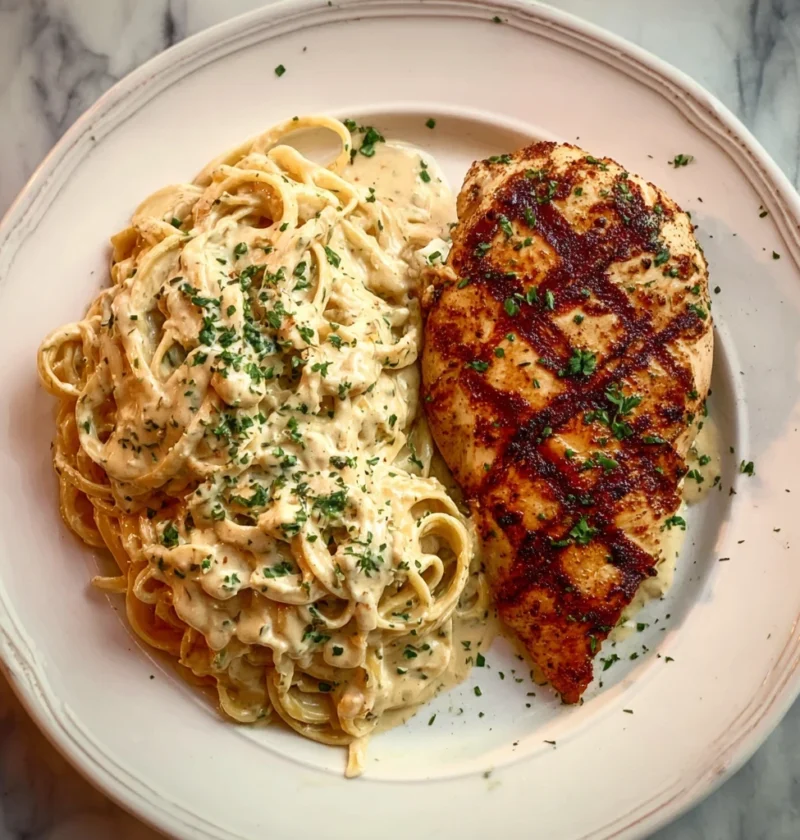
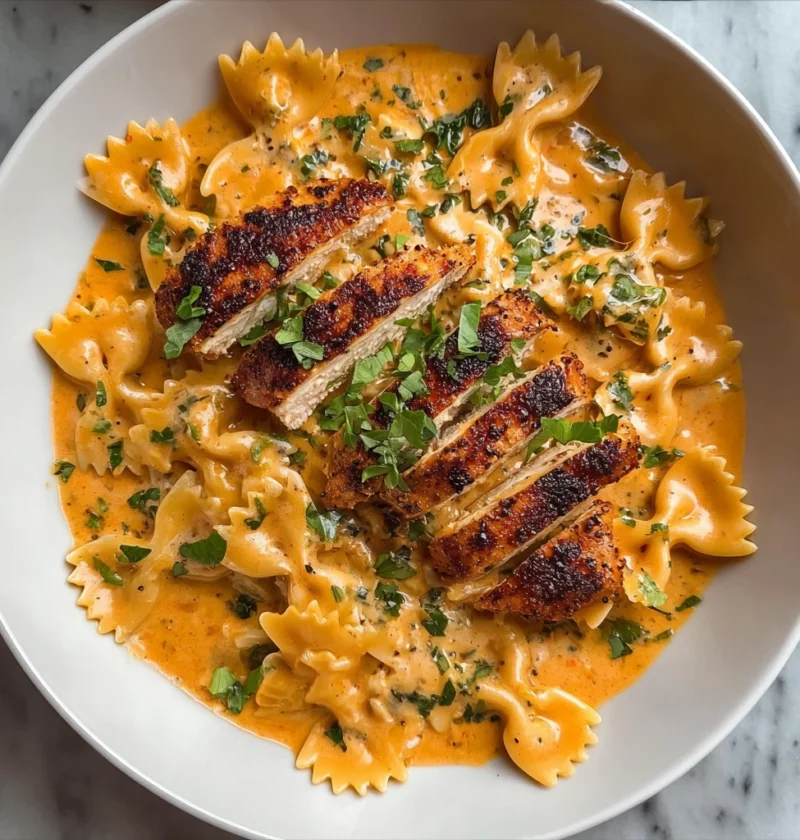
Embark on a culinary adventure with a sumptuous recipe for creamy garlic butter chicken & linguine in alfredo sauce. Indulge in a symphony of flavors that.

Learn how to make a savory and satisfying cheesy chili dog casserole in this easy recipe guide. Perfect for busy weeknights or casual gatherings!
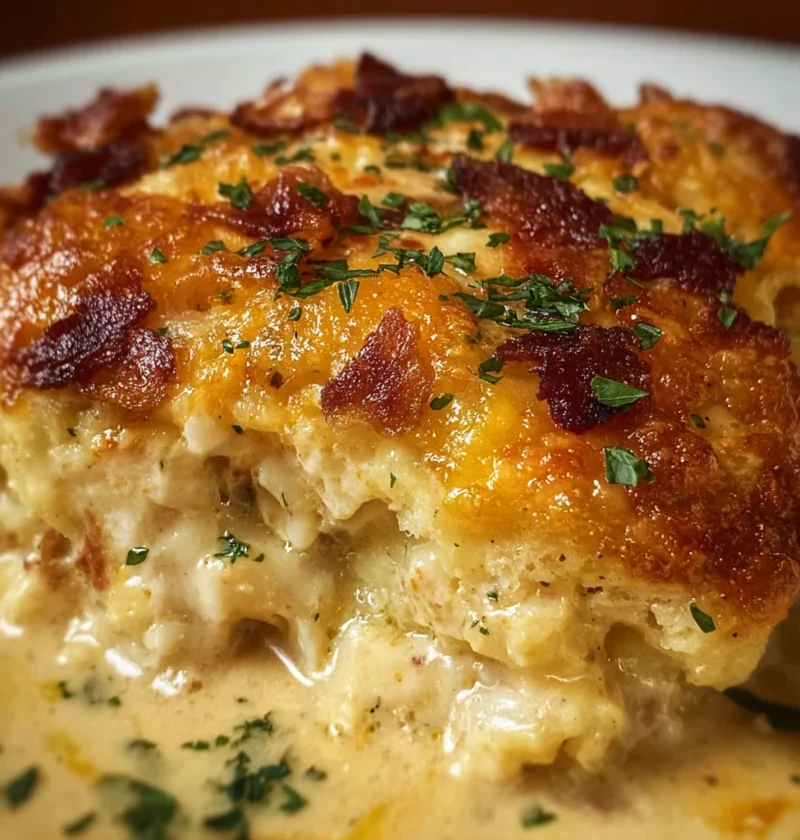
Indulge in the comfort of creamy chicken bacon biscuit casserole – a versatile and easy recipe perfect for any occasion. Meal prep, brunch, or dinner, this

Indulge in the cozy delight of Apple Cinnamon Oatmeal – a heartwarming breakfast recipe blending sweet apples, warm cinnamon, and nutritious oats to start.
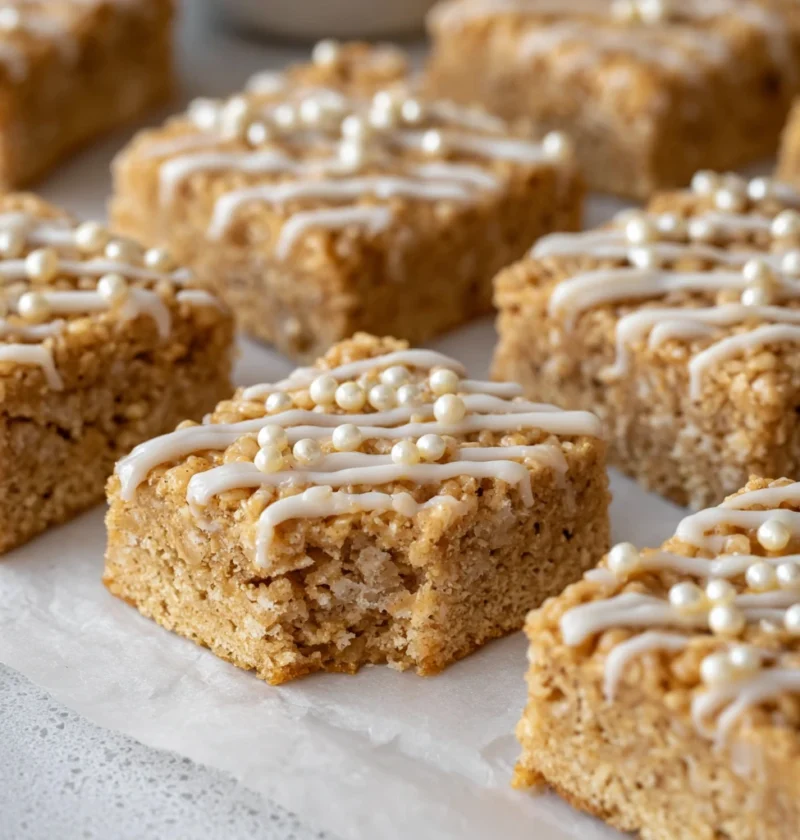
Indulge in the warmth of the season with Vegan Gingerbread Rice Krispie Treats – a festive twist on a classic favorite, perfect for sharing holiday cheer

Indulge in the magic of Apple Fritters with Vanilla Glaze – a comforting classic dessert with a crispy exterior and warm apple-cinnamon flavors.

Learn how to make delectable Tiramisu Truffles at home with this tantalizing recipe guide. Elevate your dessert game and impress your guests!
Discover the richness of flavors in a plant-based twist on a classic with the marry me vegan chicken pasta recipe. Easy, nutritious, and customizable!

Discover the nostalgic charm of homemade candied yams with marshmallows in this comprehensive recipe. Perfect for festive meals or cozy gatherings!