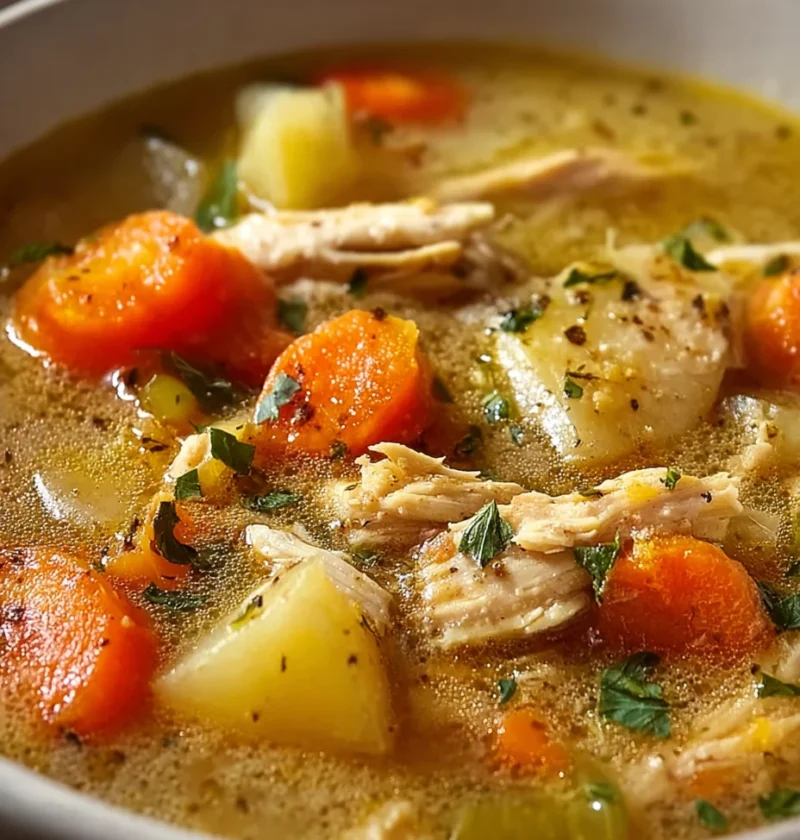
Crack Chicken Soup
Discover how to make the ultimate crack chicken soup recipe. From essential ingredients to expert tips, variations, serving suggestions, FAQs, and final th
Discover how to make the ultimate crack chicken soup recipe. From essential ingredients to expert tips, variations, serving suggestions, FAQs, and final th
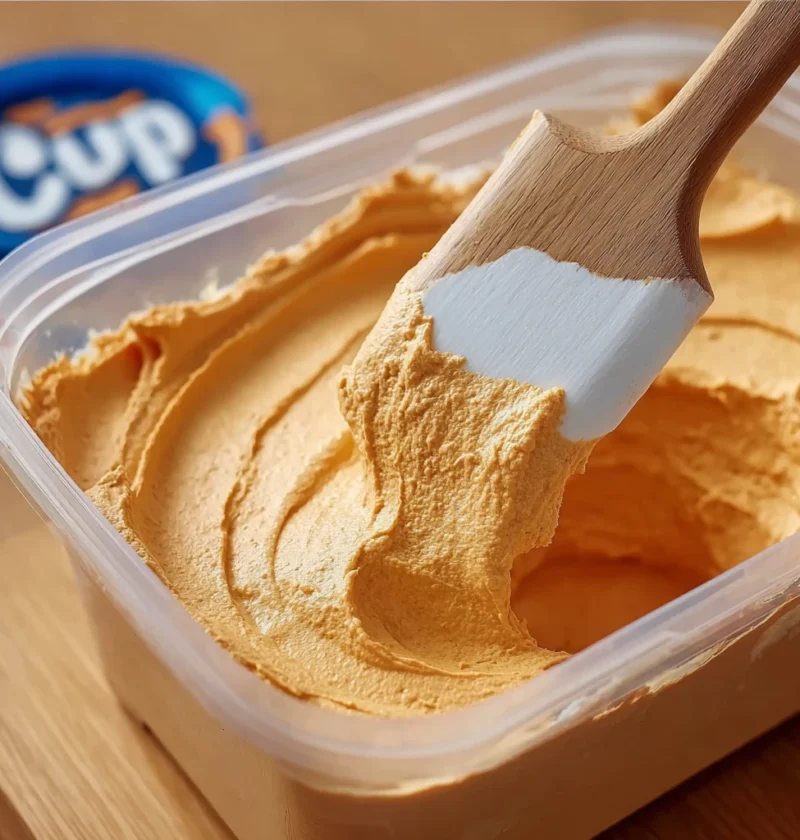
Delight your guests with a creamy and indulgent pumpkin fluff dip! Discover easy steps, expert tips, and creative variations in this versatile recipe.
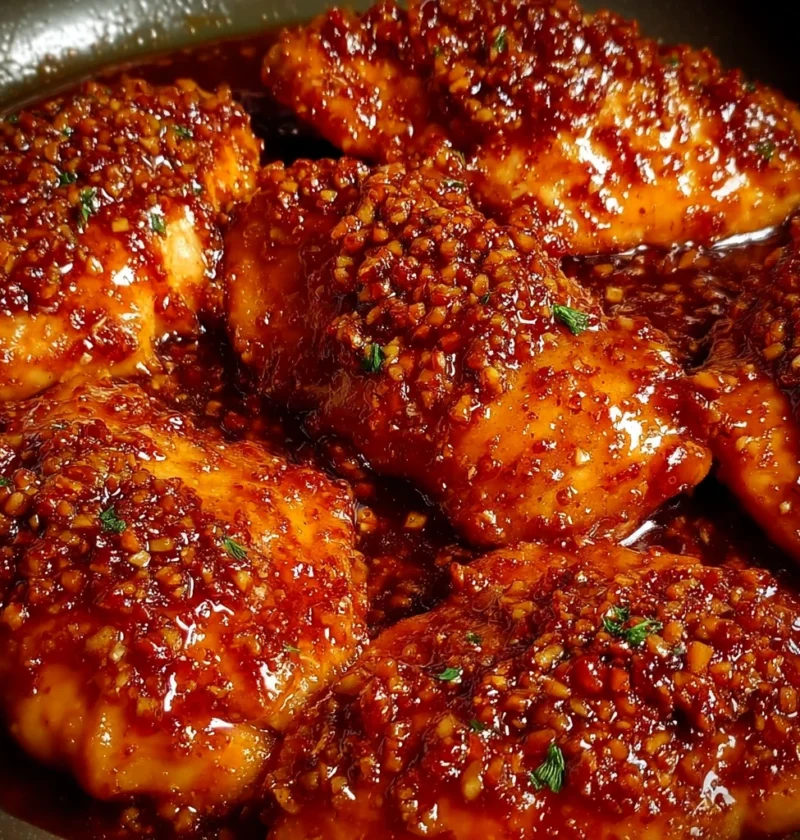
Discover the art of honey garlic glazed chicken – a culinary masterpiece blending sweet honey, robust garlic, and tender chicken into a harmonious symphony
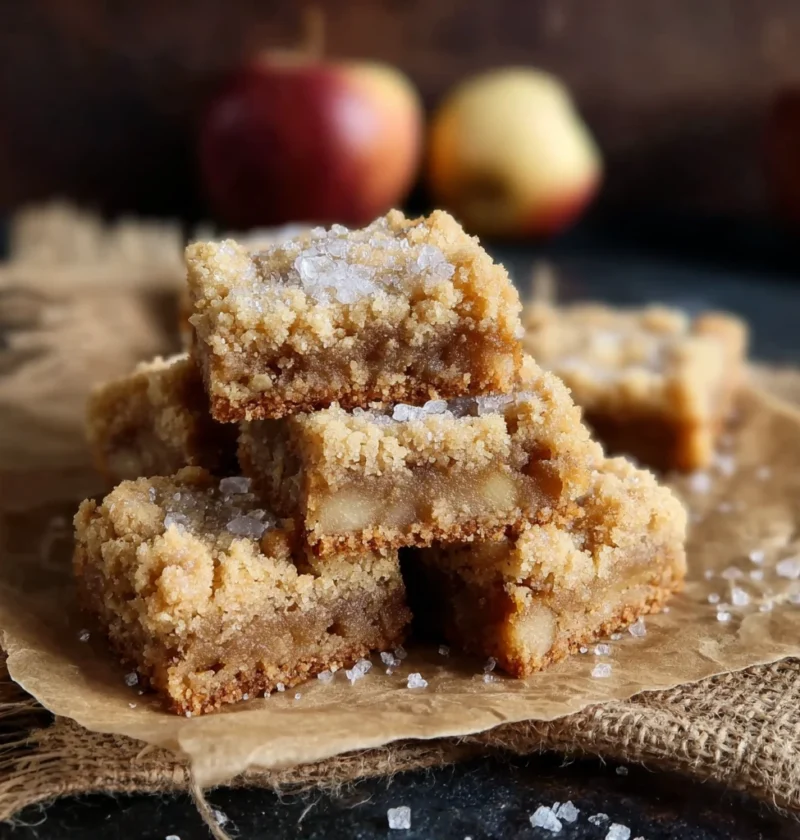
Discover how to make delicious apple crumble bars with this versatile recipe combining apples, cinnamon, oats, and more. Perfect for fall baking!

Craft delectable homemade peanut butter patties in just 3 easy steps! Explore variations and serving ideas for this delicious treat, perfect for any occasi
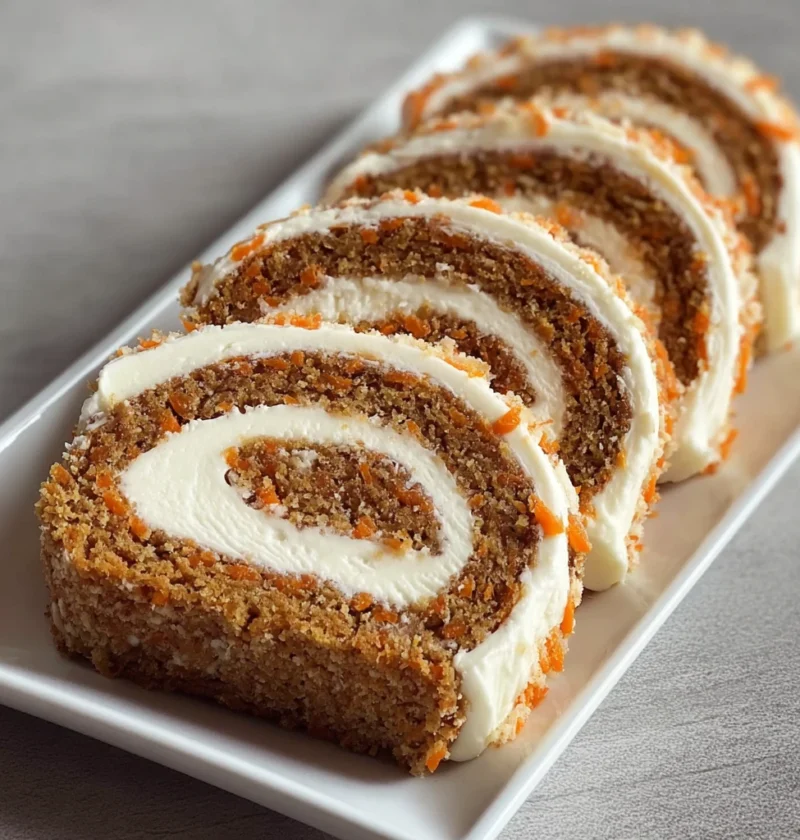
Discover the art of making a delectable carrot cake roll with cream cheese frosting filling. Easy-to-follow steps for a moist and creamy dessert delight.
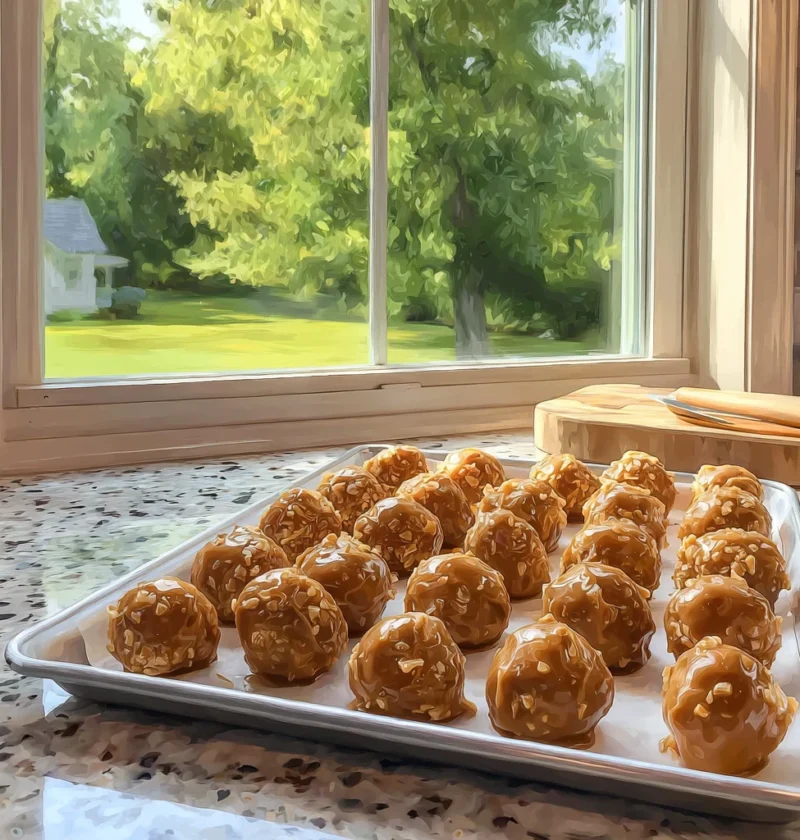
Discover the best recipe for homemade peanut butter balls, a nostalgic treat packed with flavor and tradition. Gluten-free, vegan, and keto options availab

Explore the realm of the best vanilla custard slice recipe, known as the Napoleon slice, with layers of creamy goodness in this easy and delightful dessert
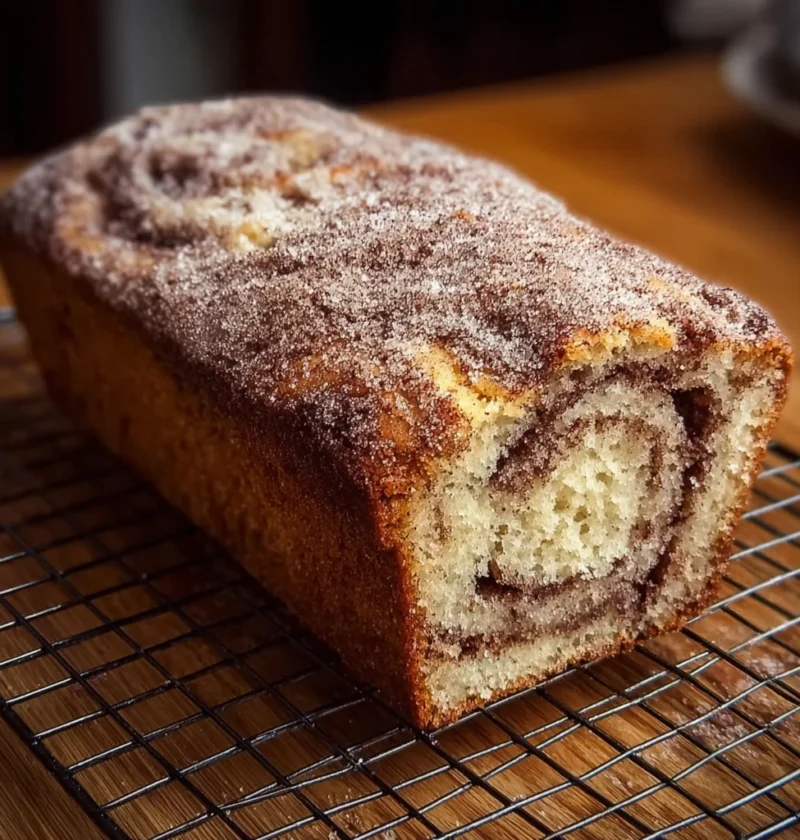
Embark on a delightful baking adventure with an easy Amish Cinnamon Bread recipe. Discover the secrets to making this aromatic, moist, and flavorful bread.
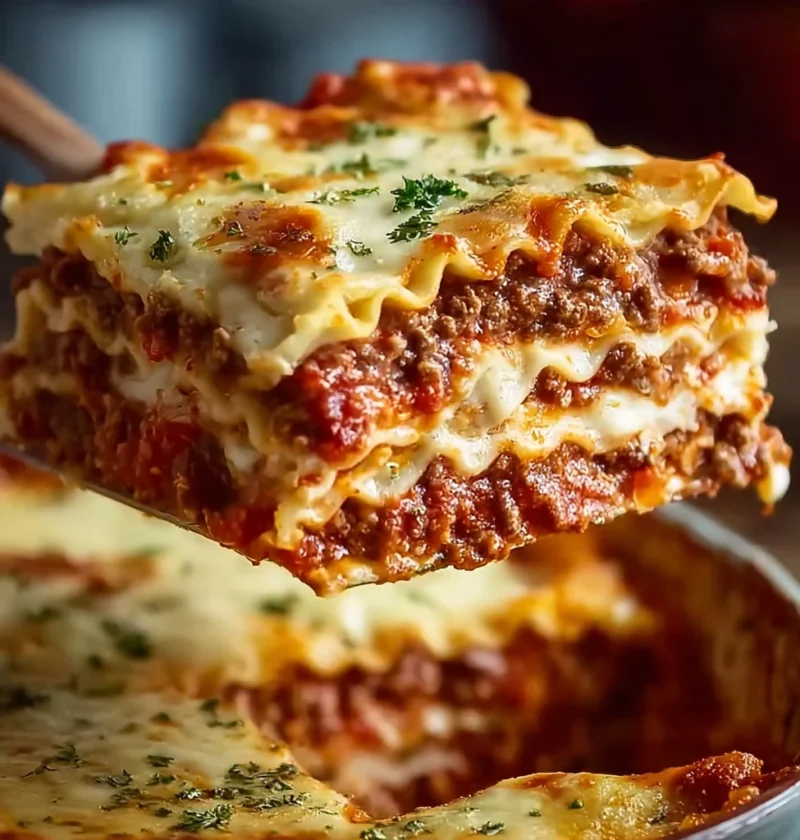
Learn how to make the perfect classic homemade lasagna with this recipe. Discover tips for success, variations to try, expert advice, and serving suggestio