Sweet Strawberry Shortcake Cheesecake Rolls: A Delightful Dessert Fusion
Learn to make Sweet Strawberry Shortcake Cheesecake Rolls – a delightful fusion of fruity freshness and creamy decadence. Perfect for any dessert lover!
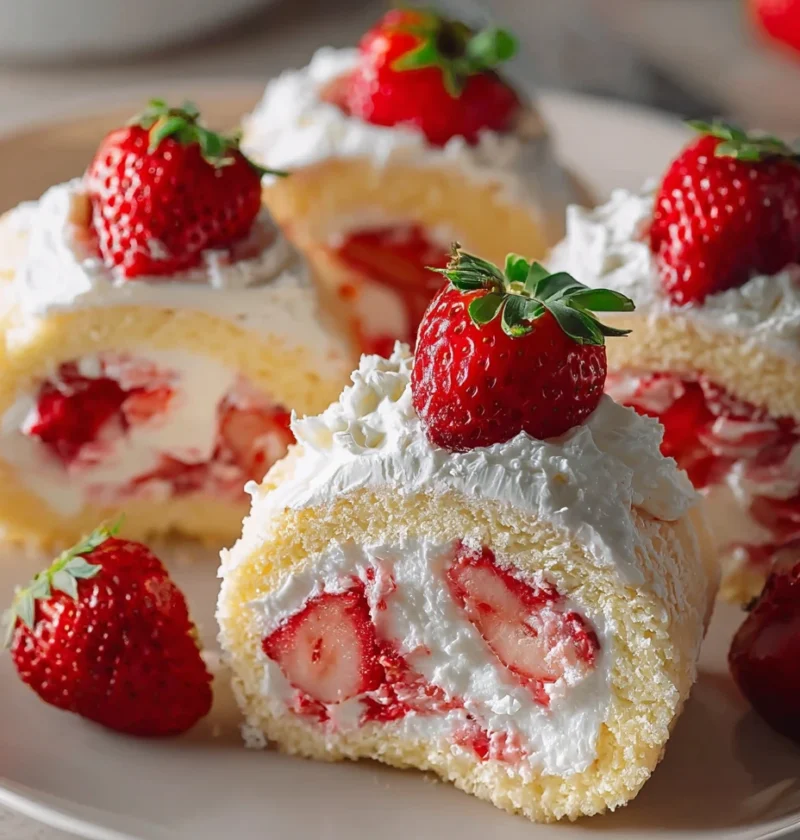
Learn to make Sweet Strawberry Shortcake Cheesecake Rolls – a delightful fusion of fruity freshness and creamy decadence. Perfect for any dessert lover!
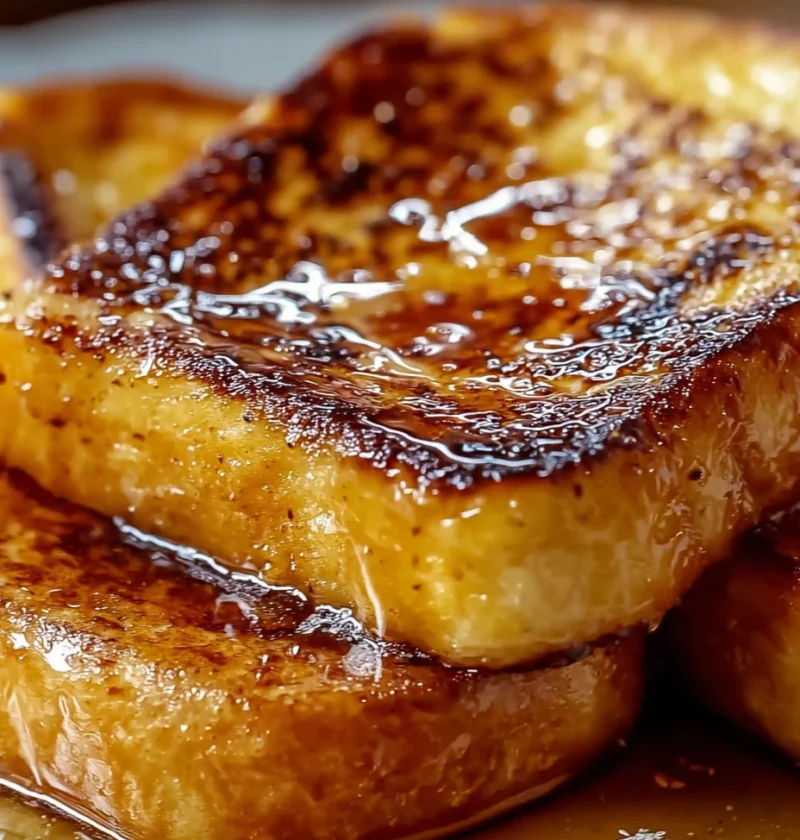
Elevate your breakfast routine with a luxurious make-ahead dish – overnight crème brûlée French toast. Impress your guests with this decadent brunch del
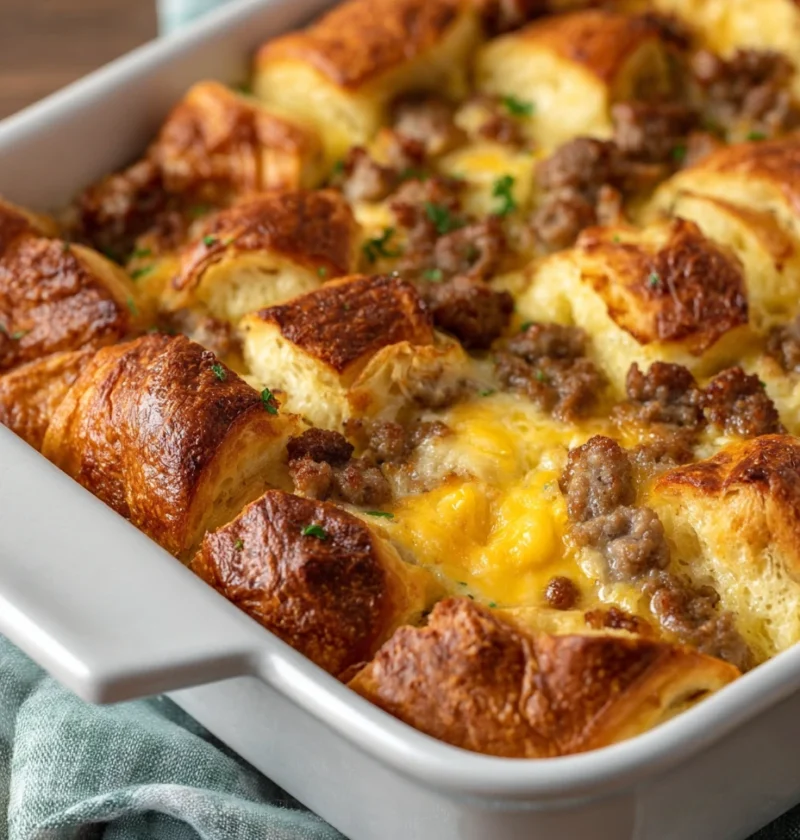
Discover the savory world of overnight croissant breakfast casserole ideas. Easy recipe variations, indulgent flavors, and expert tips await in this deligh
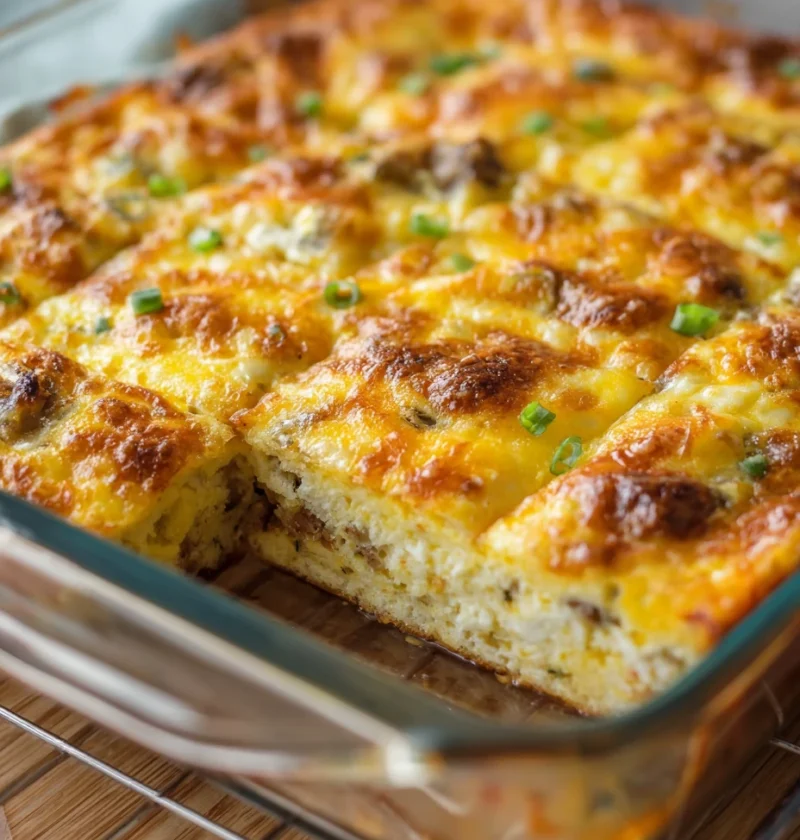
Discover the joy of a cheesy sausage breakfast casserole with this easy recipe. Perfect for brunch, keto-friendly, and gluten-free – a crowd-pleaser for an
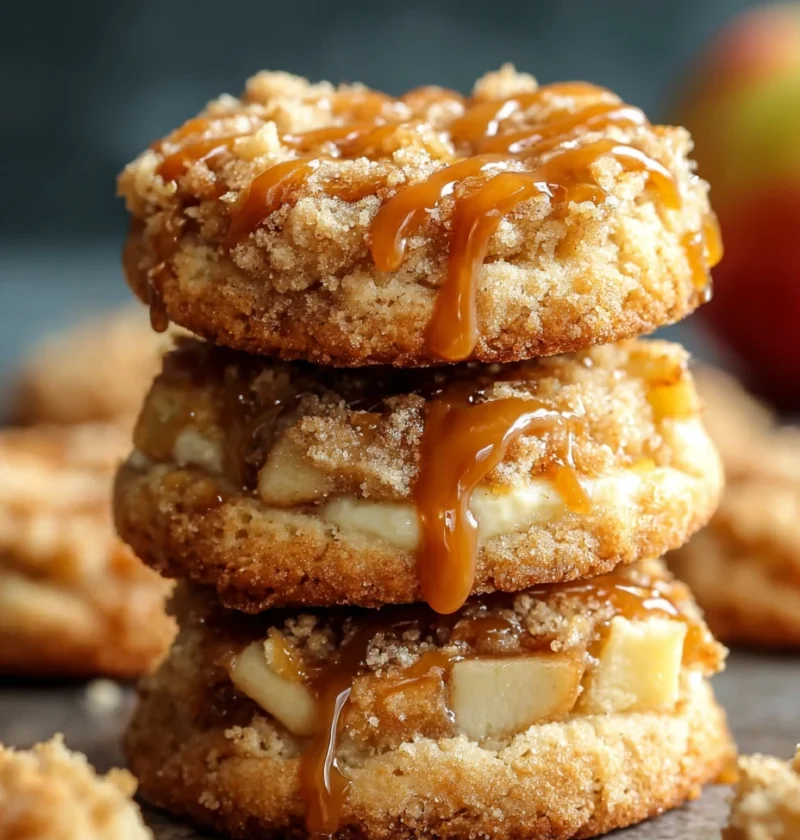
Discover the perfect blend of apple pie and cheesecake in portable cookie form with this delightful recipe. Get creative and tantalize your taste buds!
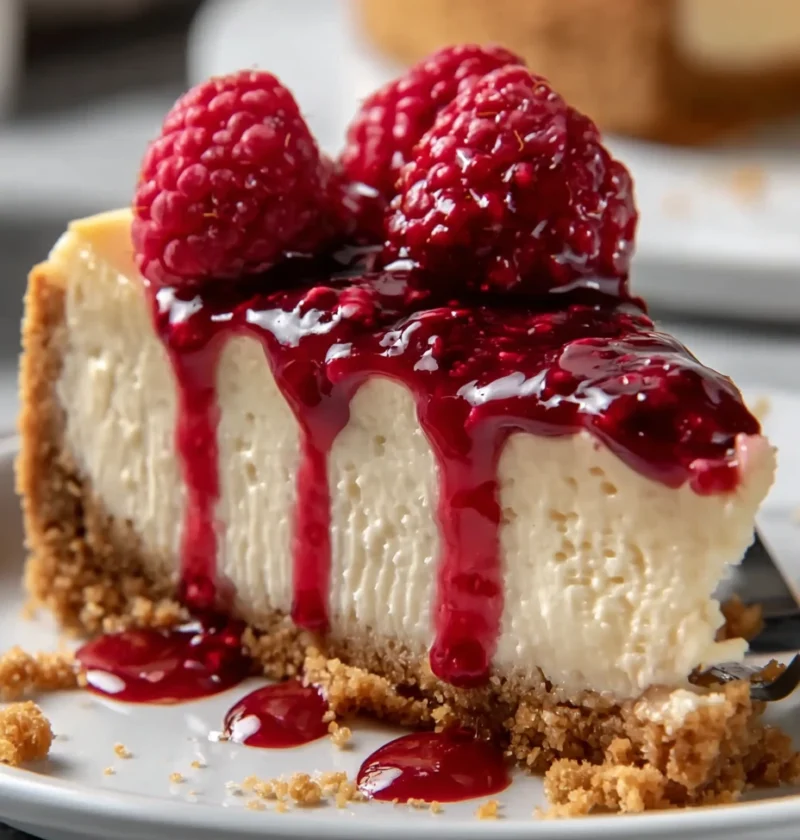
Indulge in the nostalgic joy of a peanut butter jelly cheesecake, blending childhood flavors with a gourmet twist in this easy-to-follow recipe tutorial.
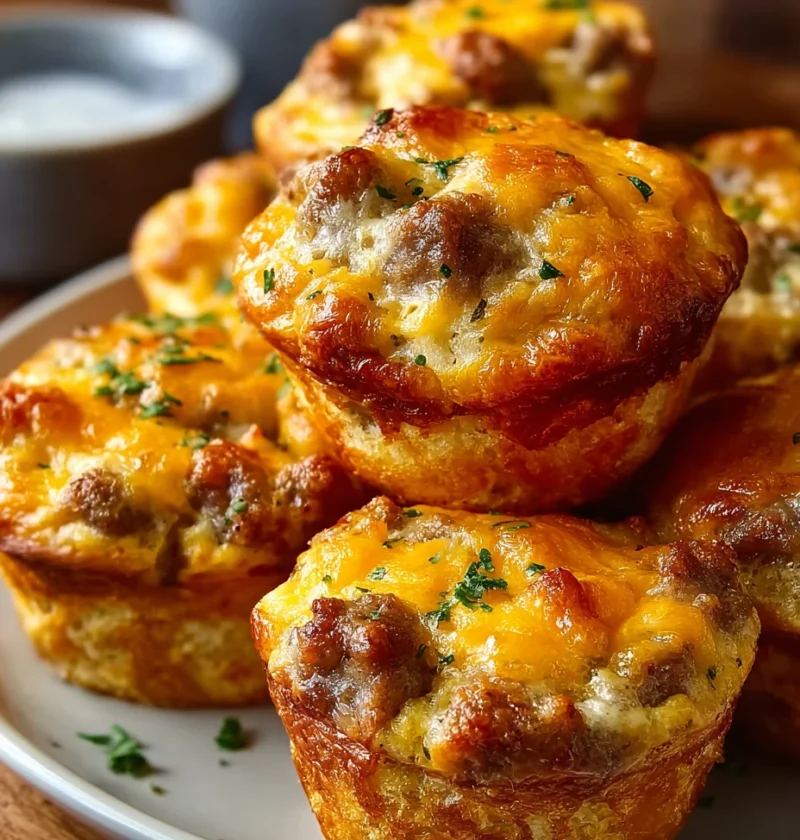
Discover how to make savory sausage breakfast muffins that cater to various dietary needs and taste preferences. Elevate your mornings with these flavorful
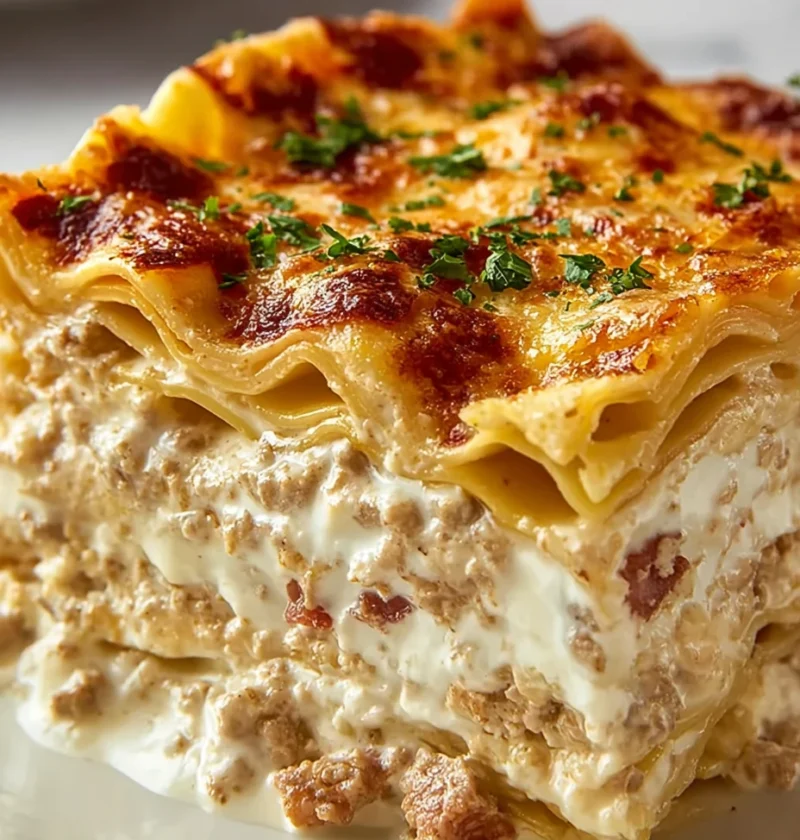
Delight your taste buds with a twist on classic comfort food – Crack Chicken Lasagna Bake! A flavorful fusion recipe perfect for any occasion.
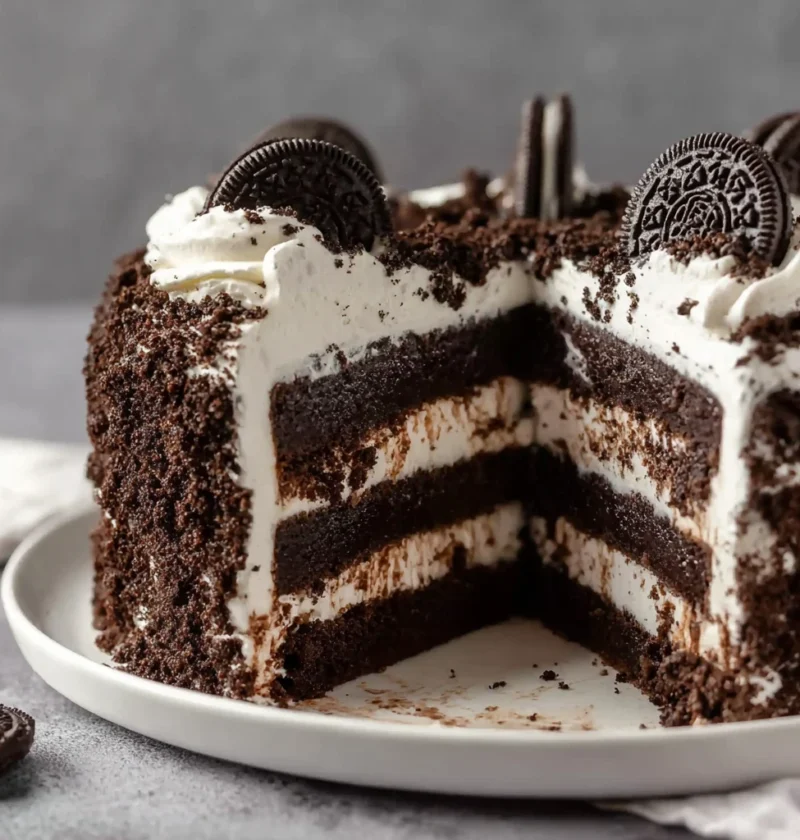
Indulge in the magic of a no-bake Oreo cake with this easy recipe! Learn how to create this luscious dessert with a perfect balance of flavors and textures

Indulge in the world of Southern Sausage Biscuits – a comforting and versatile Southern classic you can enjoy for breakfast, brunch, or a snack!