Pineapple Cranberry Holiday Cheese Log: Easy Festive Delight
Delight your guests with a festive Pineapple Cranberry Cheese Log recipe – a sweet and savory creation perfect for holiday entertaining!

Delight your guests with a festive Pineapple Cranberry Cheese Log recipe – a sweet and savory creation perfect for holiday entertaining!
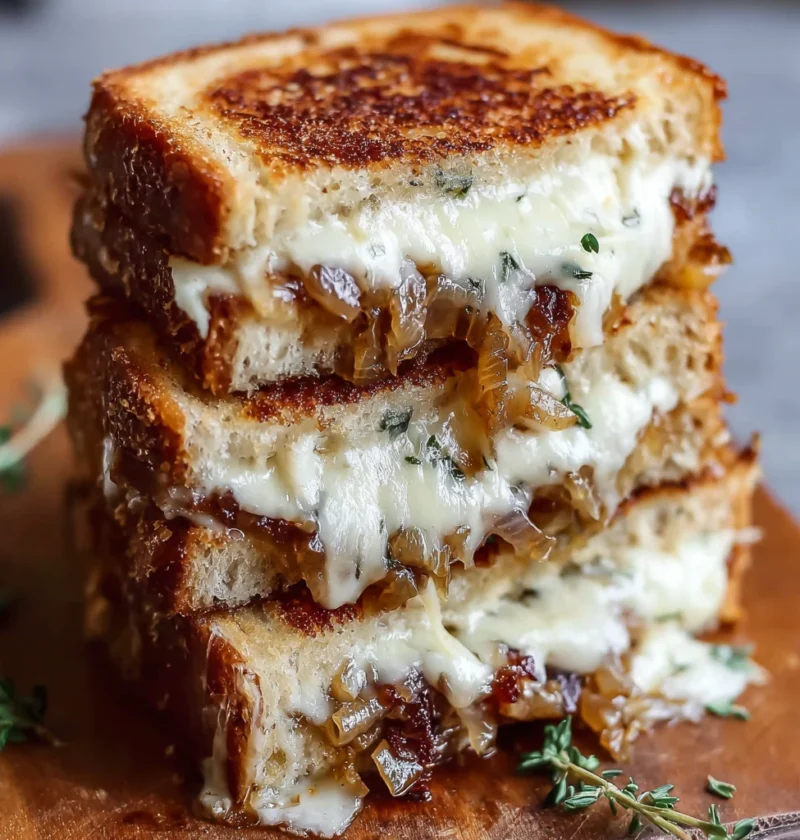
Discover how to create a sumptuous French Onion Grilled Cheese with Turkey Bacon, a cozy delight merging smoky turkey bacon, caramelized onions, and gooey.

Indulge in the world of baking with a decadent caramel cake – a perfect blend of simplicity and sophistication. Find recipes, tips, and serving suggestions
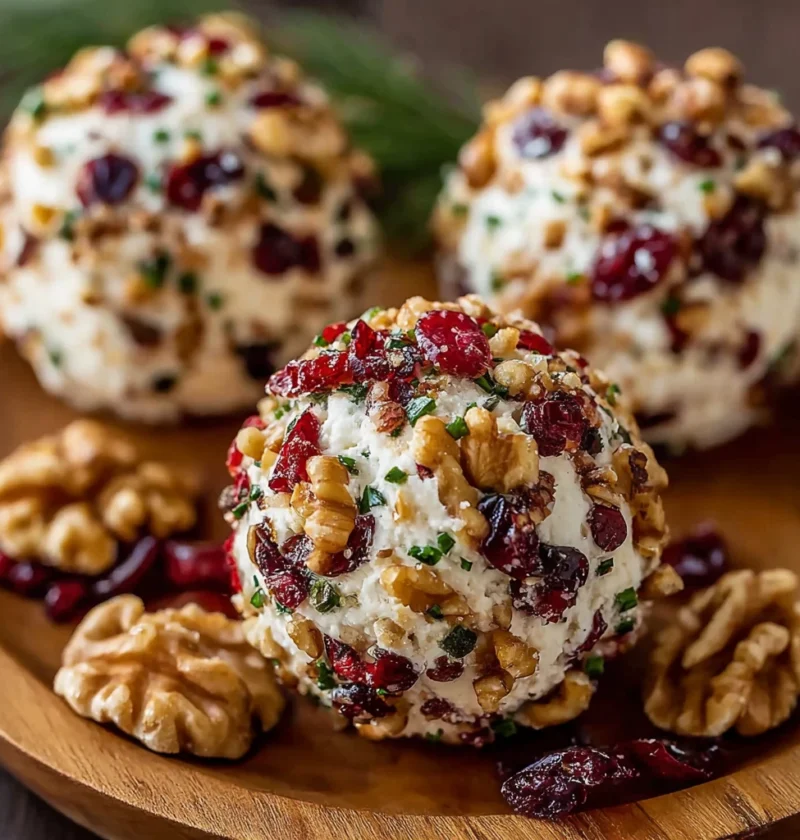
Impress your guests with a festive holiday favorite – Christmas Cranberry Walnut Cheese Balls! Easy to make, visually stunning, and bursting with flavors.

Discover the magic of peppermint snowball cookies – a festive holiday treat that combines minty freshness with buttery richness. Perfect for spreading holi
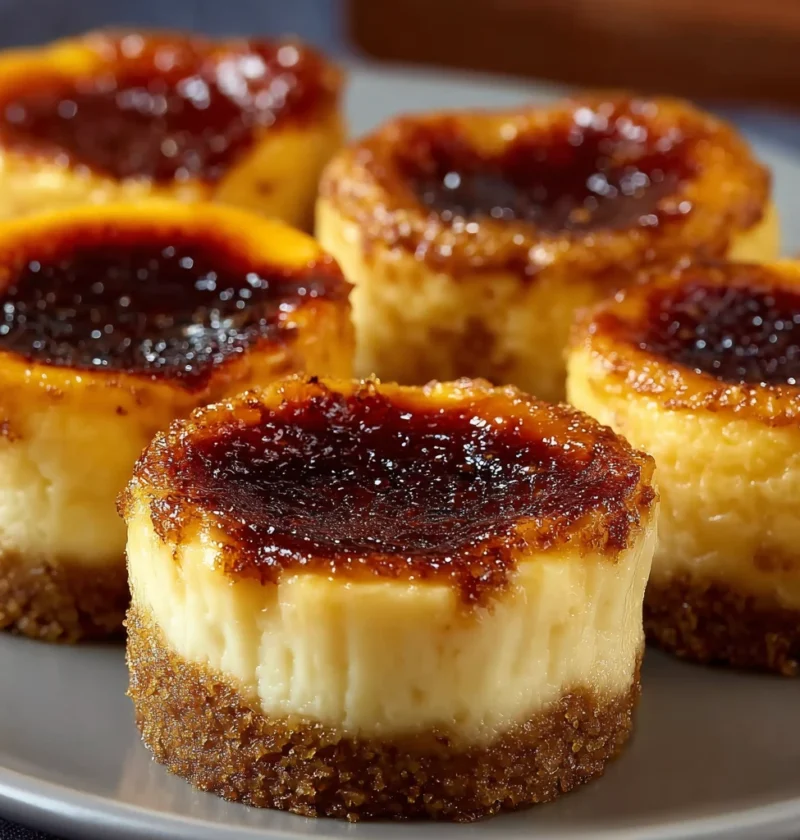
Discover the perfect blend of velvety cheesecake and decadent crème brûlée in this divine mini cheesecake recipe. Easy, low-calorie, and sure to impress
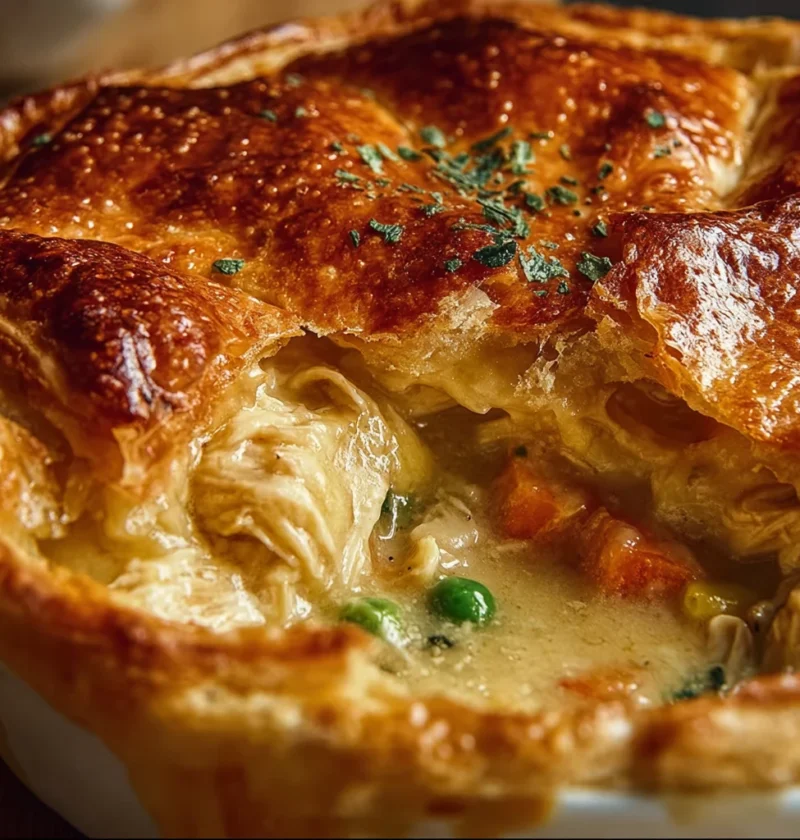
Discover the art of crafting a classic golden chicken pot pie with savory chicken, a buttery crust, and wholesome veggies. Master this comfort food favorit
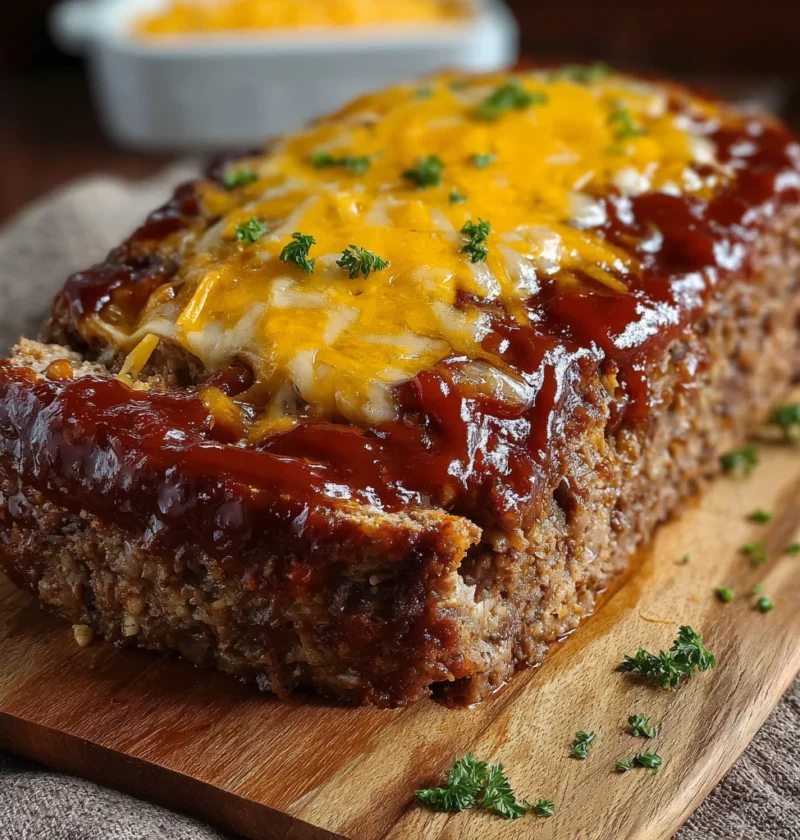
Discover the mouthwatering Cheesy Cowboy Meatloaf with Pinto Beans and Chili Glaze recipe – a blend of savory flavors that pays homage to cowboy cuisine wi
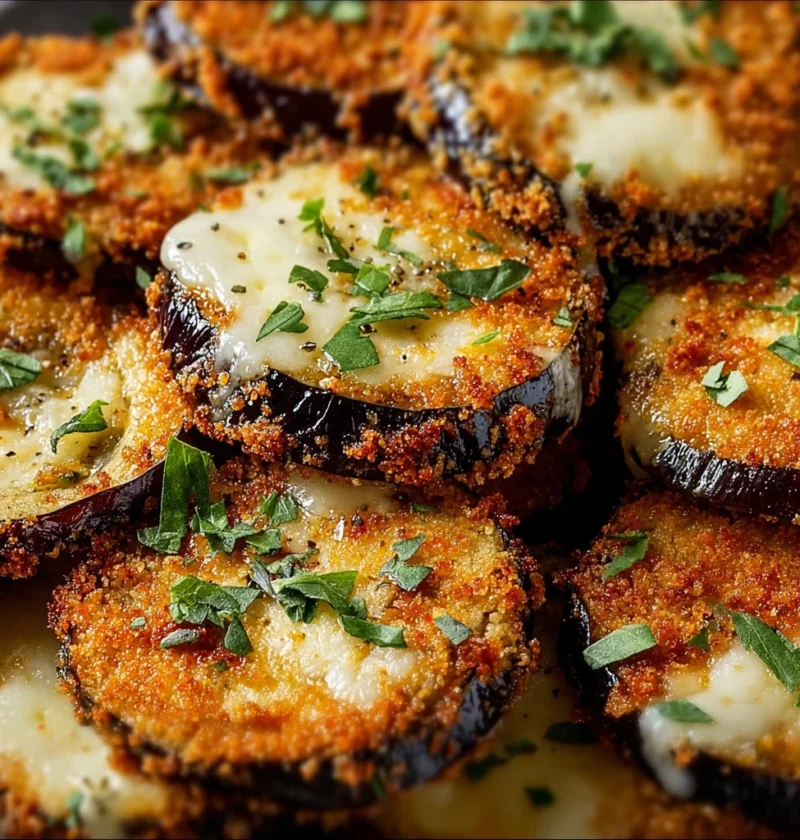
Master the art of creating a crispy baked eggplant with this recipe guide. Enjoy a delightful crunch and nutritional goodness in every bite, suitable for v

Uncover the secrets of creating the ultimate cheesy sausage and bacon dip – a crowd-pleasing recipe perfect for gatherings and parties.