SWEET MEXICAN PANCAKES RECIPE (GORDITAS DE AZÚCAR)
Discover the magic of Sweet Mexican Pancakes with this recipe for Gorditas de Azúcar. Learn to create these indulgent, versatile treats bursting with flav

Discover the magic of Sweet Mexican Pancakes with this recipe for Gorditas de Azúcar. Learn to create these indulgent, versatile treats bursting with flav
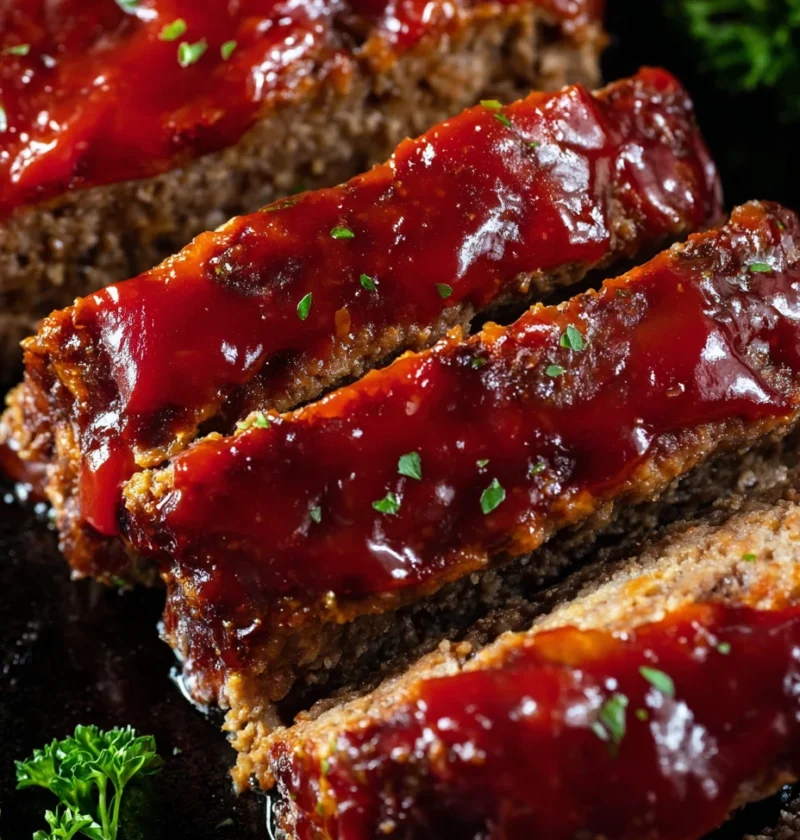
Discover the ease and flavor of 5-Ingredient Sheet Pan Meatloaf – a simple, versatile, and budget-friendly recipe perfect for busy nights.
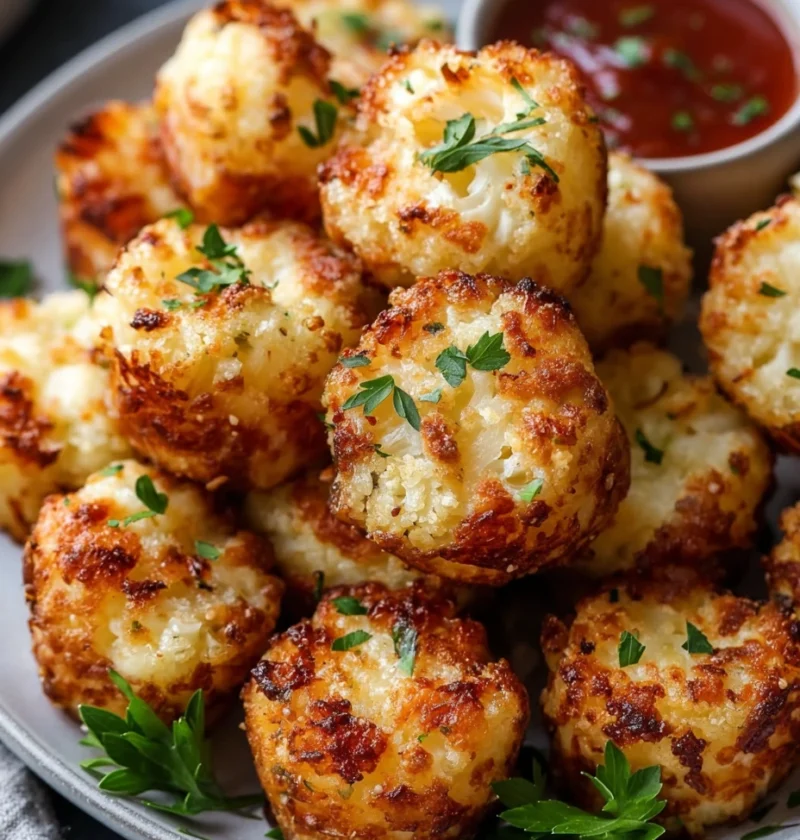
Discover the joy of Baked Cauliflower Mini Muffin Tots – a crispy, nutritious delight! Easy recipe, expert tips, variations, and serving suggestions awai
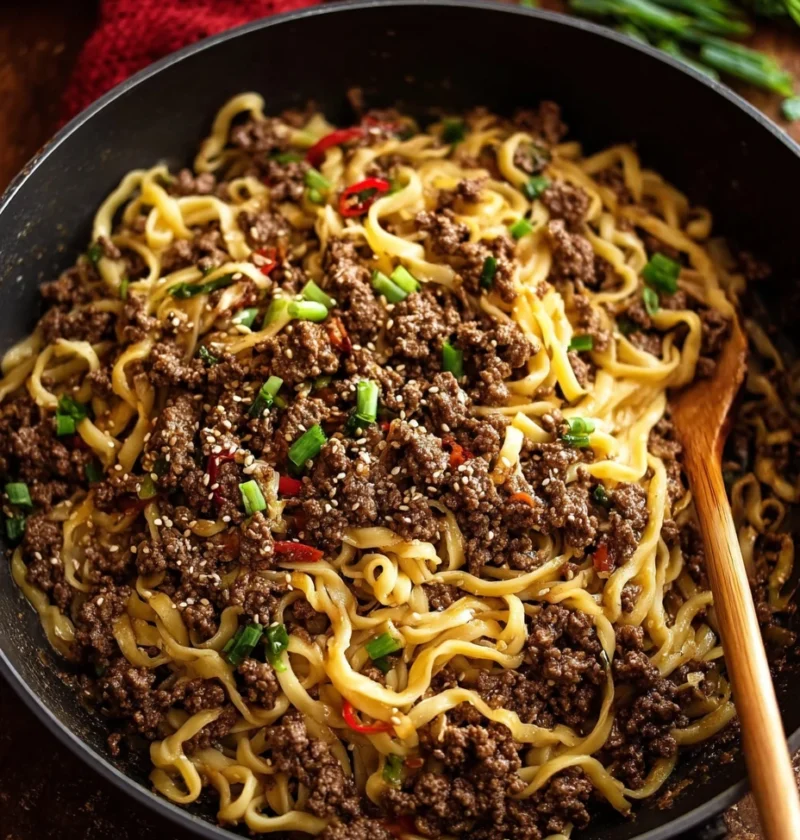
Explore the delightful world of Mongolian cuisine with a quick and tasty ground beef noodles recipe that’s ready in just 15 minutes.

Embark on a culinary journey with the Ground Beef Pastry Recipe – a savory delight that promises a blend of flavors and textures for a delightful dining
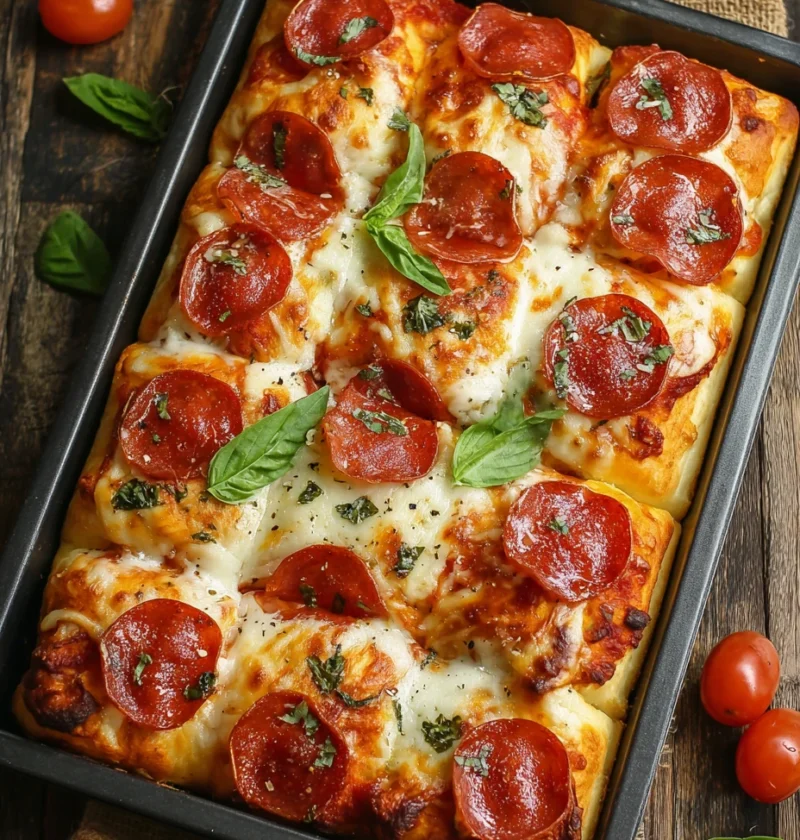
Discover how to make irresistible Cheesy Pepperoni Pizza Rolls at home! Perfect for snacks, appetizers, or meals on the go. Get creative with toppings and.
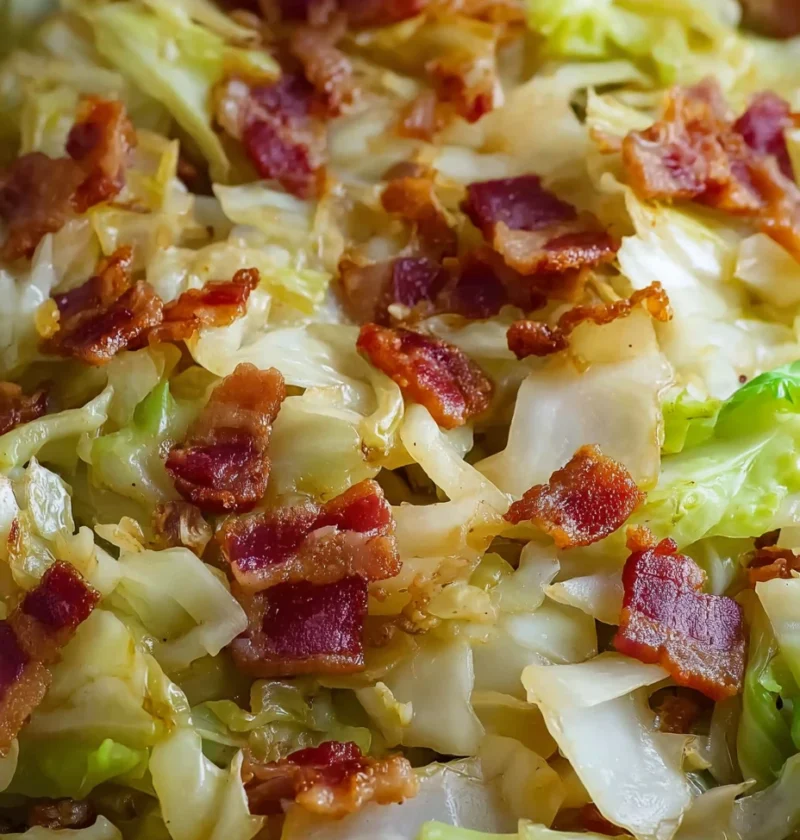
Discover the timeless flavor and comforting aroma of Fried Cabbage and Bacon Skillet with this simple recipe. Nutritious, versatile, and easy to customize,
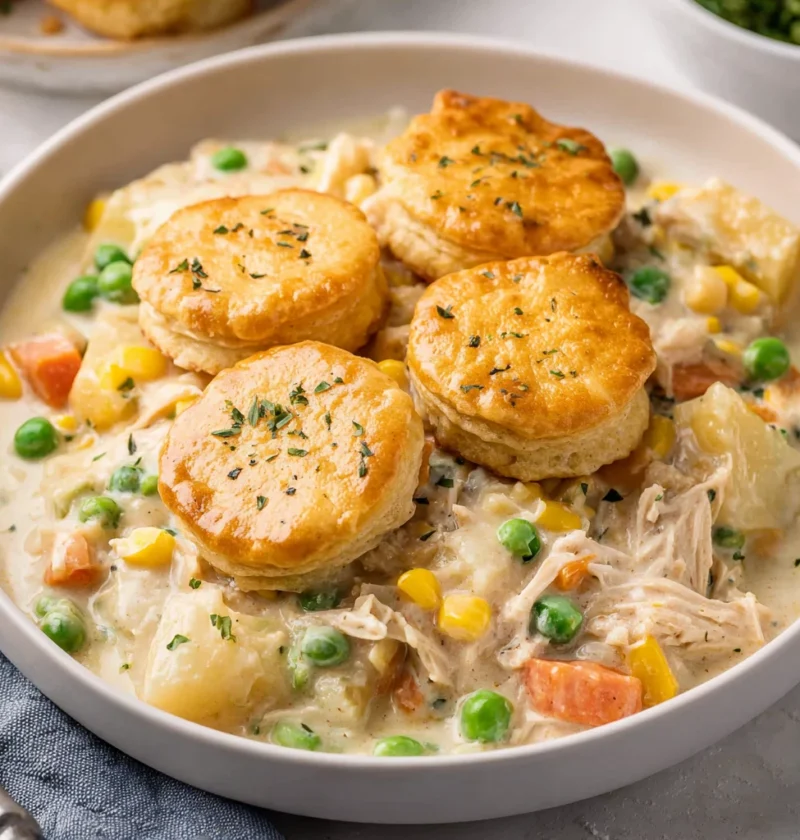
Learn how to make the ultimate comfort food – Crockpot Chicken Pot Pie! Easy steps, customizable ingredients, and expert tips for a perfect dish every time
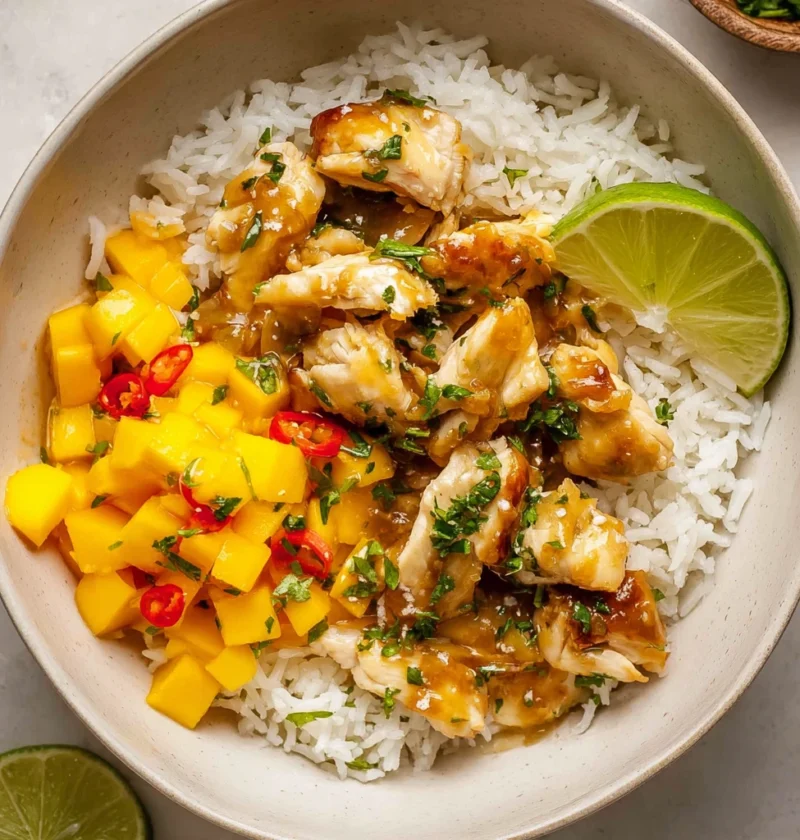
Discover the exotic flavors of mango chicken rice bowls, a harmonious blend of succulent chicken, fresh mangoes, and fragrant rice. Elevate your dining exp
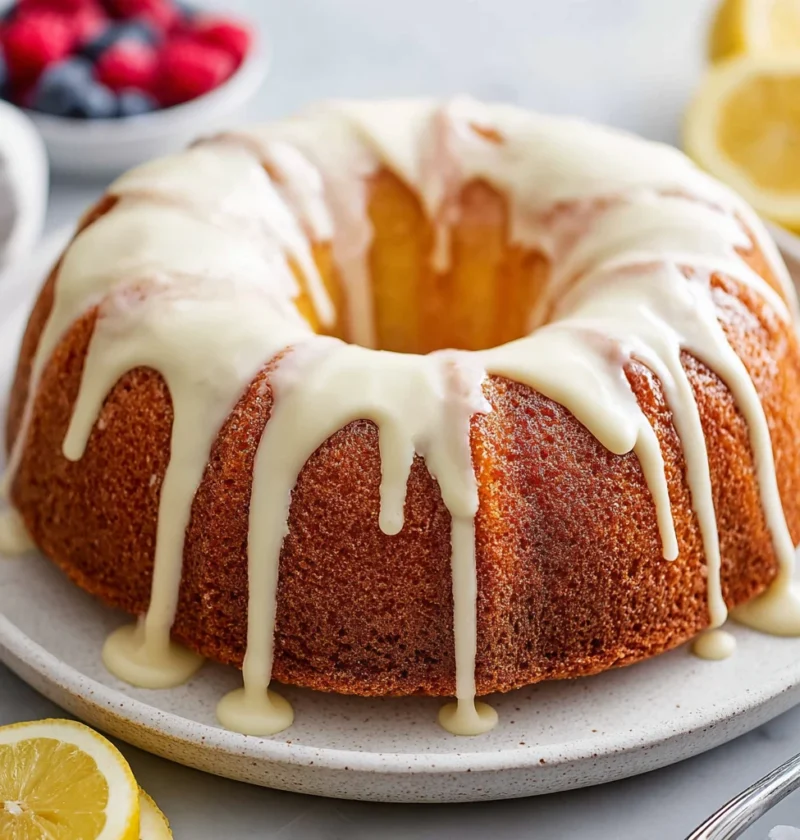
Discover the joy of baking a classic moist lemon bundt cake with this delightful recipe that balances zesty lemon flavors and a tender crumb perfectly.